DIY Live Rocks for Saltwater Aquariums: A Step-By-Step Guide
Updated on

Reef aquariums are a modern marvel that can support a living, thriving ecosystem with some of the most striking marine life you can enjoy right at home. Instead of choosing a commercial live rock that can be expensive, did you know you can mix up your own live rock yourself? It’s true, and you have a lot of leeway in customizing the exact composition and layout of your live rock.
Considering that the live rock plays a critical role in maintaining beneficial bacteria in your tank, you want to make the best you possibly can. Let’s get into the nitty-gritty of what you’ll need to get started and how exactly to go about mixing the stuff up.

Before You Begin
Live rock is made from a base of aragonite, which supplies calcium to coral and other marine life, in turn supplying the aragonite with nutrients to thrive. You may already know about aragonite, but let’s look at a full list of everything you need to craft your own custom live rock right at home. Even better, it poses less risk of introducing harmful pathogens to your fish as long as you’re careful about your mixing. For the sake of brevity, let’s list everything you’ll need.
You Will Need:
- Coarse aragonite sand
- Fine aragonite sand
- Portland cement
- Cement mixing equipment and container (Styrofoam coolers work great here)
- Distilled water
- Crushed coral or oolitic sand (optional)
- Mold (optional but useful)
- Rock salt (optional)
- White vinegar (optional)

Step-By-Step Guide for Creating Your DIY Live Rocks for Saltwater Aquarium
1. Prepare Your Work Space
The first step is to gather all your work supplies together in one place because you’ll have a short window to mix the cement together with your ingredients before it begins to harden. Have enough of each ingredient to make the amount of live rock you’re making before you start, and get a sense of what shape and dimensions you’re working with. At this stage, you should have your work space and the dimensions of your live rock mold.
2. Create the Base
First, fill your container with fine aragonite sand and moisten it until it’s workable with your hands. At this stage, you can also put in physical objects, like rolled-up newspaper to make tunnels or creative little architectural twists. PVC pipes can also be added as permanent fixtures in your live rock, but that’s a tad more involved. Next, dig the desired shape of your mold in the aragonite sand. Oval or round are the go-to, but you can be creative here if you like.

3. Mix the Aragocrete
Mix one part Portland cement with six parts fine and coarse aragonite sand and pour this into your mold carefully. Crushed coral can be added here if you wish to create a more diverse biosphere in your reef aquarium, but it’s up to you. While 6:1 is a common ratio that works for the average live rock, you can go as low as 2:1 concrete-aragonite if you want. Just have an idea of what consistency you want and go from there. Rock salt is the last step if you choose to use it, giving the live rock a unique texture and additional porosity for water filtration.
4. Pour and Cover the Aragocrete
Pour your Aragocrete mixture into the shaped mold, making sure to fill it completely. Pay attention to corners and artificially made tunnels for blind spots. Once your mold is filled up all the way, cease pouring and grab some fine aragonite sand. Completely cover your new live rock with the sand, and you’re done for a while.
5. Treat and Seed the Live Rock
After your live rock has settled for a couple of days, it’s time to treat and cure it for use in your aquarium. Some people like to use vinegar to accelerate the curing process, but it’s not mandatory. Fill the container with distilled fresh water and vinegar, if desired, and let it sit for a week. If you’re using vinegar, replace the water daily to prevent sudden pH changes.
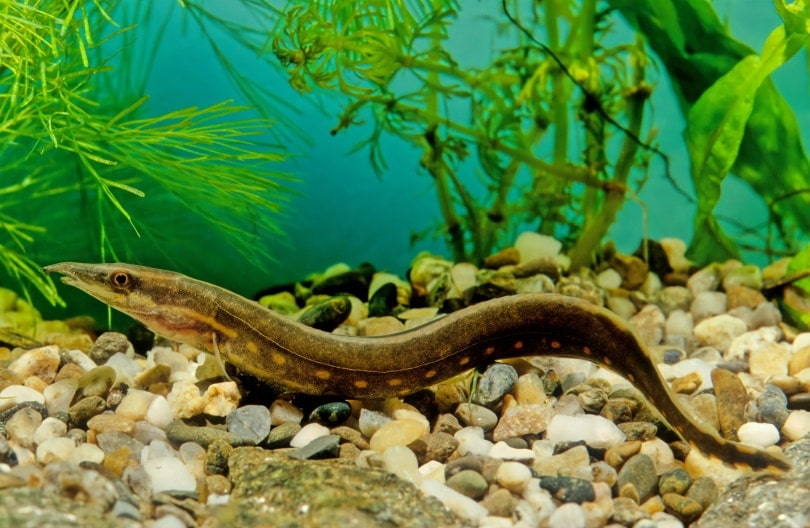
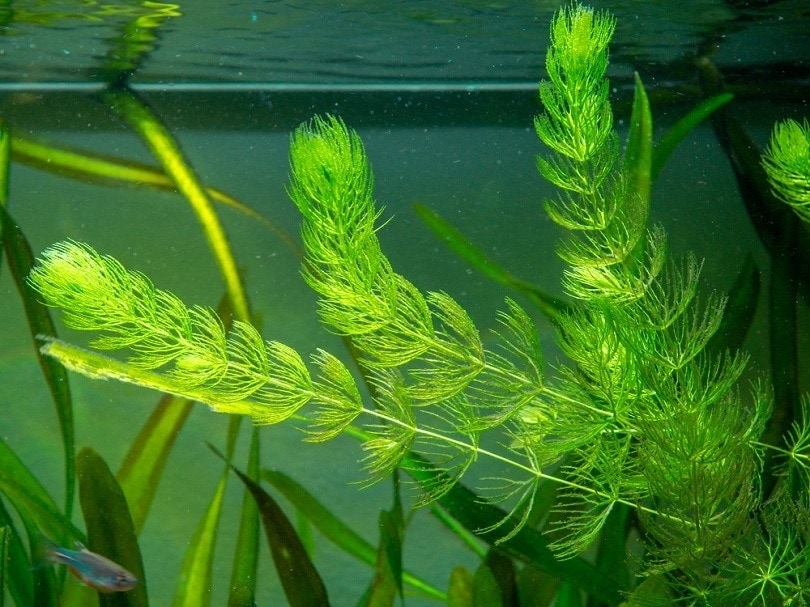
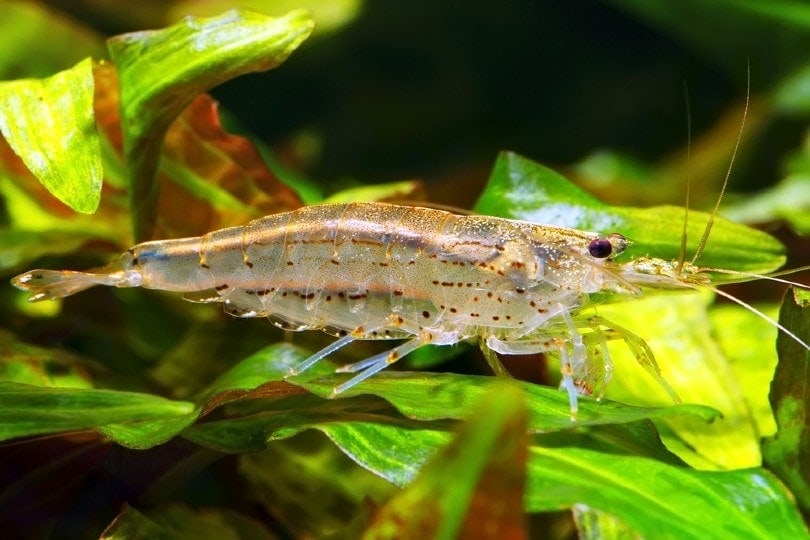
After the live rock has cured, you should fill it with saltwater, then add saltwater marine life to the tank. Small anemones, snails, and other waste-producing creatures will feed off the live rock’s calcium and kickstart biological growth in the tank. You can also scrape the fine coral off the side of your existing tank and add it to the live rock to further boost things along, don’t forget that there are also some amazing plants too. Now you’re all done!
Conclusion
Live rock can cost a small fortune in stores or online, but you can make your own with some basic equipment, the right supplies, and a little creativity. You can adapt this guide with your own custom ingredients, but remember to keep the needs of your saltwater animals in mind when crafting live rock.
You might want to check out some of our top-trending posts:
- 6 DIY Betta Fish Tank Set-Up Ideas You Can Create Today! (with Pictures)
- 5 DIY Aquarium Substrate Ideas You Can Create Today! (with Pictures)
- 10 DIY Aquarium Theme Ideas You Can Create Today! (with Pictures)
Featured Image Credit: Sara Robinson, Shutterstock