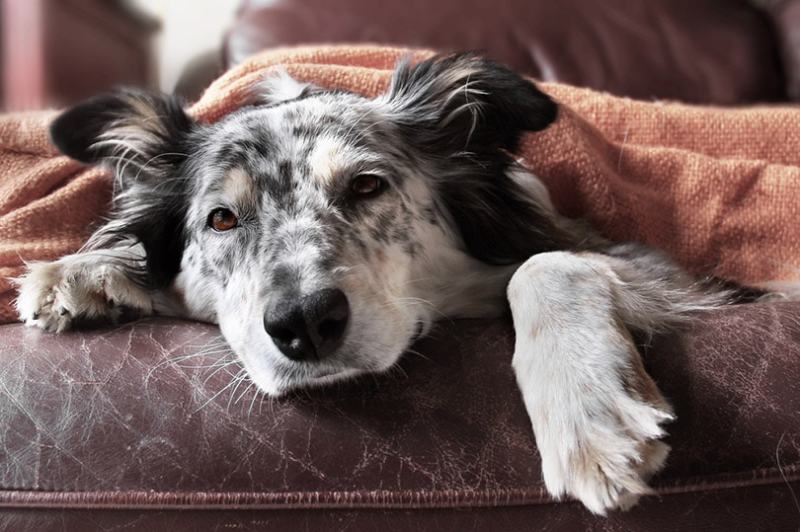
Your Dog’s ACL Surgery: Week-by-Week Recovery Guide (Vet Answer)
Updated on


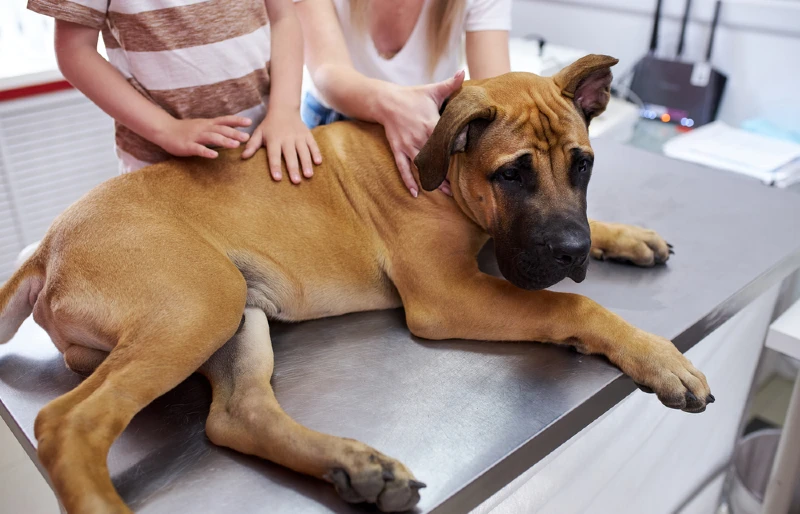
Cruciate ligament surgery is the most common orthopedic procedure performed in dogs and is used to treat a ruptured cruciate ligament. In humans, it is called the anterior cruciate ligament (ACL), but in dogs, it is referred to as cranial (CCL). There are two cruciate ligaments: one goes from the front of the femur to the back of the tibia (the caudal cruciate ligament), and one goes from the back of the femur to the front of the tibia (the CCL), forming a cross in the stifle (knee) joint, hence the name “cruciate.” It is a ruptured cranial cruciate ligament that lands dogs in veterinary practices across the country.
The recommended course of treatment for dogs with a CCL rupture or tear, particularly those over 20 pounds, is a surgical procedure to stabilize the joint, essentially eliminating the need for the ligament altogether. Dogs that have experienced a ruptured CCL on one side are highly likely to have the same problem in the other leg, partly due to the same anatomical factors that contributed to the rupture of the first one, and partly because it has been taking more of the dog’s weight while the first one was already in pain.
In the following article, we are going to take you through a week-by-week post-op recovery guide to prepare for your dog’s CCL surgery.

Week-by-Week CCL Surgery Recovery Guide: What to Expect
One of the best parts of having surgery to stabilize the stifle is that your dog will become a lot more comfortable shortly after the procedure. The downside of this is that it can become quite challenging to keep them from overdoing it during the crucial recovery period. Here’s what to expect:
1. Preparation
Before your dog has their CCL surgery, there are a few things you need to have ready for when they come home:
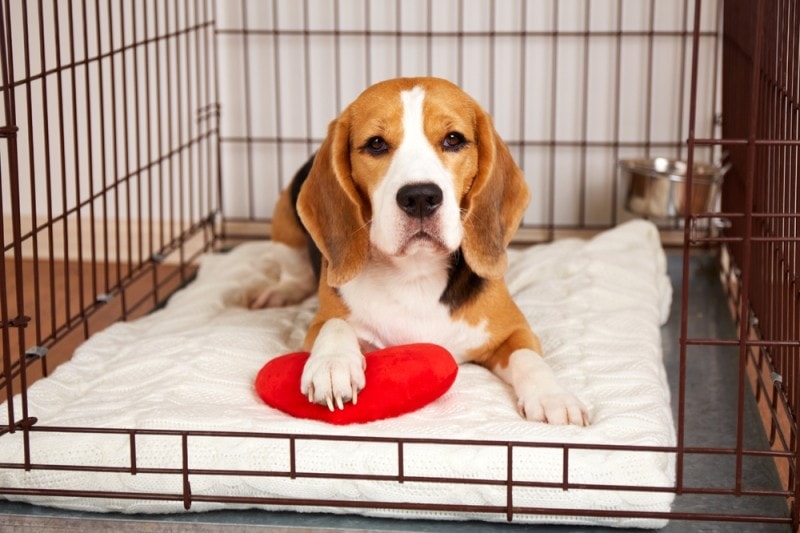
A Crate
This is the number one most important item on the list. You must be able to keep your dog confined in the period immediately following their surgery. If you have a small laundry room, this may also be suitable, provided it is not too large. The crate should be around:
| Height: | 1.25 times their standing height |
| Length: | 2x their body length |
| Width: | 1.5 x their body length |
Tip: Get the crate set up at least one week before surgery. Leave the door open but set up a bed and provide treats and toys inside it. You can even use a calming spray or pheromone diffuser to create a relaxing atmosphere. This way, the crate is familiar and comforting before surgery rather than a sudden place of confinement afterward.
Stair Gates (If Needed)
If you have any stairs in the house, stair gates are a must to stop any misadventures.
Non-Slip Mats or Rugs for Hard Floors
One of the easiest ways for a dog to injure themselves after CCL surgery is on a slippery floor. Throwing down some rugs on your hard floors can go a long way to helping them feel more secure and reduce the risk of them slipping and damaging that expensive new knee.
Cold Packs
After surgery, your dog’s leg will likely have some swelling and bruising. Applying some cold packs can really help bring this swelling down and make them feel more comfortable.
A Sling
Particularly if you have a large dog, using a sling of some sort to support their back end can help them get around for the first few days and also give you a bit more control if you need to help them down any steps to go out to the toilet. You can just use a folded towel for this purpose.
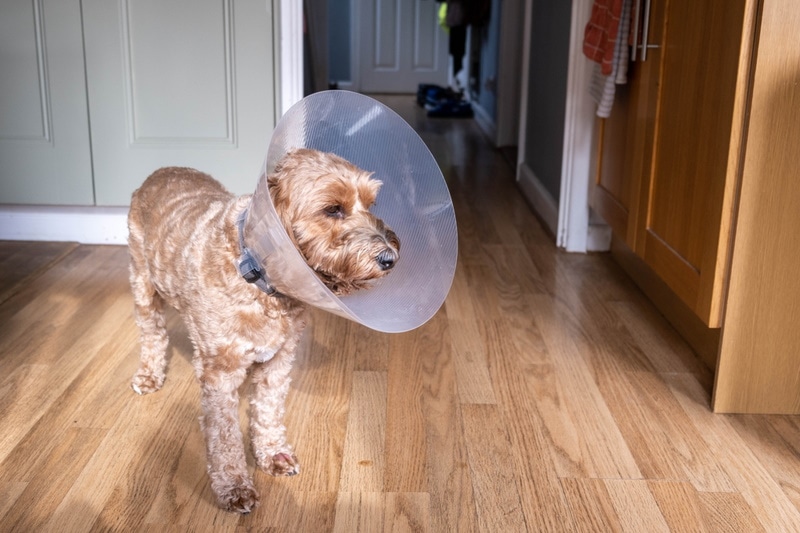
E-Collar, Elizabethan collar, or Cone of Shame
Your vet will likely provide one of these, but most of the time, you will be issued with a standard plastic cone, which is absolutely fine and suitable, but there are some more comfortable (and fun) options out there, which are worth looking into before the day of surgery.
Like the crate, it is a great idea to introduce your dog to their collar before surgery and make it a positive thing. Unless you are able to watch your dog 24/7, there will always be times that they might lick their wound, so it’s better to get a cone your dog will feel comfortable with.
Post-Op Diet Plan
Because your dog will be on very restricted exercise following surgery, you will need to adjust their diet to match their reduced energy expenditure. We recommend cutting their normal amount by a third and to start doing this a week or two before surgery. Lean body weight can do marvels for post-op recovery, as well as reduce some of the strain on the other limbs.
Boredom Busters
If your dog is normally quite active, you are going to need something to keep that brain busy! Invest in some toys to keep their minds occupied during their post-op recovery period. Some great options are:
- Snuffle mats
- Hide-and-seek toys
- Treat puzzles
- Flavored chew toys
- DIY toys
Any Questions for the Surgeon
Your surgeon will almost certainly go over everything with you before and after surgery, but it’s always a good idea to write down any questions you might have, just in case.
2. Day One
Depending on the protocol of your surgeon, you will most likely bring your dog home the day of or the day after surgery. They will probably be excited to see you, but it is important that they not get too worked up. Although you will be so happy and relieved to see them, try to play it cool.
Your dog will probably still be a bit groggy and out of sorts following their surgery. They have some pretty powerful pain relief in addition to the general anesthetic, and this can take around 48 hours to clear the system. Some dogs can be a bit disoriented or vocal on their first night home, and this is usually due to the drugs they have been given rather than post-operative pain.
Before you get them settled, take them for a short turn around the yard in case they need to use the bathroom. Now it’s time to get them settled in the crate they’ll be calling home for the next few weeks.
Some dogs will be ravenous when they get home, while others might take a day or two to get their appetite back. If they want to smash a bowl of food right away, only offer them a small amount to begin with, then some more an hour or two later—we don’t want them bringing it straight back up!
Don’t worry if:
- They don’t want to drink anything at first. In most cases, they will have received intravenous fluids at the vet hospital and won’t necessarily feel thirsty.
- They don’t poop for 2–3 days after surgery. Remember, they’ll have been fasted before their anesthetic, and opioid medications can slow things down and cause mild constipation.
Do call the vet if:
- They aren’t drinking anything after 24 hours.
- They aren’t eating anything after 48 hours.
- They haven’t passed any feces after 72 hours.
- You are worried about any pain, swelling, or discharge, or if you are worried about anything at all.
3. Week One
In some ways, this is the worst but easiest week. Your dog will probably be feeling quite sorry for themselves, which is always horrible to see, but they also probably won’t be trying to run around either. You will have been given medications for your dog, such as anti-inflammatory pain relief and possibly antibiotics. If you are having any trouble with these medications, let the vet know. Do not wait until your post-op check appointment to tell them that you haven’t been giving them!
Your dog’s activity level needs to be limited to going outside to the toilet only. For larger dogs, use your sling to help them outside; for smaller dogs, carrying them is the best option. Some dogs will start putting a little bit of weight on their surgical leg within the first few days, but others may take a little bit longer.
You should have an appointment for a post-op check after the first 5–7 days, but do not wait for your appointment if you have questions or are worried about anything. If your dog comes home with a dressing on their wound, it will either fall off during the first few days or be removed at the post-op check. Be sure to monitor the wound for any redness, swelling, or discharge. You should not need to clean the wound, just make sure they’re not licking it!

4. Week Two
Week two doesn’t have a lot of variation from the first week. If your dog has stitches in their skin, they will likely be removed at around days 10–14. Many surgeons use intradermal sutures, which are in the skin layer rather than on the outside, and these will dissolve on their own. If they’re not already, your dog should be putting a bit more weight on the surgical leg. If not, contact your vet in case they want to give them a check-up.
5. Week Three to Four
Your dog will still need to spend most of their time in their crate, but you can allow them out for short periods to stretch their legs in the house. Use stair gates and closed doors to make sure they don’t get carried away. This is the time that things become more challenging. Your dog will be starting to feel a lot better and want to run around and play. Time to really employ your boredom busters.
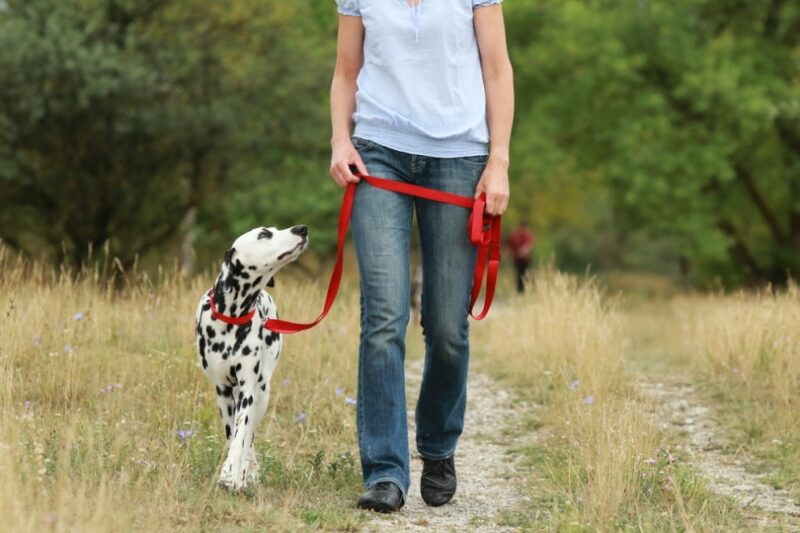
The wound should be looking healed, and your dog should be using the leg more and more confidently. Towards the end of week four, you can start going for a 5-minute walk on a leash each day.
6. Weeks Five to Six
Your dog will have some follow-up X-rays to make sure that everything is healing well. You should be able to take your dog out on a leash for a 10-minute walk daily in week five, increasing to two 10-minute walks per day in week six, but still with no off-leash activity.
7. Weeks Seven to Ten
Increase your on-leash walks by 5 minutes each week
- Week 7: 15-minute walks
- Week 8: 20-minute walks
- Week 9: 25-minute walks
- Week 10: 30-minute walks
Talk to your vet about starting hydrotherapy. This is a fantastic way to build up any lost muscle strength without putting either stifle joint under too much pressure.
8. Week 10 Onwards
Provided there have been no setbacks or complications, you can start introducing off-leash exercise. Start with short periods of around 5–10 minutes daily, gradually increasing the amount of time each day.
You should expect to have your dog back to their normal level of activity by weeks 12–16.

Why Is the Recovery Period So Long?
Ten weeks does feel like an eternity, especially when you have a dog chomping at the bit to get back out there! There are two main reasons we need to ease your dog back into “normal” mode:
- The surgical limb: In most cases, a CCL repair surgery involves cutting the bone, changing the angle of the stifle joint, and securing this with plates and screws, just like with a fracture. This takes at least 6 weeks to heal, so it is vital that your dog doesn’t do anything to disrupt that healing process.
- The other limb: The non-surgical limb has been taking the majority of the weight and strain for a period of time, likely in excess of 3–4 months. This puts it at risk of injury, specifically CCL rupture. The long recovery period allows the surgical limb to recover to a point where it can properly bear weight again before your dog starts running.
Because there is a high chance of CCL rupture in the other limb, ensuring the first CCL repair has completely healed is important as it will become the weight-bearing limb if the other ligament does rupture.
Conclusion
Remember to keep your vet on speed dial in case you are worried about anything. The last thing that you—or they—want is for complications to happen, but sometimes they do, and early intervention gives your dog the best chance of a good recovery.
Now you’re as ready as you’ll ever be for your dog’s CCL surgery, which means that their recovery will be as smooth as possible!
See also:
- Carprofen for Dogs: Usage, Safety & Dosage
- Green Discharge From a Pregnant Dog: Signs, Causes & Care (Vet Answer)
Featured Image Credit: Masarik, Shutterstock