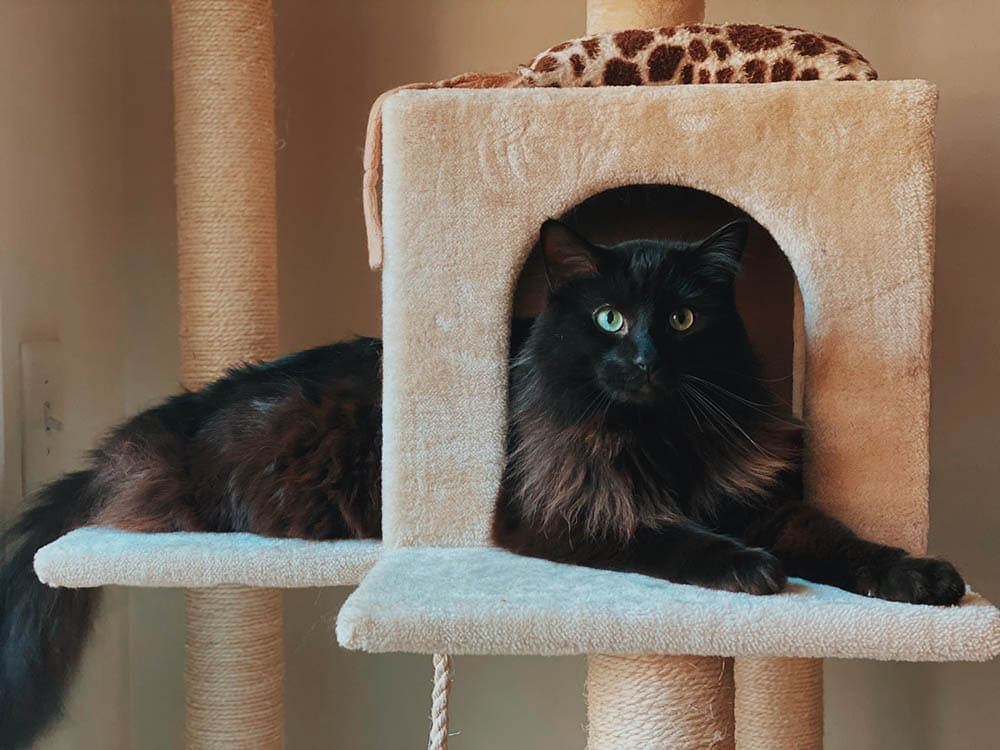
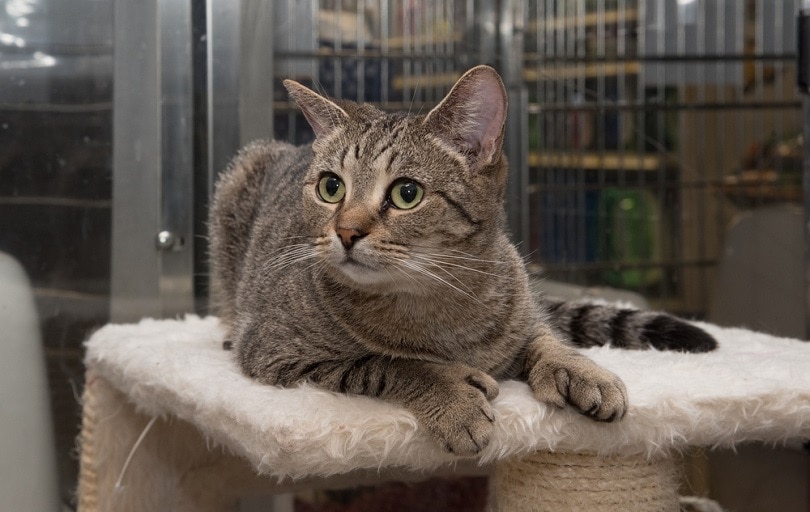
How To Attach Carpet To A Cat Tree: 5 Steps for Reupholstering
Updated on

A cat tree is a fantastic piece of cat furniture, a combination playground, a scratching post, and a high-elevation nap spot for your favorite feline. However, all that fun doesn’t come cheap. Sometimes, you may find yourself opting for a used cat tree that may have seen better days.
If you need to refurbish a new-to-you cat tree or just want to revitalize one you’ve had for years, reupholstering your tree might be just what you need. In this article, we’ll tell you everything you need to know to attach a new carpet to your old cat tree. Break out your work gloves and follow along!

Before You Start
Before you get started with your cat tree carpet project, make sure that the rest of the structure is sound. You don’t want to go to all the trouble of putting on the new carpet over rotting wood or an unstable frame.
Preparation
In preparation for starting your project, choose and purchase a new carpet for your cat tree.
You want a carpet that’s sturdy but flexible enough to mold easily around your cat tree. Generally, you should opt for a shorter pile carpet with no looped strands so your cat’s nails don’t get snagged. Since you aren’t carpeting a big area, you may be able to save money by purchasing carpet remnants from your local home improvement store.
Next, gather the tools you’ll need for your project:
- Work gloves
- Eye protection
- Box cutter
- Pliers
- Hammer
- Sandpaper
- Tape measure
- Staple gun
- Small nails
- Glue
Lock your cat out of your work area for safety, put on your favorite DIY playlist, and let’s get to work!

The 5 Steps for Replacing Carpet On a Cat Tree
1. Remove Old Carpet
First, put on your gloves as well as eye protection.
Using the box cutter, slice the carpet to remove it from the cat tree. You may also need a hammer or pliers for this step, depending on how secure the old carpet is. Use the hammer to help you pry and pull the carpet off of the tree and pliers to pull out staples as needed.
Repeat until all the old carpet is removed and safely discarded. This step is the most labor-intensive part of the project. Take your time, stay safe, and drink plenty of water.
2. Prep Surface for New Carpet
Once all the carpet is gone, inspect the cat tree for any loose or protruding nails or screws and make repairs as needed.
If the previous carpet was glued down, sand down any remaining glue. Use the pliers or hammer to remove any staples or nails that remain on the surface of the cat tree.
The goal is to create a nice clean, smooth surface to attach the new carpet.
3. Measure and Cut New Carpet
Once the surface is ready, it’s time to cut some carpet.
Carefully measure each surface of the cat tree you want to cover. And then measure it again. You want to be absolutely sure of your measurements before you start cutting to avoid wasting any carpet.
Once you’re ready, use the box cutter to cut out your new carpet pieces. It’s not a bad idea to allow a couple of extra inches just to be safe on each piece. You can always remove excess material, but you can’t add more if you make your cut too short in the first place.
4. Attach New Carpet
Again, make sure you’re wearing your eye protection for this step.
Using a heavy-duty staple gun is the easiest and most durable method to attach the new carpet. If you don’t have a staple gun, you can attach the carpet with small nails, but you may run the risk of damaging the underlying cat tree. Another option is gluing the carpet with wood glue or a hot glue gun, but this attachment method is not as durable.
Whichever method you choose, make sure the new carpet is attached tight and smooth across all surfaces of the cat tree. Cut off any excess carpet as needed. Continue stapling/nailing/gluing until all the new material is attached.
5. Safety Check!
Now that the new carpet is attached, it’s time to perform a final check to ensure your cat stays as safe as possible when climbing on the reupholstered cat tree.
Double-check that all carpet is securely attached. Tug and push on the new carpet to simulate the abuse it will get from your cat. Add more staples (or nails or glue) as needed. Make sure no nails or staples are poking out for your cat to injure themselves on. Remove or replace wayward attachments.
Once everything checks out, let your cat check out their freshly carpeted new cat tree.
Other Materials You Could Use On The Cat Tree
While most cat trees are covered with carpet, there are other materials you could use to cover some parts of the tree.
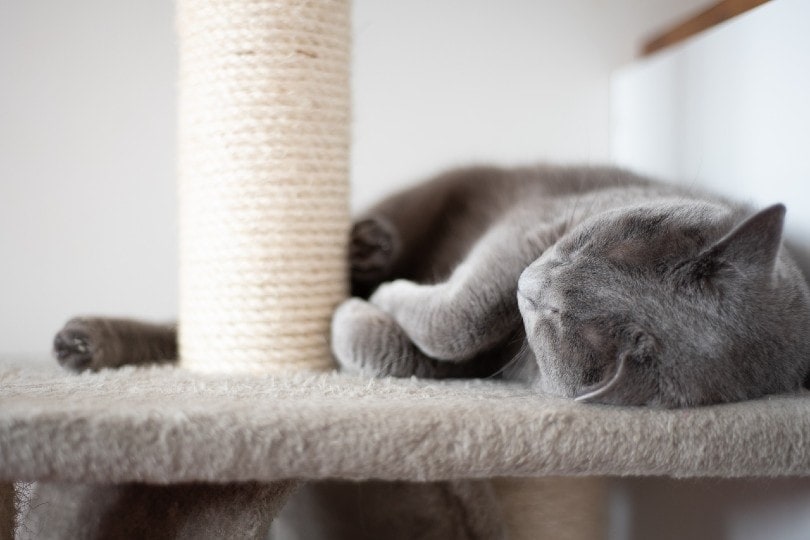
Sisal rope for scratching is another popular cat tree material. You can wrap a leg or tower of your cat tree with sisal rope, attached with a hot glue gun.
Faux fur or fleece is soft, fluffy, and comfortable material, but not very durable. Although not the best choice to cover a whole cat tree, faux fur or fleece is a good option on a sleeping platform or inside a cat condo to create a plush bed. Attach with staples or glue.

Conclusion
Keeping your indoor cat exercised and entertained can be a tough job. If you fail, you may end up with an unhappy cat who expresses feelings using claws or inappropriate urination. Providing your cat with a cat tree allows them to perform natural behaviors like scratching and climbing while giving them a high perch to look down on the world if they wish.
Learning to re-carpet a cat tree is a budget-friendly way to extend the life of your cat tree and give your cat even more years of fun romps and elevated nap times.
Related Reads:
Featured Image Credit: Veera, Shutterstock