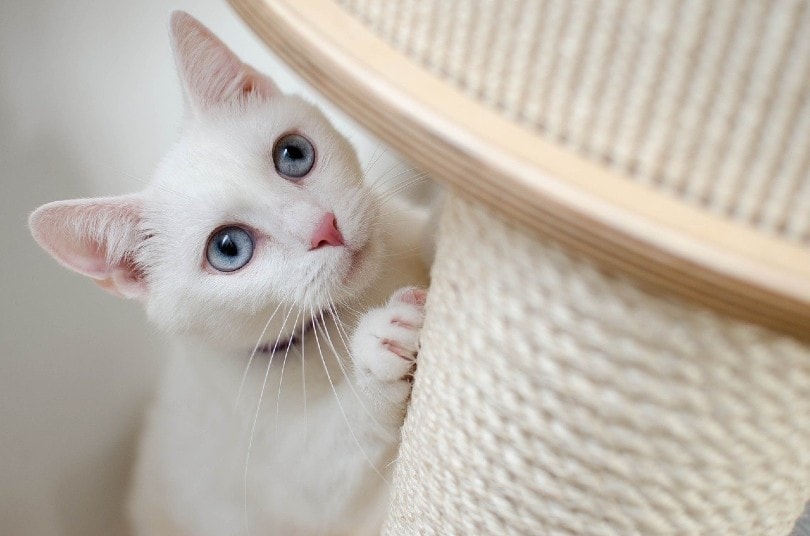
How to Clean a Cat Tree: 9 Simple Steps
Updated on

Cat trees are a wonderful way to keep your cat entertained, prevent scratching on your furniture, and give your cat a high location for napping. However, they can be bulky and difficult to manage, especially when it comes time to clean them. It’s not usually as simple as just tossing the whole cat tree in the washing machine!
The thing is that the better care you take of your cat’s cat tree, the longer it will last. Keeping your cat tree clean doesn’t just improve the appearance of your home, though. It also provides a clean, safe place for your cat to spend time. We’ve put together a step-by-step guide to help you keep your cat tree clean, getting the most mileage out of it in the process.

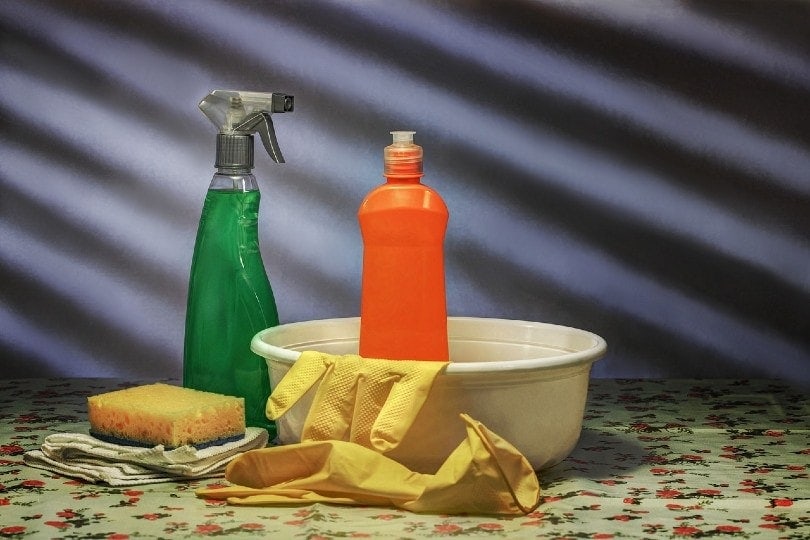
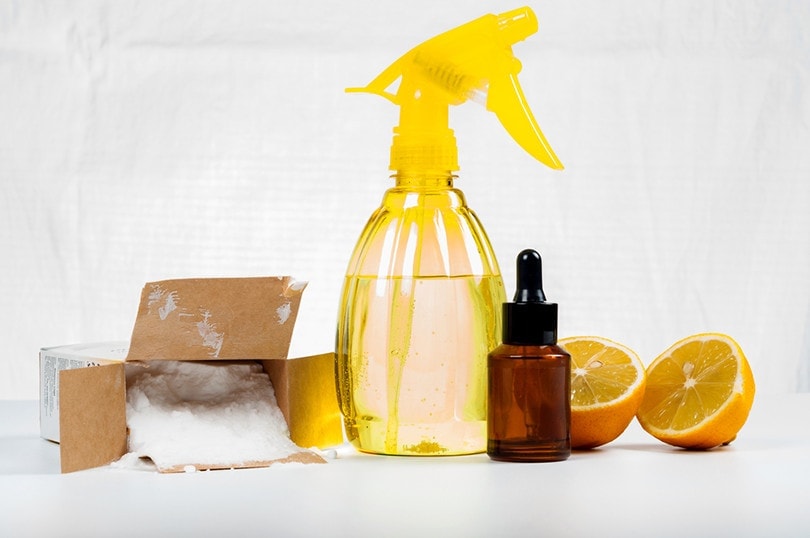
Supplies
- Vacuum cleaner
- Lint roller
- Stain remover
- Baking soda or odor neutralizer
- Cleaning spray
The 9 Steps for Cleaning a Cat Tree
1. Take the whole thing apart.
By taking the cat tree apart, you’ll be able to clean all the crevices better. Some cat trees require tools, while others can be taken apart by hand. If you don’t feel confident in your ability to take the cat tree apart and put it back together, then you can skip this step.
2. Remove or repair loose ends.
The fabric and scratching materials on cat trees can get torn up over time. By removing loose ends, you’ll be able to get the cat tree cleaner without risking tearing it up further by snagging runs in the fabric.
Cardboard scratchers can be replaced with store-bought scratchers, and jute-wrapped scratching posts can be rewrapped with new jute or a similar natural product. Use a box cutter to fully remove the old jute and use hot glue to apply the new jute around the scratching post in one or two layers.
3. Vacuum the fabric and nooks and crannies.
Using a handheld vacuum or the hose attachment on your vacuum, vacuum all the nooks and crannies, as well as the fabric covers on the cat tree. Remove as much loose cat hair as possible before moving on.
4. Use stain remover.
Stain remover can be applied to any stains on the fabric portions of the tree. Before you apply any stain remover, make sure you use one appropriate for the fabric itself. Some fabric covers can be removed and machine washed, which gives you more options for stain removal products than if the fabric covers cannot be removed and machine washed.
5. Wash removable fabric covers.
If you’ve determined that your fabric covers can be removed and machine washed, get them in the washer. Laundry sanitizer and bleach are both good products to help get the fabric as clean as possible. Unless your cat tree’s instructions explicitly say you can put the fabric in your clothes dryer, it’s best to air dry the material to prevent shrinking.
6. Use a lint roller.
A sticky lint roller can be used on any fabric surfaces that cannot go in the washing machine. This doesn’t just apply to fabric covers, either. You can use a lint roller to remove hair and loose fibers from scratchers and anywhere else you might notice hair hanging around. If needed, you can alternate between vacuuming and lint rolling a few times to get all the hair and fibers off the cat tree.

7. Clean the hard surfaces.
Using cat-safe cleaning spray, clean all the hard surfaces on the cat tree. If you removed fabric covers for washing, make sure to clean the hard surfaces underneath. Keep in mind that cats walk around in their litter boxes and then jump onto the cat tree, so keeping it clean and disinfected is a good way to help prevent the spread of bacteria.
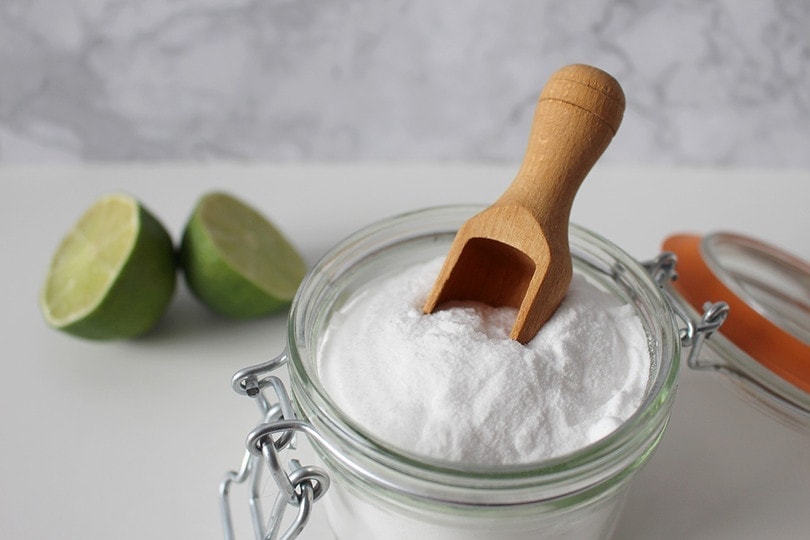
8. Neutralize odors.
Baking soda is a quick, effective, and inexpensive way to remove odors from fabrics. Once the fabric is dry, simply sprinkle baking soda onto it and allow it to sit for at least 10 minutes, but preferably an hour or longer. The longer it sits, the better it will absorb odors. Commercial odor neutralizers can also be used in place of baking soda.
Keep the cat tree out of the reach of your cat while the baking soda is sitting. Otherwise, your cat may inhale or ingest baking soda, or they may track white footprints all over your living room. After the baking soda has been allowed to sit, vacuum it up, leaving as little behind as possible.
9. Reassemble the tree.
Once the fabric is clean and dry, repairs have been made, and the hard surfaces have been cleaned and disinfected, you’re ready to put the cat tree back together. Use tools if needed to ensure the cat tree is sturdy and safe for your cat.

Final Thoughts
Cleaning a cat tree is a multi-step process that may take some time. If you take a little time every few weeks to clean your cat tree, though, you can save yourself some time when it comes time to take the whole thing apart and deep clean it. Vacuuming the fabric, using a lint roller, and making repairs and updates as needed will all keep your cat tree clean and hygienic longer, not to mention it will keep the cat tree in good condition for much longer as well.
Related Reads:
Featured Image Credit: Africa-Studio, Shutterstock