How to Clean Dog Vomit From A Car: A Step-By-Step Guide
Updated on

We try to keep our cars clean, but it’s hard to accomplish this goal when you have pets. And if you have kids, you might as well install a double layer of seat coverings in your car.
Sometimes, spills happen. Food falls into the cracks of the seat, and dogs vomit in our car—it’s a part of life! Thankfully, you can clean all this up and make your vehicle look new, or at least pretty close to it.
If your dog vomited in your car, let’s cut to the chase and start with the necessary materials to clean up the mess.
 What You Will Need
 What You Will Need
You should already have most of these items at home, but don’t worry if you don’t have everything on the list. None of these items are costly, and some are completely optional. Here’s your list of cleaning materials:
- Rubber or disposable gloves
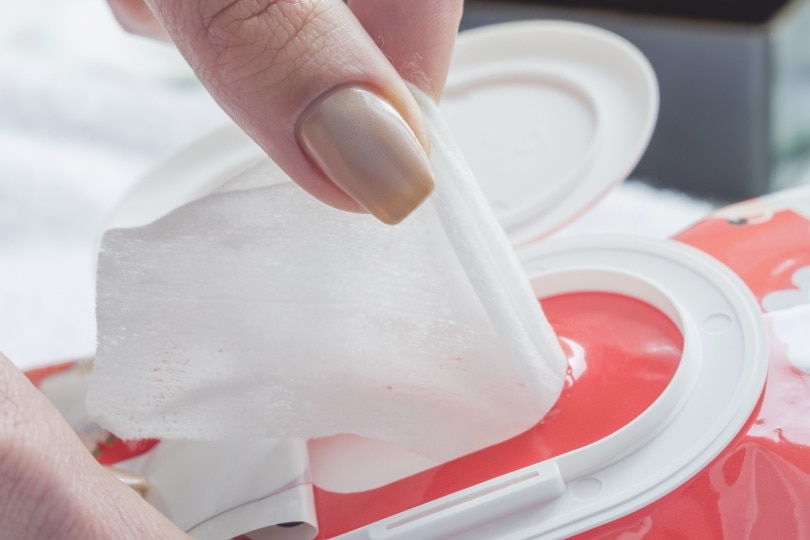
- Paper towels or baby wipes
- Liquid dish soap (no bleach)
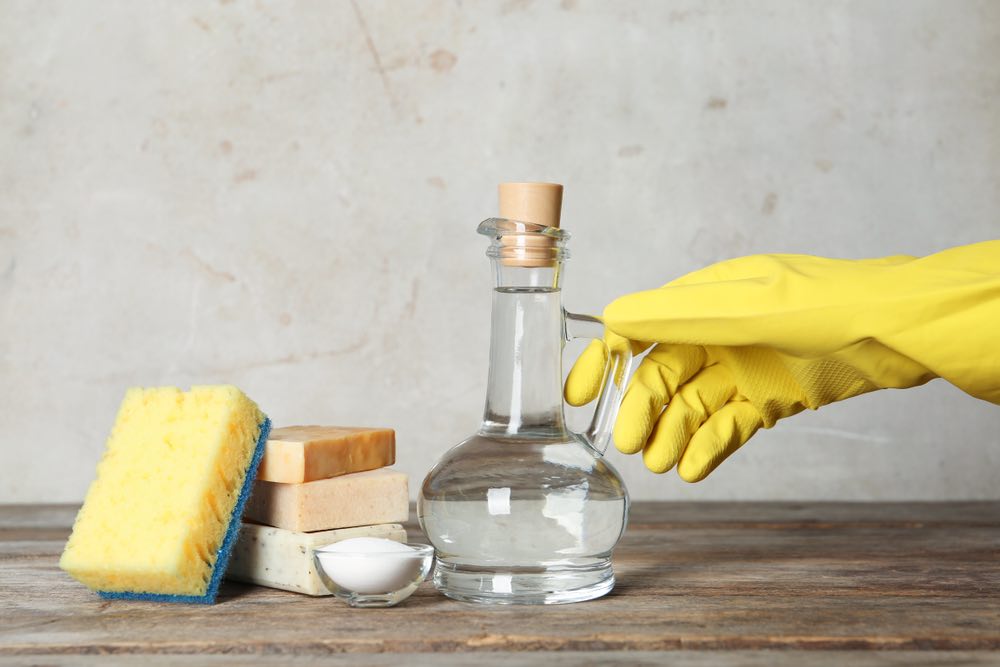
- White vinegar
- Baking soda
- Warm water
- Scrub brush
- Face masks
- Hydrogen peroxide (optional)
- Club soda (optional)
- Laundry detergent (optional)
- Nature’s Miracle Stain and Odor Remover (optional)


The 6 Steps to Clean Dog Vomit From a Car
Cleaning Time: Approx. 2 hours
There are six steps for cleaning up dog vomit in our car. These steps are easy, and some of the time is spent allowing the products to sit and saturate. How much time this takes will depend on how much vomit there is. Generally, it should take under 2 hours.
Keep in mind that this is a deep clean. You can always adjust the steps if you don’t have the time or materials for this type of cleaning.
1. Clean the Vomit ASAP
Vomit is acidic, so you don’t want it to saturate your car seats for too long. Clean it up as quickly as you can. It is up to you how you want to scoop it out. You can use a plastic spoon, a rubber spatula, or paper towels.
After removing the solid vomit, dab the area with a paper towel to remove excess moisture.
2. Apply the First Round of Baking Soda
Vomit has an intense smell, so applying the first round of baking soda will help remove odors and draw out additional moisture.
Apply the baking soda and leave it on the soiled area for about 30 minutes. You can even leave it there overnight. It also helps to open the windows and car doors for maximum ventilation. Of course, don’t leave your car doors open at night.
After the baking soda has sat for at least 30 minutes, scrub the area with a warm washcloth or paper towels until all the baking soda is removed. You can apply more baking soda to form a paste if your seats need an extra scrub!
3. Make Your Cleaning Solution
Most people will tell you to make your cleaning solution first, but you want to clean up the vomit as soon as possible. So, clean up the mess first, then make your solution.
You may have to adjust this recipe depending on how much you need:
Mix a cleaning solution of 8-parts warm water, 1-part white vinegar, and a few drops of liquid dish soap. Make sure you use a liquid dish soap that doesn’t contain bleach so you don’t stain your seats.
4. Clean and Scrub
Grab a scrub brush and your cleaner and start scrubbing. After cleaning for however long is needed, use a warm washcloth or paper towel and rinse the seats.
5. Apply the Second Round of Deodorizer
After cleaning the area, apply baking soda once more and let it sit for 10 minutes.
You can mix this round of baking soda with a few different products if you think your car seats are stained. Here are some of the items you can use:
- Hydrogen peroxide
- Laundry detergent
- Club soda
Let the mixture sit for longer than 10 minutes if you feel the mixture needs more time to saturate the seats.
Wipe away the powder with a warm washcloth or paper towel when it’s done. At this point, you can add some essential oils if you don’t want to use an enzymatic cleanser. You can even try adding some citrus juice. Any of these options will help mask the odor.
6. Apply the Third Round of Deodorizer (Optional)
For an extra cleanse, use an enzymatic cleaner. This step is highly recommended, as enzymatic cleaners are tough on stains, vomit, poop, urine, and any kind of soiled material you can think of.
The smell can be overpowering, so you might want to wear a mask or open the car windows for this step.
Our favorite enzyme cleaner for eliminating pet smells and stains is our very own Hepper Advanced Bio-Enzyme Pet Stain & Odor Eliminator Spray. It makes clean-up a breeze because it permanently removes even the very worst smells and stains (urine, feces, vomit, you name it!) from basically any surface you can imagine.

- ADVANCED ENZYMATIC CLEANER - Penetrates the most stubborn smells and stains at the deepest molecular...
- FOR ANY MESS, ON ANY SURFACE - This pet odor eliminator cleans your carpets, floors, furniture,...

Cleaning Dog Vomit Off Leather Seats
You’ll follow the same steps above to clean vomit off leather seats, but with a few changes to the cleaning recipe.
Don’t use liquid dish soap or enzymatic cleaners when you make your cleaning solution since these could destroy the leather. You can still use baking soda and vinegar on leather.
If some of the vomit got on the leather seats and some got on the floor, you might want to make a separate bucket of cleaner for the car floor and another one for the leather seats.
The smell may linger if the vomit has been sitting for too long. At this point, you might have to hire a professional to clean your leather seats to avoid ruining them.
Conclusion
Cleaning any kind of car mess is frustrating. Hopefully, these steps can help remove some stress and make your car squeaky clean. The nice thing about this method is that it’s a deep clean and can be used to make your car look new.
Featured Image Credit: Towfiqu barbhuiya, Unsplash