How To Make Dog Paw Prints With Paint: 14 Pet-Safe Tips
Updated on

Most would agree that playing with your dog is one of the best reasons to have a dog in your home. Playing fetch with a ball, throwing a frisbee, or having a tug-of-war with your favorite canine is a great way to give your dog much-needed physical and mental stimulation.
Sometimes, however, you might want to do something with your dog that doesn’t have to do with running, tugging, jumping, or throwing a ball. You can try a more tranquil and creative activity, like making art with your dog’s paw prints! If that sounds like a blast, read on! We have 14 expert tips on how to make dog prints with paint below!

The 14 Tips for Making Dog Paw Prints with Paint
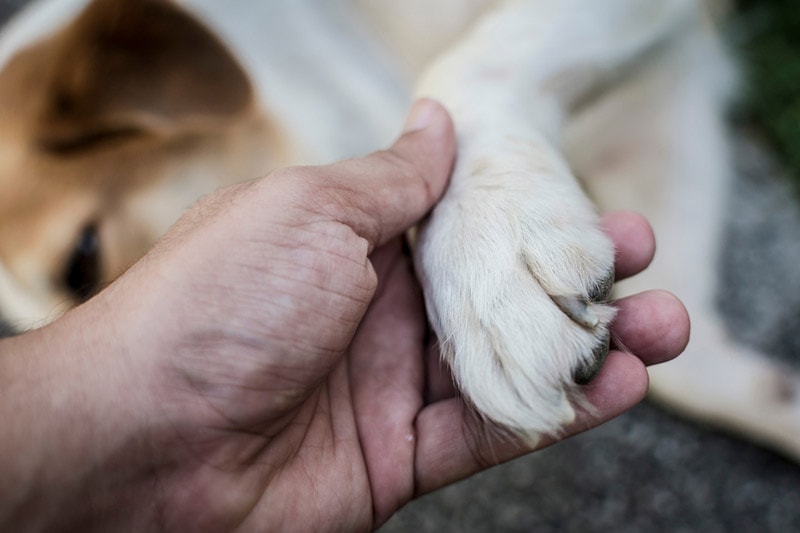
1. Make Sure Your Dog Is OK With You Touching and Handling Its Paws
Some dogs aren’t comfortable with their paws being handled. That’s a problem because touching their paws is necessary to make dog paw prints with paint. It will be very helpful if your dog already knows how to “shake hands” before you start this project. If they don’t, teaching your dog beforehand or handling your pup’s paws to get them used to the feeling is a good idea.
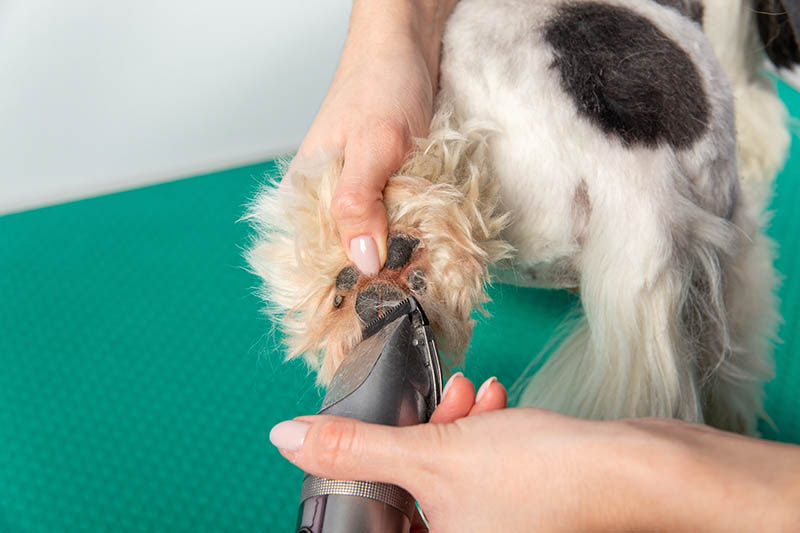
2. Trim Your Dog’s Paws Before Starting
Some dogs have longer fur than others, which can make this project either more or less of a mess. Trimming the hair is necessary if your furry friend has long hair around its paws. Otherwise, the paw prints you paint will look messy or unrecognizable as paws. Plus, trimming their hair will make cleanup easier once the project is finished.
3. Gather Supplies and Prepare Everything Ahead of Time
Most dogs have little patience and won’t wait while you run to get a wipe to wipe their paw or try to find the template you printed. That’s why you must have everything ready and accessible before you start painting.
- Paint
- A sponge or sponge brush
- Paper or printed templates (heavy card stock is recommended)
- Several small, disposable plastic containers for paints
- A medium-sized drop cloth
- Wipes for cleaning up
- A small container of water
- Treats for your canine
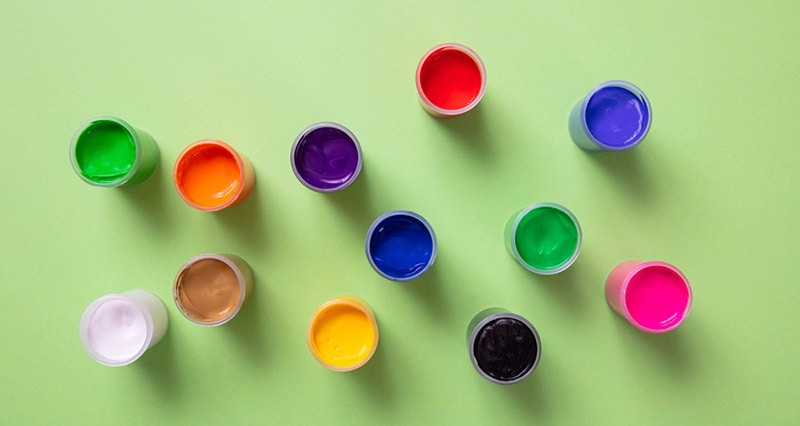
4. Use Washable, Non-Toxic Finger Paints for Children
Your dog may lick its paw after it’s been covered with paint. For that reason, using a non-toxic paint is critical. Most big-box hobby stores sell non-toxic finger paints for children, which are perfect for this pet project. Plus, they’re washable, which will make cleanup easier.
5. Download a Template and Print It Out
Many craft websites have templates you can print out for paw printing. Templates aren’t 100% necessary, but they make things easier. That’s especially true for those who aren’t the best artists. When printing any template, use heavy card stock if possible. If you don’t have a printer, some craft stores sell pre-made templates.
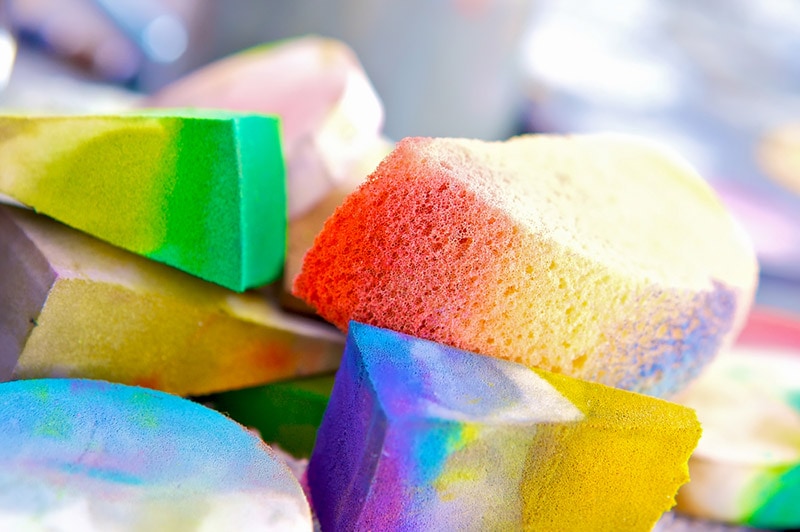
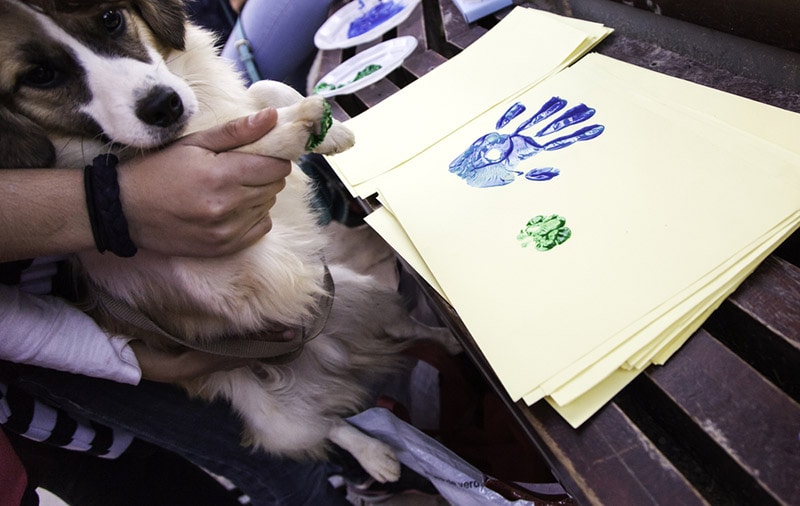
6. Use a Sponge to Apply Paint to Your Pup’s Paws
Yes, you can use a regular paintbrush for this project, but it’s better to use a sponge or a sponge brush instead. With a sponge, you can quickly and easily apply the paint to the bottom of your dog’s paws, which will reduce problems with your pup getting paint all over the place. One method is to use a large sponge and let it sit on the drop cloth you’re using. Then, holding your dog’s paw gently but firmly, press it down onto the sponge.
7. Keep Treats on Hand to Reward Your Dog
Your dog won’t understand what’s happening while you make paw prints with paint, and some might want to get away or do something else. Rewarding your dog with treats will keep your pet interested in what you’re doing and help them stay interested. If you’ve used treats to train them, using them again while painting should be easy.
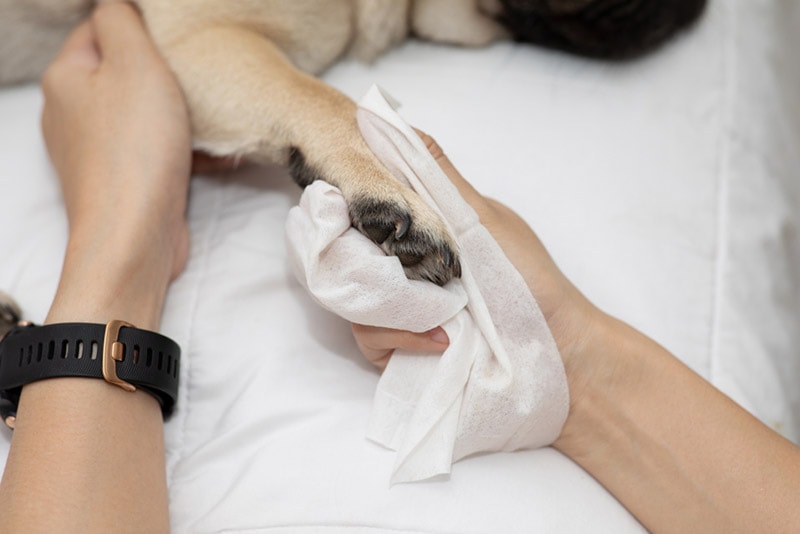
8. Wipe Your Dog’s Paws with Grooming Wipes Between Colors
It’s best to use grooming wipes while you’re engaged in this project. Like baby wipes, grooming wipes are disposable and usually have ingredients that will soften your pup’s paw pads and leave them smelling fresh and clean. You can use them for other tasks, too, like cleaning your dog’s ears or cleaning up after they’ve been playing outside.
9. Ask a Friend or Family Member to Help
Some dogs will wiggle, squirm and otherwise try to get away, which is why having a family member or friend around to assist you is extremely helpful. For example, while they hold your dog gently in place, you can paint with its paws, move the template, wipe off the paint, etc. Plus, having another person to help will make this project even more fun.
10. Use a Canine Moisturizing Butter to Make Cleanup Easier
Depending on your dog, their paw pads might be dry and callused, which can make cleaning off paint more difficult. You can apply paw butter before painting to soften your dog’s paw pads and make them easier to wipe clean.
11. Try an Ink Pad if Other Methods Don’t Work with Your Pup
If you’ve tried a brush or the sponge to apply paint to your dog’s paws and neither seems to be working, an ink pad might do the trick. Ink pads are pre-made and ready to go with ink already in place. All you need to do is gently press one of your pup’s paws onto the ink pad, and it will instantly be ready to paint on your paper or template. It’s best to use washable, non-toxic ink pads used for children’s crafts.
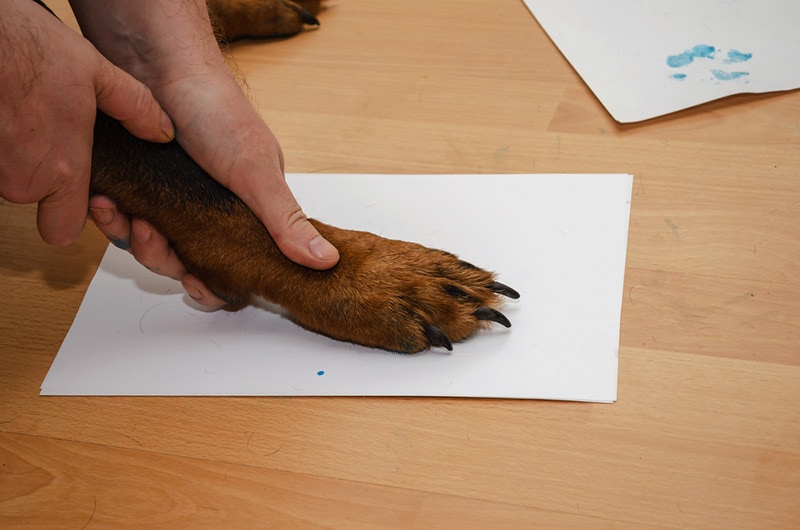
12. Lift, Don’t Drag, Your Dog’s Paw After Leaving an Imprint
Unless you’re trying to be creative, you should press down your dog’s painted paw onto your paper or template and then lift it straight up rather than dragging it. That will ensure you get a paw print rather than a paw-shaped smudge on the paper. Of course, this is a creative project, and if smudging is what you desire, go for it!
13. Don’t Take Too Long to Finish
Although this is a fun project for you, it might not be for your dog. Also, most dogs have the patience of a 2 or 3-year-old child. The shorter you keep this project, the better. Your dog will be happier, your results will be prettier, and you’ll have fewer messy accidents. Of course, if your dog is patient, take as much time as you need. Older dogs will likely be easier to handle and sit still longer than younger, immature canines while you paint with their paws.
14. Paint All Your Dogs at the Same Time
This last tip for how to make dog paw prints with paint is to paint all of your dogs at the same time. You’ve already gathered everything you need and have set up the project. If you have multiple dogs or other pets with paws, painting all of their paws will be easier and faster, and you’ll only have to clean up once.

Final Thoughts
Painting paw prints with your dog is a fun project that gives you an excellent opportunity to bond with your favorite canine. It’s also a satisfying way to make unique art to hang on your walls. Using the 14 expert tips we’ve provided today, this project should be easy, fun, and deliver delightful results. Best of luck creating beautiful dog paw print paintings you’re proud to hang on your wall!
See also:
- Is Acrylic Paint Safe for Dog Paws? Safety Tips & Alternatives
- How Does Cat Flea Medicine Work? Vet Approved Explanation
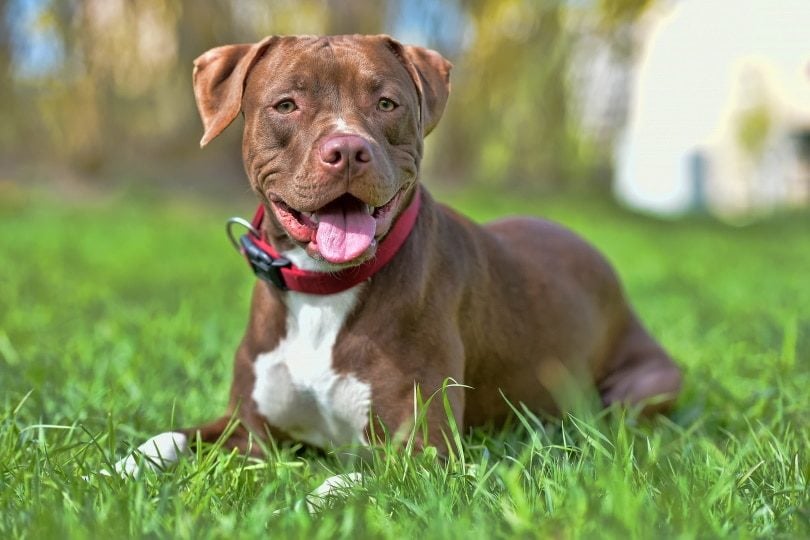
Featured Image Credit: Dmitriev Mikhail, Shutterstock