How to Remove a Dried Dead Tick From Your Dog in 7 Steps

Updated on


Ticks are nasty arachnids that perch on tree branches and grass stems and ambush innocent dogs and their owners when out on walks. There are preventive treatments to stop ticks from taking hold, but if you’re brushing your dog and find that an old, dried-up, dead tick has stuck to them, it can be worrying, to say the least. To help ease your concerns, here is our seven-step guide on safely and effectively removing a dead dried tick from your dog with minimal fuss.

Before You Begin—Gather Your Materials
It’s a good idea to gather everything you’ll need to remove the tick before you begin so you don’t have to stop midway to go and find something. To remove a dead dried tick from your dog, you will need the following:
- Tweezers or a tick removal tool
- Tissues to clean away any blood
- 70% isopropyl alcohol or 3% hydrogen peroxide to clean the wound afterward
Make sure your dog is comfortable, and enlist help if you need it. If you’re not confident with the removal process, you can always take your dog to the vet and ask for advice.

The 7 Steps to Remove Dried Dead Ticks From Your Dog
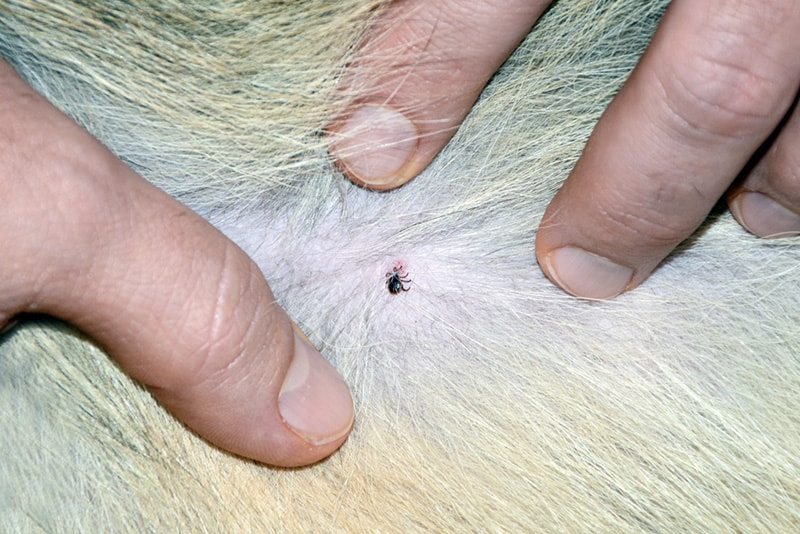
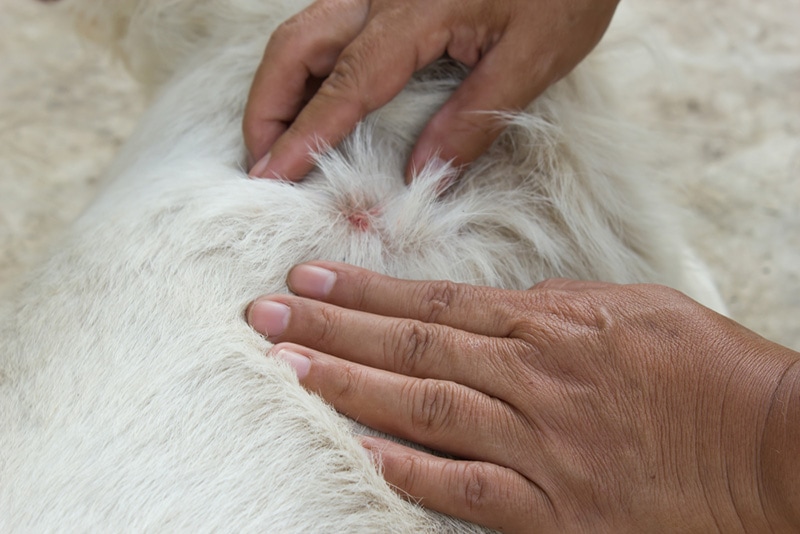
1. Part the Hair
Parting your dog’s fur provides good visibility of the tick and helps keep the area clean. You need to see the tick’s entire body since removing every part of it, including the head and mouth, is crucial. Leaving the head behind in your dog can cause infection, irritation, and other problems.
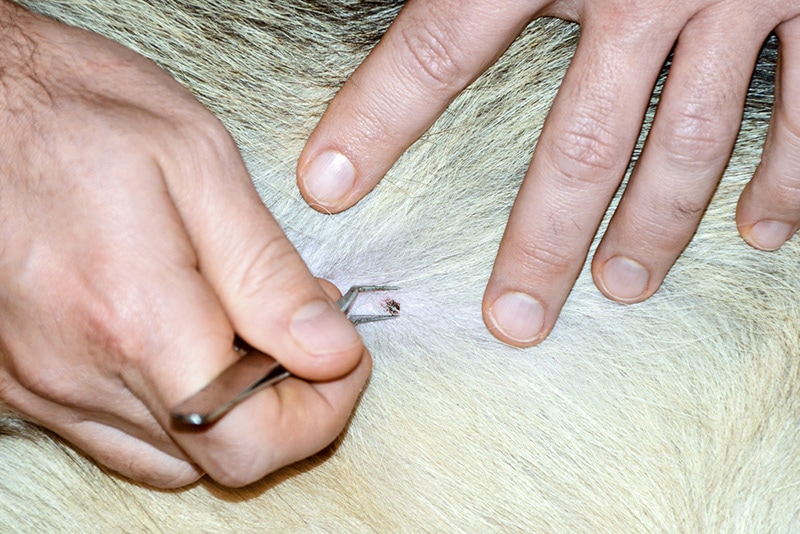
2. Steady Your Dog
Steady your dog when you’re ready to begin, and place the tweezers or tick removal tool around the tick, as close to your dog’s skin as possible. Making sure you get as close to the skin as possible gives you the best chance of removing the head.
Get a good grip on the tick, but try not to squeeze it; if you squeeze the tick, it can cause the fragile body to be crushed. This makes removing the whole tick more difficult. In live ticks, squeezing can cause the tick to regurgitate blood and bodily fluids back into the dog due to stress, which increases the risk of infection.
3. Pull Back
Pull back steadily and slowly on the tick when you’ve got a good grip on it. Keep the pressure even as you’re pulling and go slow, keeping the tweezers or tick removal tool steady. Don’t twist or wiggle when pulling the tick out; it could break off the head and leave the mouth intact. Going slowly can also help reduce any discomfort your dog may feel, as tick removal can sometimes be painful.
Pull back until the tick comes out all-in-one. Once this is done, check if any tick parts are left behind or broken off. Then praise your dog for being brave!
4. Dispose of the Tick
You can dispose of the tick in the trash or place it in a Ziplock bag if you want to take it to the vet’s office for identification. Putting it in a Ziploc bag with some wet tissue can help preserve the fragile body. The vet can then examine it and identify the type of tick, which is helpful in deciding which tick-borne illnesses your dog might have been exposed to.
5. Check Your Dog’s Wound
Checking the wound left by the dead tick is essential. Even if a tick is dead and dry, it still might have left an open wound in your dog’s skin that’s subject to infection. This is particularly important if the tick has been there for a while. Look for any bleeding and clean the wound.
Apply pressure if there is bleeding; it’s normal for a small piece of skin to be missing when you take out a tick. Hair loss and redness may also be present.
6. Look for Signs of Infection
This step is ongoing in the days following the tick’s removal, and it helps keep your dog safe by checking out for infection. Look at the wound immediately after you’ve taken out the tick; is it bleeding? Is there any pus or crust? Is the skin swollen? These are all signs of infection; if these are present, a trip to the vet is in order. Your vet can prescribe medication and antibiotics to help your dog heal its wound.
7. Be Vigilant and Check for Signs Of Illness
It’s important to check your dog for any symptoms of tick-borne diseases following removal. Some tick-borne diseases take months to show signs, so being vigilant is vital in keeping your dog safe. Common tick-borne diseases include:
- Lyme disease
- Ehrlichiosis
- Rocky Mountain Fever
- Anaplasmosis
These infections have some common signs, such as stiff joints, joint pain, and fever. Some of these infections also cause low blood platelets, causing bleeding, bruising, and bleeding from the nose. If you notice any of these signs in your dog, take them to the vet as soon as possible. Many of these infections can be cured with a simple course of antibiotics.


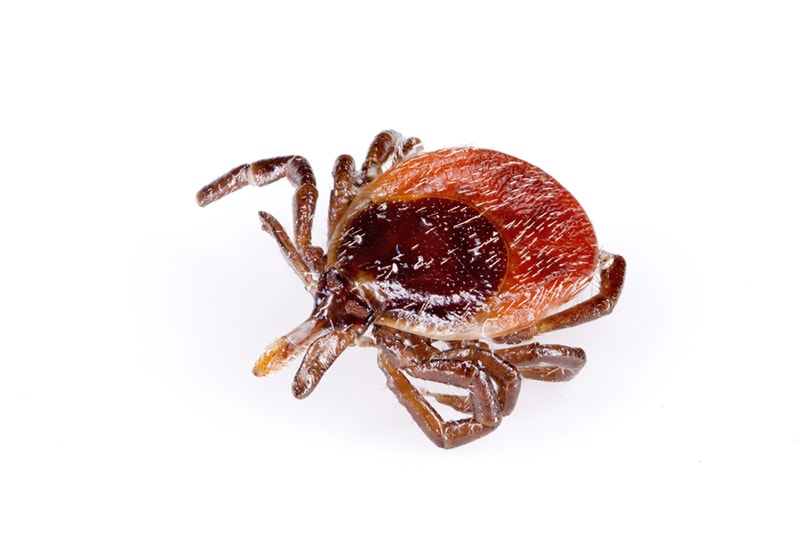
What Does a Dead Dry Tick Look Like?
Dead ticks are often silvery gray in color. While it can be challenging to determine whether a tick is dead or alive, looking at its legs can be helpful. A dead tick’s legs will be curled up underneath its body. It also won’t move at all. A live tick will hold its legs out straight and occasionally move; live ticks are often since they’re full of blood.
Ticks vary in size from an apple seed to a pumpkin seed or bigger. If you’re uncertain about the tick’s status, take the removed tick to the vet. They can help determine whether the tick is dead or alive. Ticks can stay attached to dogs even if they die, as a tick’s mouthparts are designed to stay hooked to their host for up to a week.
What Shouldn’t I Do When Removing a Dry Tick?
You shouldn’t poke the tick, burn it, or smother it to get it to release from your dog. If it’s dead, it won’t release on its own, but poking and prodding at a dead tick does carry the risk of any residual blood being left in it being pushed back into your dog’s body. This can increase the risk of tick-borne infections.
Prodding, burning, or smothering a tick in petroleum jelly are dangerous live tick removal myths. When a tick gets stressed, it will regurgitate its most recent meal back into the dog’s body, along with any disease-causing bacteria they carry, increasing the risk of tick-borne infection.
How Can I Prevent My Dog From Getting a Tick in the First Place?
Many preparations are now available for dogs that will suit even the fussiest of pups. For example, collars impregnated with medication that spreads on the skin, spray solutions that suit smaller dogs, and spot-on treatments on the back of the neck are all available to prevent ticks. You can also take preventive measures when out on walks, such as walking on clear trails away from brush, hanging branches, and long grass.
The most important thing is to check your dog thoroughly when you get home from each walk since finding the tick as soon as possible decreases the risk of infecting your dog with any nasty diseases.

Final Thoughts
While finding a dead, dry tick may be less repulsive than finding a live one, it’s still a worry. Knowing how to safely and effectively remove ticks from your dog is essential, as the sooner and smoother this is done, the less likely that infection will occur. In addition, dry ticks present the problem of being brittle; pulling the tick out gently and smoothly is key to keeping the tick whole and healing up your dog in no time. We hope you found this guide useful, and we wish you many happy walks with none of the tiny arachnids in sight!
Featured Image Credit: thatreec, Shutterstock