How to Reseal a Glass Aquarium: 8 Simple Steps

Updated on

Many people aren’t aware that the silicone seal on an aquarium is not meant to last a lifetime. Aquarium silicone becomes dry and may flake off or crack as time goes on. The general recommendation is for aquariums to be resealed every 10 years. This should be done sooner than 10 years if the aquarium has been kept in poor conditions, like in a yard or garage.
Resealing an aquarium might sound like an overwhelming task, and it is time-consuming, but it is absolutely possible for most people to do with time, patience, and enough space for the project.
What You Need to Know:
New aquarium silicone will not stick to old silicone. Resealing an aquarium isn’t as simple as just laying new silicone on top of cracked or leaking areas. You will have to strip the old silicone off in order to lay new silicone. Unless there is a significant issue with the current silicone, you should be able to strip the visible silicone without removing the silicone that is holding the glass together. Completely stripping, rebuilding, and resealing an aquarium is far more difficult work than just resealing an aquarium.
These instructions are for resealing glass aquariums, not acrylic. Acrylic is scratched easily and cannot withstand the scraping you will need to do for this project without ending up with permanent scratch damage.

- A clean, soft, flat surface
- Pure silicone (do not purchase silicone with mold and mildew inhibitors or other additives)
- Razor blades
- Soft, clean cloth
- Rubbing alcohol
- Rubber gloves (optional)
How to Reseal Your Aquarium:
- Clear Your Space: Make sure you have enough space to work. You’ll need to work on a solid, flat surface with something soft but thin on it. Trying to do this project on carpet or a fluffy blanket will be extremely difficult. Ideally, you should do this project on concrete or tile with a thin rug on top to protect the glass.
- Strip the Silicone: Using razor blades, carefully strip the silicone from the interior of the tank. Be careful not to slip the blade between the glass panes. Your goal is to remove the silicone along the inside of the tank and to keep the silicone holding the tank itself together intact. If needed, you can also strip the external silicone the same way while avoiding letting the blade go between the glass panes.
- Wipe it Down: Using the soft cloth and alcohol, wipe down the seams of the aquarium where you have removed silicone. Avoid touching these areas with your bare hands after wiping down since this may leave oils on the surface, making it more difficult for the silicone to adhere. Allow the alcohol to dry completely before moving to step 5.
- Lay New Silicone: Carefully squeeze the silicone out along the seams you have cleaned up. Lay a full strip and then run your clean or gloved finger along the silicone strip. This will allow you to ensure the silicone adequately covers all areas that could potentially leak. This will also help you keep the silicone low profile and not leave raised or beaded silicone areas. The silicone will begin to cure within a couple of minutes, making it difficult to flatten out, so you will need to make sure you only lay one strip at a time and work quickly.
- Leave to Cure: The silicone will take anywhere from 24-72 hours to cure. The general recommendation is to allow the silicone to cure for 48 hours before attempting to water test the tank. Silicone will cure more slowly in high humidity, high heat, and may take longer in cold weather as well. If possible, keep the tank in a climate-controlled area that is protected from the weather while it cures.
- Test for Water-fastness: Once you’re sure the silicone has fully cured, you can begin testing the tank to ensure it will hold water. Start by filling the tank ¼ to ½ of the way full and closely inspect the seams for leaks. If there are no obvious leaks, you can continue filling the tank until it is full. Check again for obvious leaks and if there are none, then allow the tank to sit for 12 hours or longer to ensure it will not leak. Some small leaks can take time to show. One of the easiest ways to check for leaks is to set the tank on top of something that will show water if there are small or unnoticeable leaks. This can be the surface you are using if it will show water, otherwise towels, a flat blanket, or even paper towels should work.
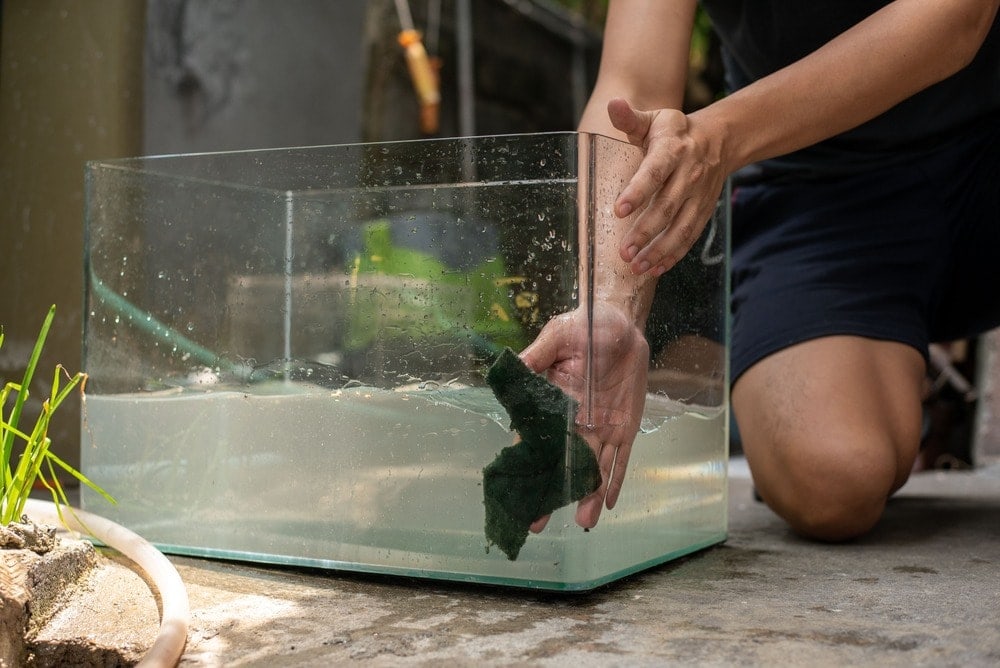
- Clean Up: Once you’re certain your tank has no leaks, drain the water and clean up any loose pieces of silicone that may be in or on the tank. Wipe the seams down with alcohol and a clean cloth again and then rinse the tank out thoroughly.
- Enjoy!
If it Leaks:
If your tank doesn’t pass the water-fastness test, try to identify exactly where the leak is. If you can find the leak, you may be able to cut away the silicone in the area of the leak and lay new silicone again, ensuring you cover the leak area thoroughly. Allow it to cure and test for water-fastness again.
In Conclusion
Resealing an aquarium isn’t for the faint of heart, but it can be a fun opportunity to learn a new skill. If you purchase an aquarium from an online marketplace or flea market and aren’t sure how old or sturdy the silicone is, resealing the tank is the safest option to prevent a flood in your house.
While it may seem like an intimidating project, it truly is an achievable goal if you have the time and patience for it. Learning how to reseal an aquarium may save you money in the long run by being able to purchase inexpensive, used tanks with the knowledge that you’ll be able to make them safe and functional.
See Also:
- How to Get Rid of Blue-Green Algae in Planted Aquariums (Quick & Easy)
- Using Activated Carbon in Aquariums: How Long Does It Last?
Featured Photo Credit: hedgehog94, Shutterstock


