How to Safely Transport Fish For Short & Long Distances (Vet Answer)
By Dr. Luqman Javed, DVM (Vet)
Updated on
Click to Skip Ahead
In this article, we’ll look at ways to transport pet fish over short and long distances safely.
Situations That Require Transporting Your Fish
A fish isn’t a pet people associate with traveling and transport, but there are situations where your fish needs to be transported.
Please be mindful that you should only transport your fish only when absolutely necessary. Fish are not meant to be transported all the time. Ideas such as taking your fish to the park daily or weekly are more likely to do harm than offer any benefits and are not conducive to your fish’s well-being.
Here are some situations where transporting your fish might be necessary:
- Bringing home. When you purchase your fish from a store or breeder, you’ll need to transport them home and place them in an aquarium.
- A vet visit. When an aquatic vet can’t come to your home to inspect your fish or perform a video consultation, you may have to transport your fish to the vet. Sometimes, your vet may advise you to bring in your fish after a video consultation (for a closer examination).
- A relocation. If you’re moving houses or changing your address, you might have to transport your fish as well.
The transport might be short or long. Generally speaking, defining a trip as “short” or “long” isn’t determined by the distance traveled but rather by the amount of time it takes for you to make a trip. Though there’s no specific rule, a short-distance trip can last up to 6 hours. A longer trip exceeds this time limit. The fundamentals of transporting your fish are similar in each scenario.
Let’s look at each of these scenarios with a closer look.
Bringing Fish Home
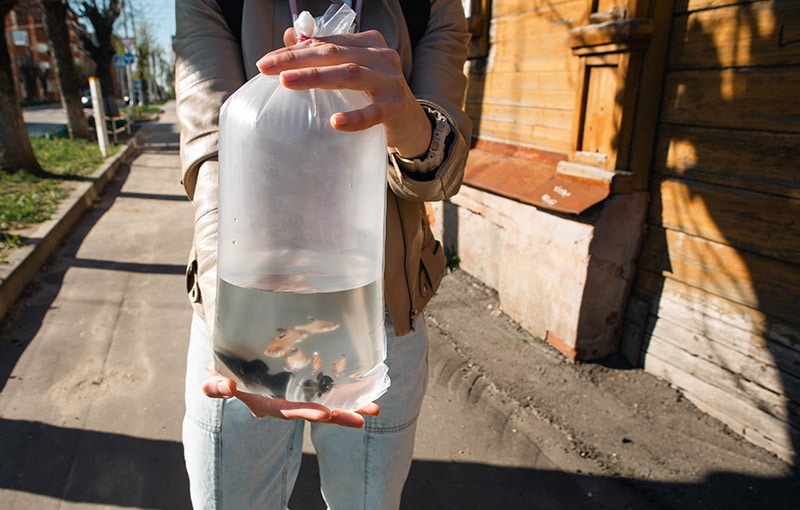
This is perhaps the easiest form of transportation for your fish. You have to be mindful of a few things. Your fish will likely be placed in a plastic bag filled with oxygen, and the bag will usually either be tied or sealed for their safety. It’s a good idea to request that your fish be “double bagged” as an added precaution.
Additional tips to be mindful of include the following:
- Ensure that picking up your fish is last on your “to-do” list while you’re out. Essentially, your goal should be to have your fish spend the least amount of time possible in their transport bag as possible.
- Be mindful of other items you may be carrying in your hand; a sharp object can puncture the bag your fish is held in, which you would definitely want to avoid.
- While transporting your fish (either by walking or while in any mode of transport), try your best to avoid any bumps, sudden movements, or abrupt stops (such as slamming on your brakes).
- You should not run while holding your fish. It’s best to wrap your fish in a secure blanket or a towel.
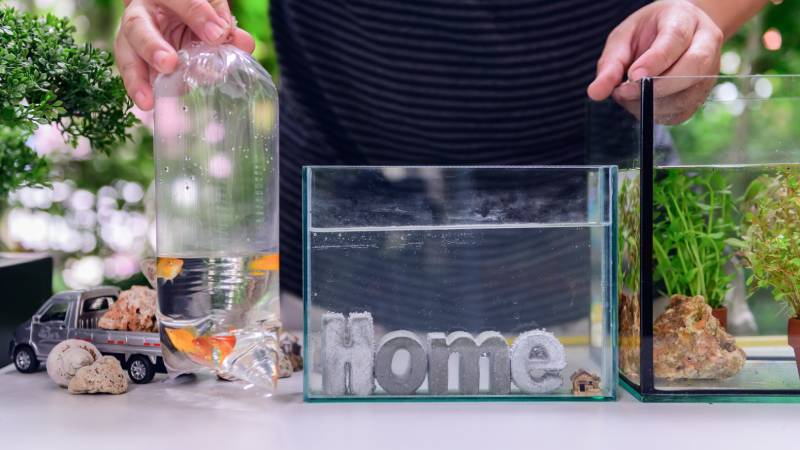
Once at your home, carefully place your fish in a suitable aquarium and begin the acclimation process before adding them to their new home. If your fish is going to be joining a community tank, you should place them in a quarantine tank for a period of at least 4 weeks (6 weeks is ideal) before introducing them to the community aquarium.
If you're interested in learning everything about the safest way to transfer new tankmates into your aquarium, our best-selling book, The Truth About Goldfish, covers everything about ideal tank maintenance and details on the tank transfer method—a seamless way to add new members to the family!
Precautions for Long Trips
If your trip back home from the pet store is particularly long, request that they add ammonia-neutralizing chemicals to the fish bag. This can provide an extra layer of protection for your fish for a long period. Generally speaking, though, for pet stores that are exceptionally far away, you should opt for them to ship the fish to you, if possible.
A Vet Visit
Generally speaking, a vet visit is a short trip only requested in rare circumstances. In most circumstances, an aquatic veterinarian would visit your home rather than have your fish transported to them. However, in some circumstances, they may request your fish be brought in for a closer examination. At other times, there may be no choice but to bring your fish in for a complex procedure that can’t be performed during a visit to your home.
In this case, you can transport your fish safely by following these steps:
1. Gather Your Necessities
Here are the necessities you may require when it comes to transporting your fish. Most of these can be purchased from a pet store. Depending on your fish, you may require some or all of these.
- Plastic bags to hold your fish or a very small transport aquarium or container with a lid (if your fish has sharp fins)
- Oxygen tanks
- Ammonia neutralizing medicine
- An air pump, tubing, and an air stone
- A portable water heater (these usually have a charging port compatible with your car’s charging port)
- Two spare water containers or empty water bottles (these should have lids or covers)
- Spare empty plastic containers, Tupperware, or transport aquariums.
- A fish net
2. Fill a Spare Container
Fill a spare water container or an empty water bottle with water from your fish’s aquarium. Close their lid or cover. A small water bottle that holds about half a liter of water is usually enough for a short trip for a small fish (such as a Betta or a Dwarf Gourami). However, if your fish is larger, consider bringing along more water. Note that your vet will almost always request a sample of your aquarium water, and therefore, you can always carry along more (within reasonable limits).
3. Fill the Transport Container
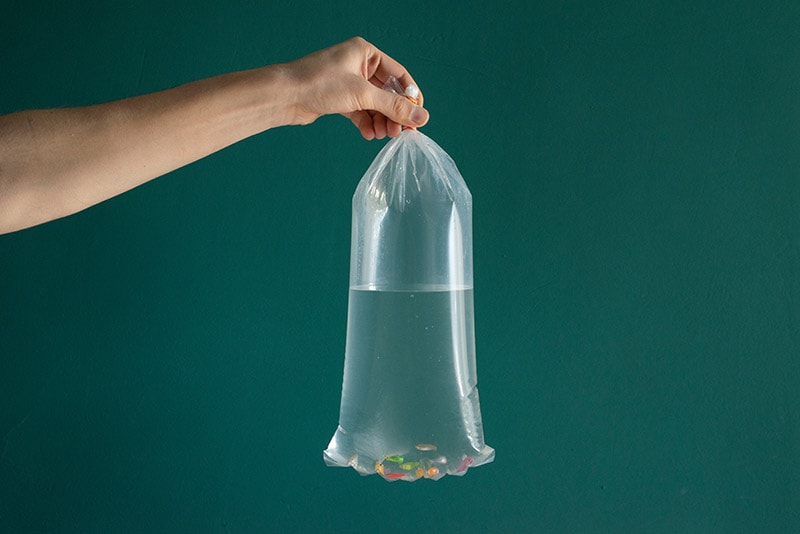
Ensure the transport aquarium or bag is clean. Fill it about halfway with water from your fish’s aquarium. You may add ammonia-neutralizing medicine to their transport container if needed.
4. Capture Your Fish
Gently scoop your fish out in a net and quickly transfer your pet into the transport aquarium or bag and close the lid (for an aquarium) or fill it with oxygen and then tie it (for a bag). If you’re using a bag, consider doubling it up.
Be mindful of the following:
- Because ornaments and plants can sometimes topple during a trip, you should not place them in this transport aquarium or bag.
- When transporting non-schooling fish, place each individual in their own bag or aquarium.
- When transporting schooling fish, place at least six individuals per bag or per aquarium. If the transport container can hold more fish (and has enough water), you can place more of them in the same transport unit.
- Mixing species while transporting fish is not advised.
- If your fish has sharp spines or fins, do not place them in a bag for transport. Their fins or spines may tear the bag open.
5. Final Trip Preparations
If your fish is being transported in a bag, then ensure the following:
- Place your fish’s tied bag in a spare plastic box, aquarium, or Tupperware with a secure lid.
- Ensuring the bag isn’t leaking before closing the box you place it in.
- If your fish needs to be kept warm for their trip, consider wrapping the container holding their bags in a towel or a fleece blanket.
If your fish is being transported in a transport aquarium or a container, then ensure the following:
- Most fish will require oxygen for their trips that will take longer than 3 hours. To do so, pass an air tube to their aquarium. If the lid of the container does not have any space for an air line tube to pass through, consider drilling a small hole. Opt for an air pump with a rechargeable battery or one that can be charged or powered while inside your car (using the power ports in your vehicle).
- If your fish needs heating throughout their trip, a similar procedure can be carried out for their heater. Ensure the heater is placed flat on the container’s floor. If parts of the heating element are outside the water, the heater may malfunction.
- Please be mindful that because a gallon (3.8 L) of water weighs 8.3 pounds (3.8 kilograms), even a small aquarium can be extremely heavy relative to its size.
6. Transport With Caution
Your priority should be to transport your fish to your veterinarian with no or as few stops in between as possible. Ensure your car is relatively warm for your trip. An ambient temperature of around 25–28°C (77–82.4°F) is recommended for most fish. Ensure your fish is secure in your car (it’s best to have someone hold your fish’s container). Drive slowly, and try to use routes without too many bumps or potholes.
If the trip lasts longer than 3 hours, it is advisable to replace some of the water in your fish’s tank or bag with the spare aquarium water you brought along. To do so, use an empty container to remove some of the water from the container and replace an appropriate amount of water from your spare supply. Do not tilt a bag or aquarium to remove water, as you might lose your fish!

7. After Your Trip
Though, in most cases, you can safely reintroduce your fish to their aquarium after a short trip, you may wish to reacclimate them to the aquarium before doing so (especially if you suspect that the water temperatures have changed while you were away). You would have to use a plastic bag to float your fish before adding them back into their tank (similar to how you acclimated them when you first brought them home).
It is very important to acclimate your fish as a “new” fish if your fish spent more than a day with your vet (for example, if your vet placed them in a ward for recovery after a procedure). Ensure you complete any instructions provided by your veterinarian regarding aftercare for your fish.
A Relocation (Long Distance Drive)
A trip for a relocation is much more trickier and generally requires more preparation, even if it’s a short distance that you relocate to. The steps for a driving relocation that takes less than 48 hours (2 days) are as follows:
1. Gather Your Necessities
Once again, this occasion calls for gathering your necessities before your trip. These are the same as those listed for a short trip to the veterinarian, with an additional requirement of:
- Multiple spare buckets of manageable size
- A few spare towels that are large enough to cover those buckets
- Tank sealant glue (in the unfortunate event that an aquarium cracks during transport)
- Household ammonia (easily obtainable from a hardware store)

2. Water Change
Feed your fish their usual daily food, then change at least 20-25% of the water in your aquarium three days before your trip. Please note that this advice assumes an appropriately stocked aquarium. Heavier-stocked aquariums will require more extensive changes.
3. Stop Feeding
Two days before your trip, stop feeding your fish. You should also remove automated feeders (if any). This minimizes the waste they produce during a long trip. Healthy adult fish have no problems dealing with a fast of a few days. If your fish are young or unwell, try postponing your trip (if possible) or seek veterinary advice before fasting and transporting your fish.
4. Capture on Move Day
On the day of the move, fill the transport aquarium or plastic bag (depending on your choice) with some aquarium water, gently scoop up your fish, and place them in their respective containers or bags. Secure these using the same instructions and tips provided in the section above.
5. Drain Tank
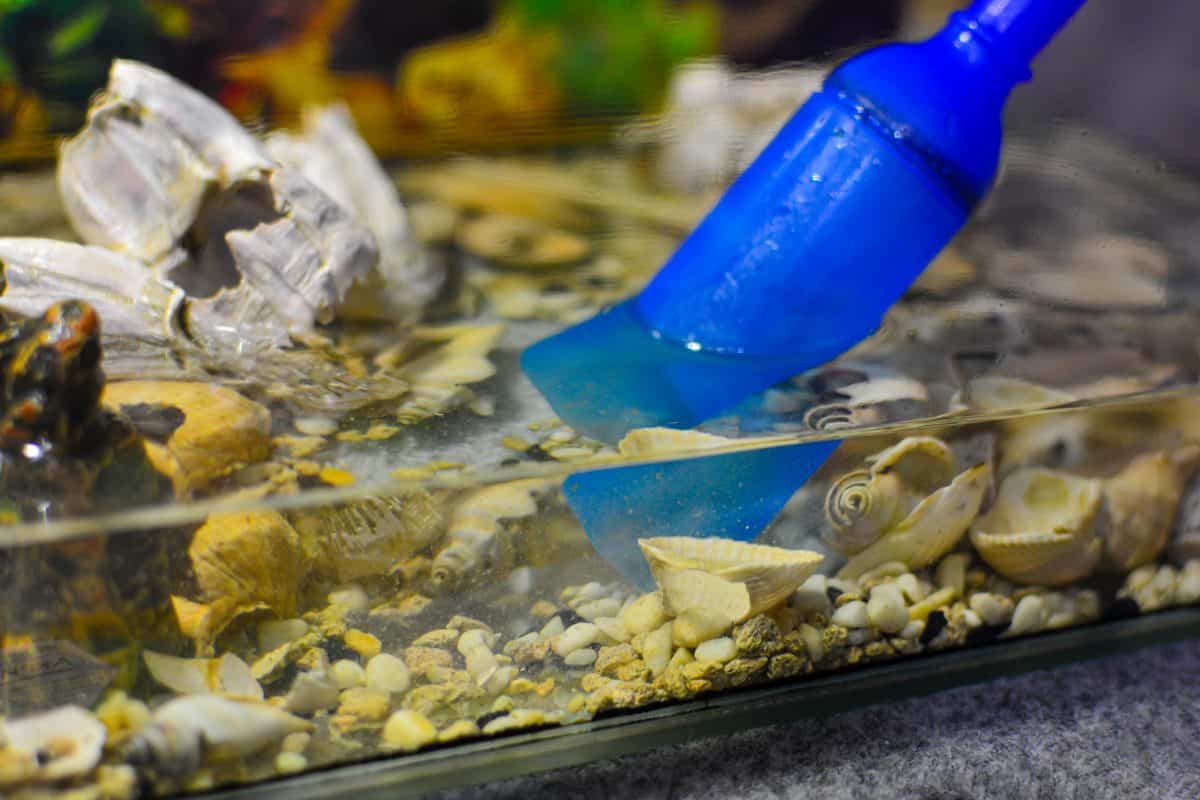
After your fish have been placed in their transport bags or tanks, drain the tank to the substrate (if any). Try salvaging some aquarium water in buckets or spare containers, depending on how much space you have in your transport vehicle.
Please be mindful that aquariums should NOT be moved when they are full of water. Aquariums are designed to be stationary. Uneven water pressure hitting the walls of a full aquarium that is being moved can cause glass aquariums to crack or shatter.
6. Pack Plants, Filter, and Substrate
If your tank has a substrate layer, you should place it in a bucket with a very thin layer of water (just enough to cover the substrate).
Pack aquarium plants in plastic bags with some aquarium water and oxygen. Alternatively, plants can be placed in buckets with their roots submerged in aquarium water. Cover the bucket with a moist towel to ensure they don’t dry out during the trip.
Your tank’s filter media should be kept wet throughout the move as well. The nitrifying bacteria used in your tank’s cycle will perish if they dry out.
7. Drive Slowly
Drive slowly and carefully, avoiding speed bumps whenever possible. If you plan to stop for the night, do not leave your fish in your car unattended. Instead, bring them in with you where you will stay for the night.
Never leave fish (or any pets) in an unattended locked car during the day; they may die from heat stress. Try to keep your car somewhat warm, a temperature of around 25°C (77°F) is recommended.
The goal of a long-distance trip is striking a balance between stopping for partial water changes and not taking too long to reach your destination. Most people opt for water changes once every 3 to 6 hours. As a general rule, if your fish seem to be doing fine throughout the trip, prioritize covering the distance to your destination over a water change. If they seem to be gasping or air, appearing lethargic, or changing their color slightly, prioritize a water change.
The bacteria in your tank’s filter feed on ammonia provided by your fish on a daily basis. During a trip, they won’t have this source of nutrition, and therefore, it’s advised to drop a small amount of ammonia in the bucket holding your filter media before your trip (1–2 drops). This should provide the bacteria with food for about a day. Repeat this process the next morning (for a long trip that takes more than a day).
8. When You Arrive
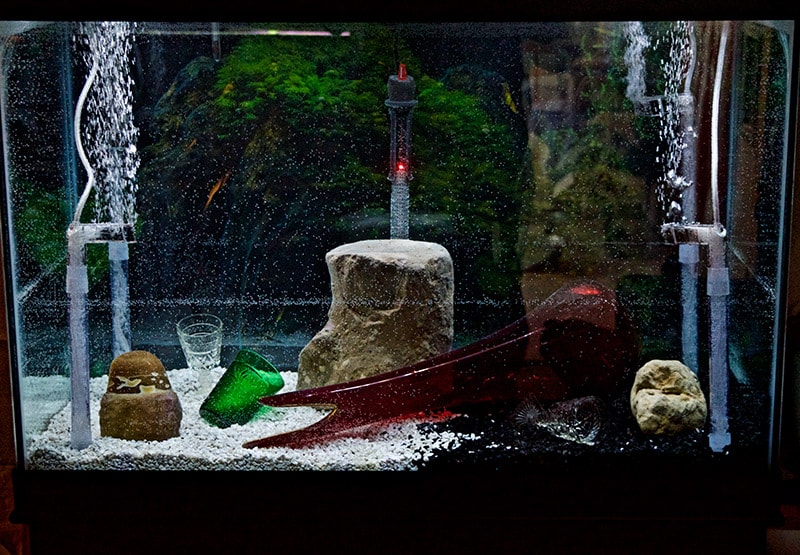
Setting up your aquarium quickly once you arrive at your destination is crucial. To do so, work in reverse by adding in the filter media, substrate, and plants first. Next, place any salvaged aquarium water you brought along. Fill up the aquarium with fresh de-chlorinated water as needed, and install any other appliances (such as your aquarium light & heater). Turn everything back on and ensure they are working properly.
Ensure you check the parameters of the new water source you’re going to use for your fish. If they are vastly different from the parameters of your previous water source, you should acclimate your fish to the aquarium with extra caution.
9. Reacclimate Your Fish
After a long trip, it is important to reacclimate your fish to their aquarium over a period of about 60–120 minutes. This is to avoid giving them a shock when they first arrive in potentially new waters.
10. Monitor Your Fish
It is best to not feed your fish for about a day after arriving (they may likely be too stressed to eat anyway). Keep a close eye on them, and monitor your water parameters periodically, especially during the first week after a relocation.
If you feel that your fish aren’t adjusting well after the move or seem to be taking a turn for the worse, you should promptly contact your veterinarian or a fisheries expert for advice.
Public Modes of Travel (Flight, Ship, Train)
If you’re planning to use nonconventional public transport for your fish, you should always contact the relevant authorities for information with regard to transport requirements and their procedure. It is also important to check if you can legally transport your fish to their destination (some jurisdictions may not allow this).
Conclusion
Though odd, fish must sometimes be transported over short or long distances. In this article, we’ve covered the various scenarios in which you might have to transport your fish and provided a step-by-step guide on making the process as stress-free as possible. We hope this guide will help you if you ever find yourself in a situation where your fish must be transported from one place to another.
Featured Image Credit: Simol1407, Shutterstock


