How to Trim Aquarium Plants (Expert Tips): Long Stemmed, Leafy & Bushy Plants

Updated on

Most aquariums plants flourish under the right conditions. Aquarium plants require regular trimming to keep them from dominating an aquarium. By regularly trimming your aquarium plants, you can keep them to your desired length and size that works for your aquarium.
You can propagate the plants via the cuttings and produce more plants around your aquarium when you trim them. Trimming your aquarium plants is a good tank maintenance routine to keep your aquarium plant’s growth steady and desirable within your aquatic world.

- Acquire a pair of sharp scissors and sanitize with rubbing alcohol.
- Place an old towel next to the tank so it can catch any spilled water.
- Lower the water level, making it easier to see and reach the plant better. It’s best to take the opportunity to trim your plants while a water change is happening.
- Place a clean bowl of tank water to place the cuttings in or a bin bag to discard the unwanted trimmings.
- Note: Be careful not to handle scissors close to your aquarium inhabitants. Ensure they are not near the plants you are going to trim to avoid accidents.
- Step 1: Lower the aquarium’s water level by doing a partial water change. Be sure you can see the plants and aquatic inhabitants before you begin.
- Step 2: Use a pair of scissors and hold the long stem you will trim between your fingers.
- Step 3: Cut the stem 2 inches from the base where it connects to the plant, taking care not to rip or pull.
- Step 4: Begin trimming the smaller stems from the base creating your desired shape. It is best to go from the top to the sides to make the plant appear tidy after trimming and achieve even growth.
- Step 5: Once you have trimmed the aquarium plant, you have the option to plant the trimmings by placing the end that is cut and placed into the substrate. A root system will begin to develop and grow. You have now successfully trimmed your long-stemmed aquarium plant.

- Step 1: Lift the fully developed leaves and find the new growth at the bottom.
- Step 2: Trim the small stem at the end of the shoots, working in a downward pattern.
- Step 3: When you cut the small shoots towards the roots, leave a tiny amount of the stem visible as these stems and leaves are delicate.
- Step 4: You can propagate the trimmed shoots by placing the stem that leads to the root into a substrate with a heavy aquarium item to hold the base down. You have successfully trim your leafy plants!

- Step 1: Trim the plant from the top first swiftly and lightly. You do not have to cut from the base.
- Step 2: Work your scissors downwards towards the sides of the plant, taking care to shape the growth to your desire.
- Step 3: Cut the new shoots at the base using the scissors horizontally along the bottom.
- Step 4: Step back and cut any uneven pieces that do not blend in with the newly trimmed plant’s shape.
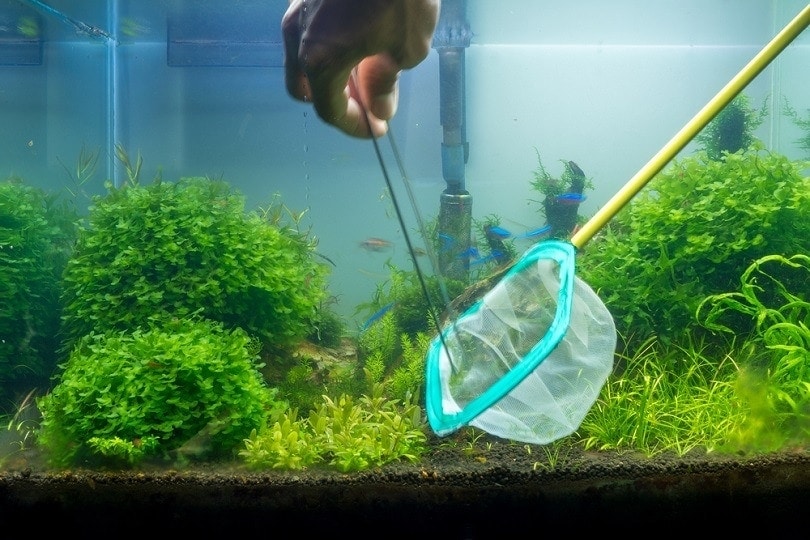
- Step 5: Use an aquarium net to catch any pieces that are floating around in the water. You have then trimmed your bushy aquarium plant successfully.

Conclusion
Trimming your aquarium plants may be unnerving at first, but after you get the hang of it, you will be able to cut those plants like a pro! Most aquarium plants can be propagated successfully by replanting into a suitable substrate. Plants that are bushy and have no particularly distinguishable stem are harder to reproduce manually. These plants generally seem to produce runners that grow at a faster rate. We hoped to have helped make trimming your aquarium plants easier. Sticking to a trim schedule is the best at ensuring your aquarium plants are to your desire.
Check out some of our other top trending how-to guides:
Featured Image Credit: SUPEE PURATO, Shutterstock