Penn Plax 10 Gallon Aquarium Kit Review 2024 (With Aquascaping Tips)

Updated on

I waited for over a year to write this post since I got this tank. So I feel like I have a pretty good beat on it now. It’s taller, deeper, and not quite as long as your standard 10-gallon fish tank. This makes it ideal for aquascaping.
I love the rimless design. The bottom plate of the glass is super thick, and the glass is sanded not to have any sharp edges. It’s clean, crisp, and gorgeous. I like how the leveling mat it comes with helps keep the weight distributed evenly while protecting the surface underneath.
The curved corners are really nice and don’t obscure the side view like a traditional silicone seam edge. Enabling a better begging opportunity for the water piggies. The lid it comes with helps prevent evaporation and is clear without rims, so it’s very discreet.

The Penn Plax 10 Gallon Aquarium Kit Review
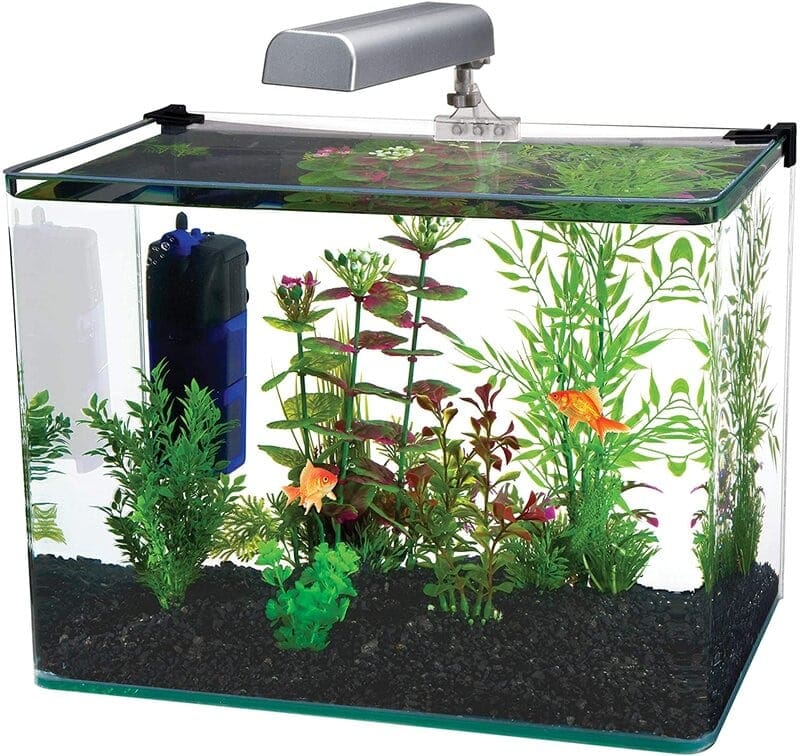
- Dimensions: 12 ⅝” H x 11 3/4″ W x 17 ¾” L
- Gallons: 10
- Shape: Rectangle
- Material: Glass
Kit Accessories
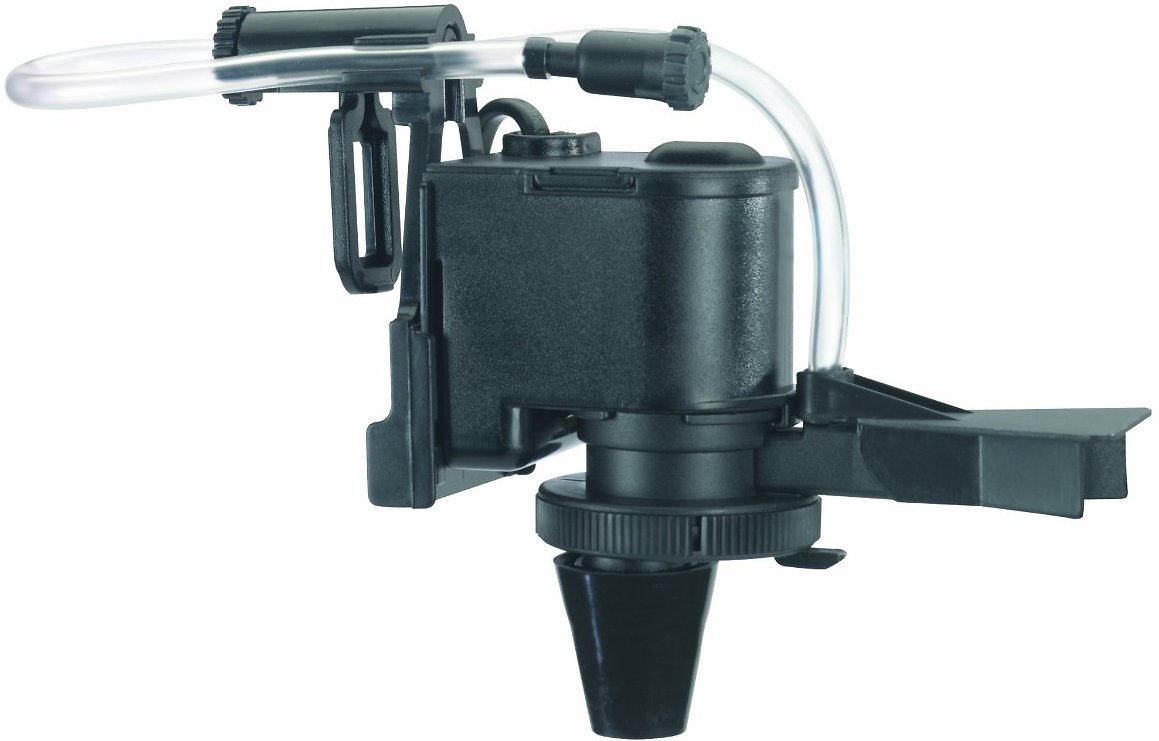
The kit comes with an internal power filter, a plexiglass lid, and a light. To be honest? I removed it all except the lid. The filter is okay quality, but the current is super strong, and it takes up a lot of space inside the tank. Plus, it’s blue.
The light is useful for little more than seeing your fish in a dark room. I upgraded the light and switched the filter out for a simple mini sponge filter. You could also use whatever other filter you like.
So yes, most of the accessories are a waste of time (in my case, anyway). But you know what? For the price of the tank alone, I really see them as kind of a “bonus.” Finding a tank of this quality for the price of this tank is probably impossible.
And this is the only kind with elegantly curved corners, which I actually prefer to the angular corners in front. If you don’t like them? Just turn the tank around—it’s reversible!

Aquascaping Your 10 Gallon Tank
![]()
It was definitely time for a rescape of this tank, as I allowed algae to take over. Here’s the empty Penn Plax 10- gallon glass fish tank once emptied: I want this to be a live planted tank, so the first thing I’m doing is adding a layer of basic top soil.
In case you don’t know, soil is really great for boosting plant growth in a new tank. I don’t want to add chemical fertilizers, so this is called “low tech” planted tanking.
It’s 1 inch at the back and gradually sloped to 1/4 inch closer to the front. Dirt in:

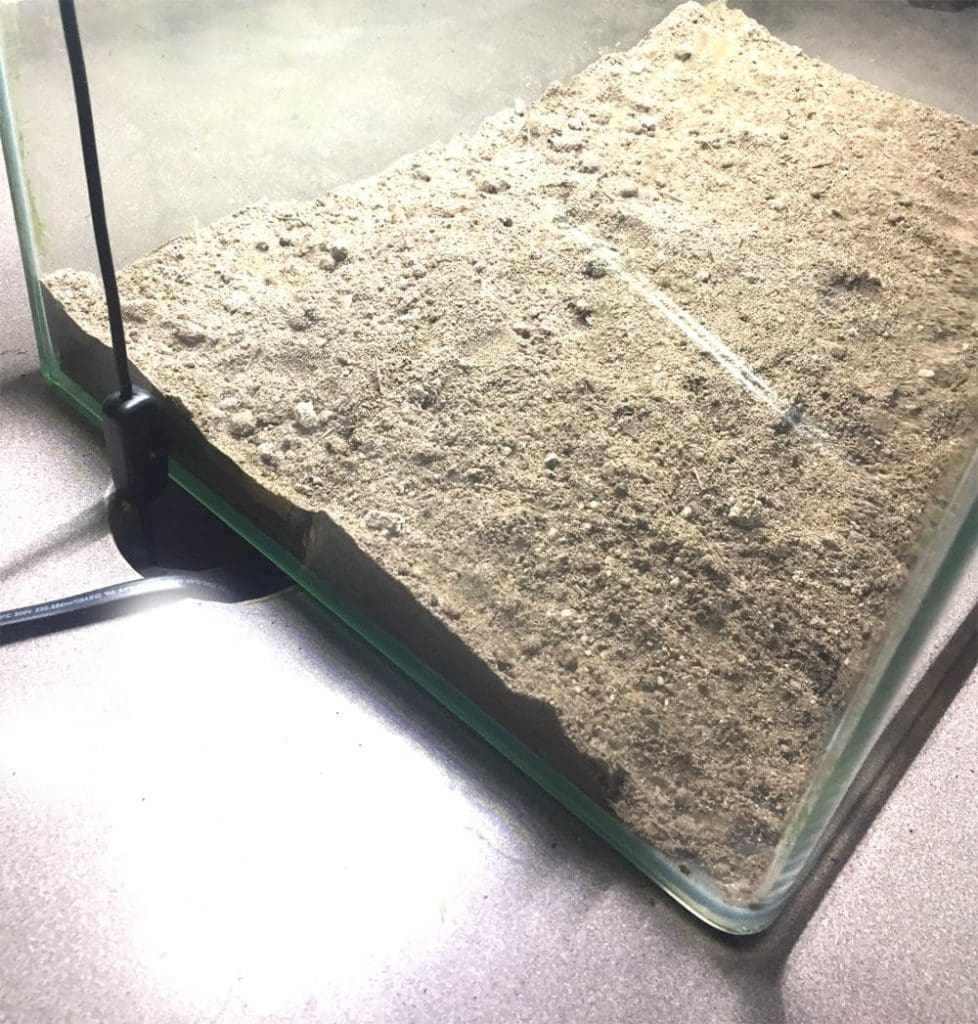
I didn’t bother to sift it. I just pulled out any bigger sticks here or there. Time to place the rocks in an attractive and natural style. I like making sure to use groups of odd numbers and don’t put everything on the same plane.

HEIGHT is good!
Especially in a tank like this, that’s a bit taller than your standard 10-gallon. Play around until you find what works for you. This is your tank and your rules! Sloping the soil in the back and from right to left can create some direction and visual interest.

Placing the rocks for the hardscape is best done before you add the plants. I swept the sand in the very front back a bit so it won’t show up once the sand cap is added. Now for the sand cap (using one bag of Flourite Black Sand here)…

Yes, it is going to be messy, lumpy, and just plain weird looking at first, especially if you’re using wet sand like I did. But you know what? After you make sure there’s no more dirt showing, just add water. So don’t panic; it’s going to look awesome.
To do that, I use a plastic bag and slowly pour water onto that so it won’t create a cloudy mess by disturbing the substrate.

At about 2″ of water, you can start planting it up. Tweezers are perfect for stem plants.

I dig them in about 2″ so they won’t float back up. The Flourite holds them down really well. Expect some cloudiness when you fill it up all the way.

But pop a little sponge filter in there, and by the next morning, the water is crystal clear. The plants perked up too!
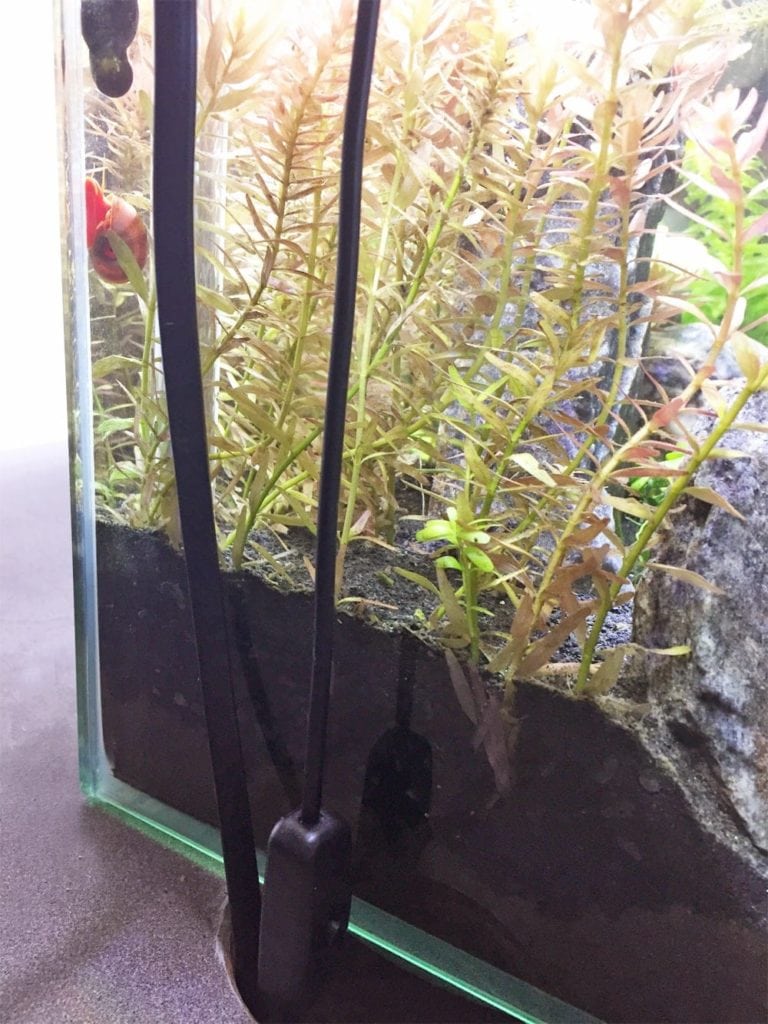
As you can see (hopefully, the photo isn’t too dark for you), there is about 3.5″ of substrate depth in the back of the aquarium. The dirt does not quite reach the roots of the plants yet, but Flourite has such a great CEC that it can transport the nutrients from the soil up through to the plants.

Equipment List
- 10 gallon Penn Plax glass aquarium
- Fluval M heater
- NICREW light
- Mini sponge filter
- Live plants (Rotala Magenta, Anubias Nana Petite, Dwarf Sagittaria, Elodea, Amazon Sword, Pennywort)
- Rocks (granite)
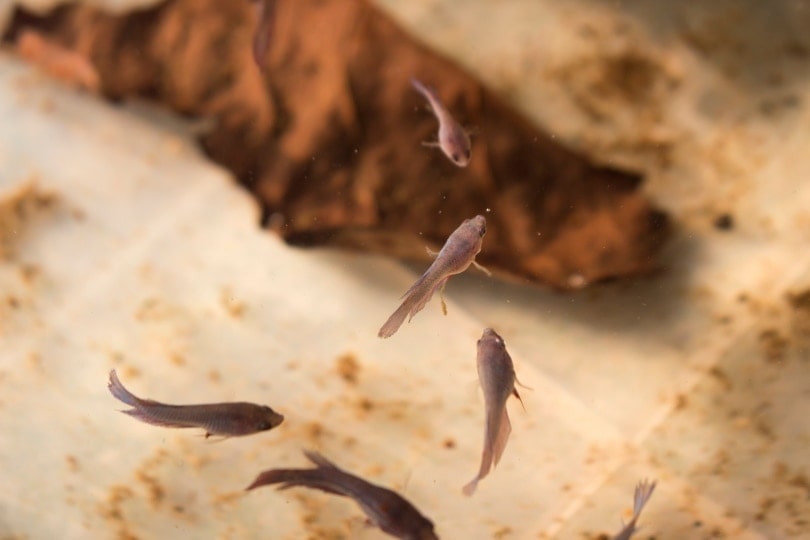
There we go, another low-tech planted tank tutorial for you! I always put snails in for algae control (and many other beneficial reasons). For this tank, I’ve got brown and orange Ramshorn snails as well as a handful of nerites.
Some final things you could do would be to throw in some blackworms and Malaysian Trumpet snails to help with mulm dispersion in true FWDSB style. I might do this later on, but for now, I’m happy.
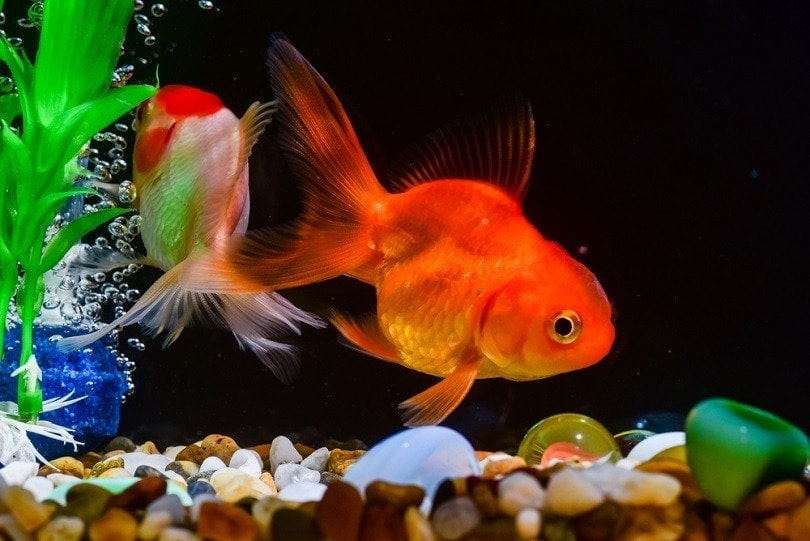
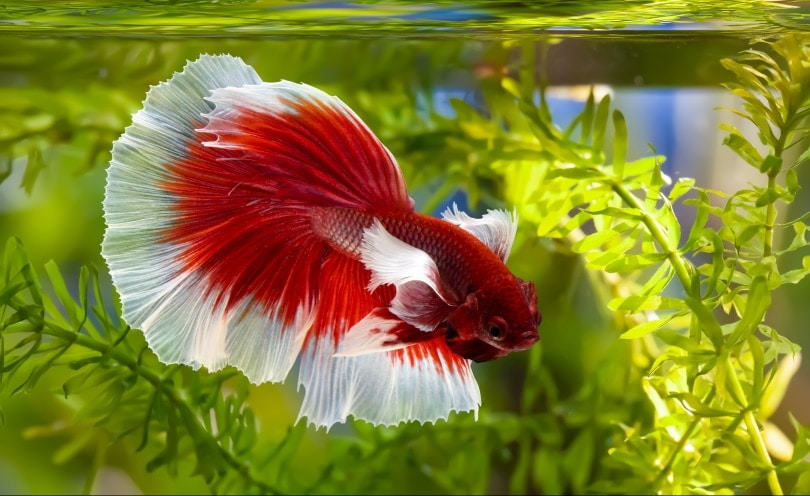
Yes, I have 2 fancy goldfish in this tank. I’m a nano’er (at times) and don’t buy into all the tank size hype. My fish have done very well in this tank for over a year. They are very happy and active.

Final Thoughts
I hope you enjoyed the information and aquascape tutorial in this post. Overall, I really love this tank and think it makes a fantastic addition to my office. And the tank itself definitely couldn’t look any better.
Have something to share? Drop me a line in the comments section below!