How To Make a DIY Aquaponic Fish Tank Filter: 7 Step Guide

Updated on
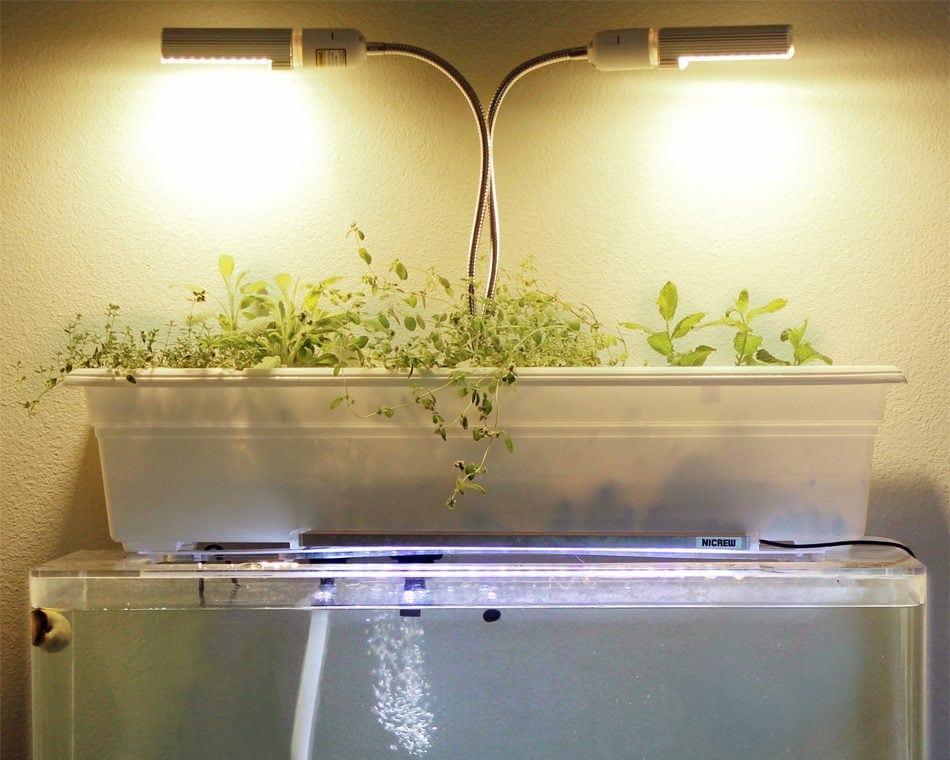
Here’s how I built my DIY aquaponic fish tank filter! It was a bit of work, but it was also fun. I studied different aquaponic filter designs for a long time before coming up with this one and building it for my own fish tank.
Keep reading to learn how to do it!
Complete List of Materials Used:
- Automatic dual outlet timer
- White 30″ flower box (also comes in other sizes)
- Ebb and flow fitting kit
- Full spectrum adjustable clip-on grow light
- Black & Decker Drill
- 1 3/16″ spade drill bit (from Lowes)
- 3″ hole saw
- 3″ wide lip net pots, black or white
- Piece of acrylic cut to fit the lip halfway down in the flower box (Lowes)
- MarinePure Cermedia golfball sized media
- Hydroton
- Pump & tubing
- Garden herbs (see below for suggestions on plants)
Best plants for this project:
- Garden herbs such as basil, thyme, oregano, sage, parsley and mint.
- Indoor flowers such as African violets.
- Easy veggies such as lettuce and spinach (start from seeds in rockwool)
Other plants can work too, experimenting can be fun.
How to Build a DIY Aquaponic Aquarium Filter System in 7 Steps
1. Drill 2 holes in flower box bottom

So do it as far away as possible.
2. Secure ebb and flow fittings

First, place the fitting and rubber washer on the inside through the hole. Screw on the bulkhead at the bottom on the other side to secure it tightly. You can put some silicone around the bottom of this if you want it to be 100% leakproof, but it doesn’t really matter in most cases.
Repeat for the other hole and fitting.
3. Drill holes in plastic sheet

Doing it again, I would have spaced the fittings at opposite ends and spaced the net pots around them.
4. Fill bottom of flower bed with Cermedia
I used a combo of Seachem Matrix and Cermedia in the bottom of mine because I had both on hand. But Cermedia alone might be better, as it won’t clog.
5. Insert plastic piece & connect equipment
Once it gets water in it, the flower box may bow a bit, which can cause the plastic piece to sag down inside (bad). To prevent this, I drilled 2 small holes on each side (front and backside) and threaded a piece of wire through to hold it together. You could also bend a coat hanger and use that to hold it in place.
Next, hook up your pump to the tubing and attach the tubing to the inflow fitting of the grow bed. The water level should be roughly 1/4″ up the bottom of the net pots. You can adjust the outflow fitting to get the right height if needed. I left it as is.
Also be sure to adjust the flow on the pump so it isn’t too strong and overflowing the bed!
6. Add net pots with plants
For my setup, I used:
- Thyme
- Sage
- Oregano
- Mint
- Basil (but removed to outside because it smelled like cat pee to me inside!)
- Parley
I like to start with pre-grown plants from the store and transplant them into this setup. I do this by first gently washing off the roots in water to get rid of all the soil. Then I place the roots at the bottom (preferably threading some through the bottom of the net pot) and add hydroton in the cup to support the plant.
You can start plants from seeds too if you put them in rockwool cubes with hydroton packed around the cubes. Lettuce and spinach are great cold-water aquaponic plants. Just keep an eye out for nutrient deficiency and supplement as necessary.
I like to use Sea90 for my fertilizer, about 3 grams per gallon. (I just keep the TDS at 250 or below.)
7. Add grow light and start pump
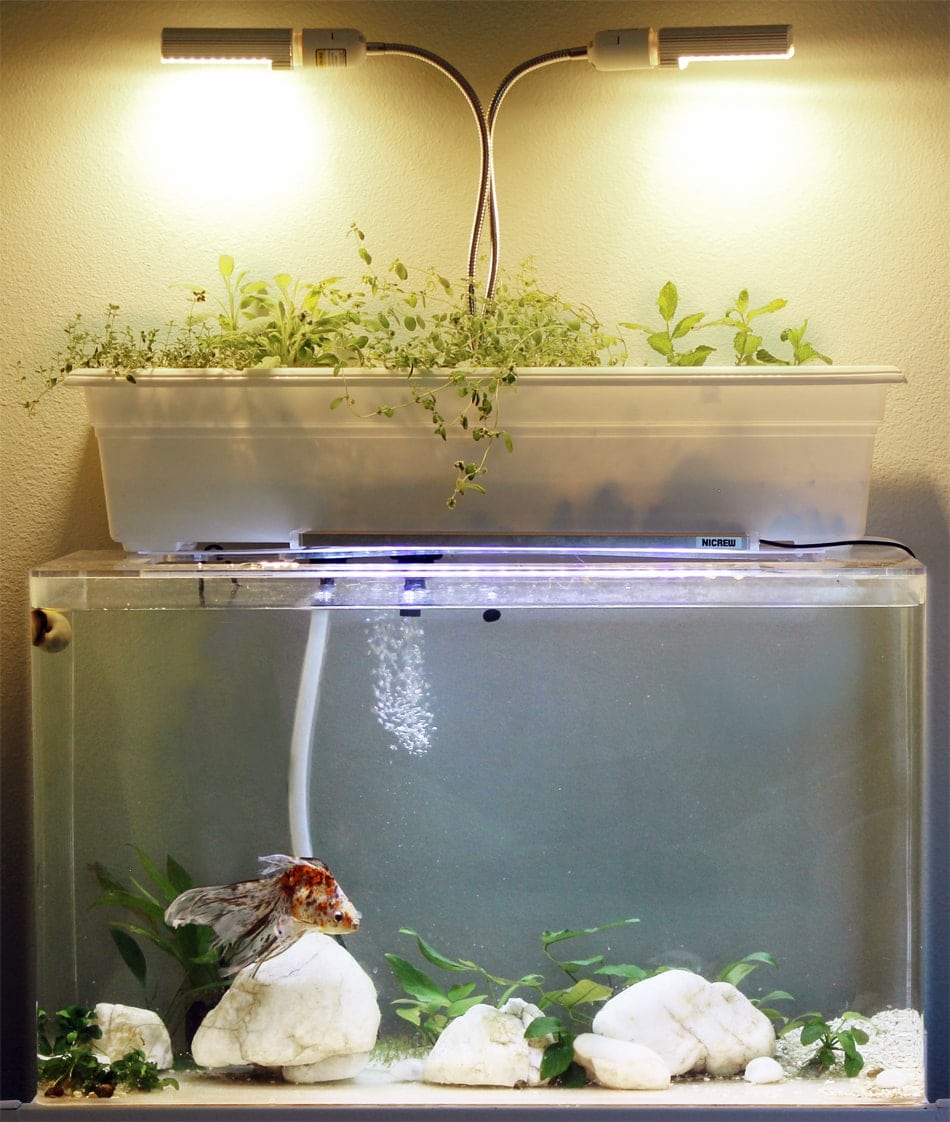
The final result on my SeaClear 29 gallon: Cycle as normal or add alongside your existing filter.
Tip: Don’t fill your tank all the way to the brim before you connect the filter, or in a power outage it could overflow!
Reasons to Love this Filter:
- Large media won’t clog or require cleaning
- Plants can help eat up nitrates, reducing or eliminating need for water changes
- Situated above the tank so it won’t overflow in a power outage
- Can accommodate higher stocking volume than normal thanks to large bacterial surface in the filter media
- Creates nice aeration
- Helps your fish work for you!
- Grow and eat your own herbs or veggies year-round
- Light can help with seasonal affective disorder
Conclusion
I have to say, this is one of the most fun filters I’ve ever had. Did you find this tutorial helpful? Want to try it out yourself? How about another DIY filter?
Have a question or suggestion for improvement (I’m always learning!)? Leave me a comment!
- Read More: 10 DIY Koi Pond Filters You Can Build Today


