9 DIY Slanted-Roof Dog House Plans You Can Build Today (With Pictures)

Updated on
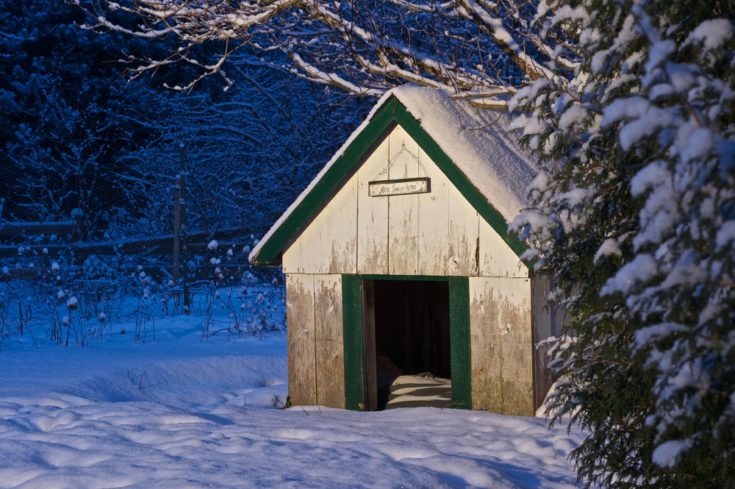
If you have a dog or dogs who spend a considerable amount of time outside, a doghouse can provide much-needed shelter to keep your pup safe and dry from harsh weather conditions.
As you decide on a style of doghouse to build, you’ll need to consider different roof designs, including flat, pitched, and slanted. Unlike a pitched roof that has two roof sections, a slanted-roof doghouse has one long roof piece that’s set at an angle to the ground. The slanted shape works well in places that tend to be rainy and/or snowy by allowing moisture to slide off the lower side.
To help you learn how to build a slanted-roof doghouse, we’ve collected 10 free and easy-to-DIY plans in a variety of design styles, from basic to decorative. We’ve listed the tools and the supplies you’ll need to better help you prepare. With woodworking knowledge, you’ll be able to construct an awesome slanted-roof doghouse for your beloved pooch.
Top 9 DIY Slanted-Roof Dog Houses
1. Dog House With Deck by Jen Woodhouse and Woodshop Diaries
- Miter saw
- Jigsaw
- Table saw
- Drill
- Kreg pocket hole jig
- Nail gun
- Paint supplies
- Wood planks
- Screws
- Nails
- Primer
- Paint
- Insulation (optional)
- Plywood
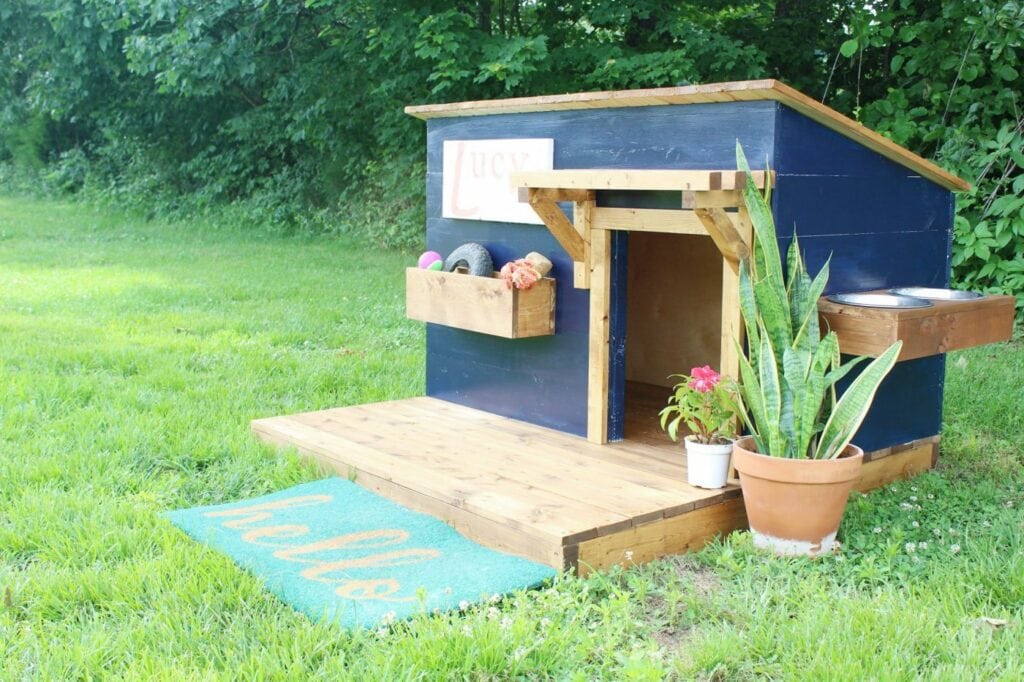
This adorable slanted-roof doghouse comes with a sun deck for your dog to lounge on pleasant days and a slanted roof angled to the back for inclement weather. Jenn Woodhouse teamed up with Woodshop Diaries to share this cute and durable design. To gain access to the free plans, you’ll need to enter your email address at Jenn Woodhouse’s site, which registers you to receive the free House of Wood newsletter.
2. Modern Insulated Dog House by DIYTyler
- Circular saw
- Miter saw
- Jigsaw
- Table saw
- Band saw
- Drill
- Utility knife
- Nail gun
- Paint supplies
- Measuring tape
- Wood planks
- Wood glue
- Screws
- Nails
- Primer
- Paint
- Insulation (optional)
- Plywood
For a warm, sturdy doghouse with a removable slanted roof for your small dog, DIYTyler offers free plans. You can either watch the included instructional video on how to build a slanted roof dog house or enter your email address to receive the full set of free plans.
3. Large Dog House Plans by Construct 101
- Circular saw
- Miter saw
- Table saw
- Band saw
- Drill
- Measuring tape
- Nail gun
- Paintbrush
- Wood boards
- Plywood
- Nails
- Finishing nails
- Shingles
- Roofing felt
- Roof tacks
- Roof staples
- Drip edge
- Paint
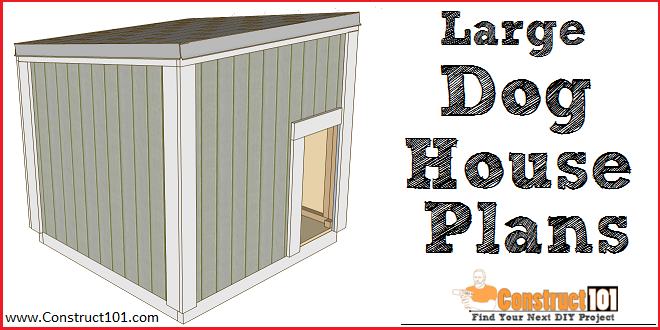
If you own a large dog, you’re obviously going to need a large doghouse built from large doghouse plans. Construct 101 offers plans for a sturdy, slanted-roof doghouse that’s the perfect size for, well, a large dog.
4. Large Dog House Plans by My Outdoor Plans
- Handsaw
- Circular saw
- Miter saw
- Table saw
- Band saw
- Drill
- Measuring tape
- Nail gun
- Paintbrush
- Lumber
- Screws
- Plywood
- Asphalt shingles
- Trim
- Brad nails
- Wood glue
- Wood filler
- Stain/paint
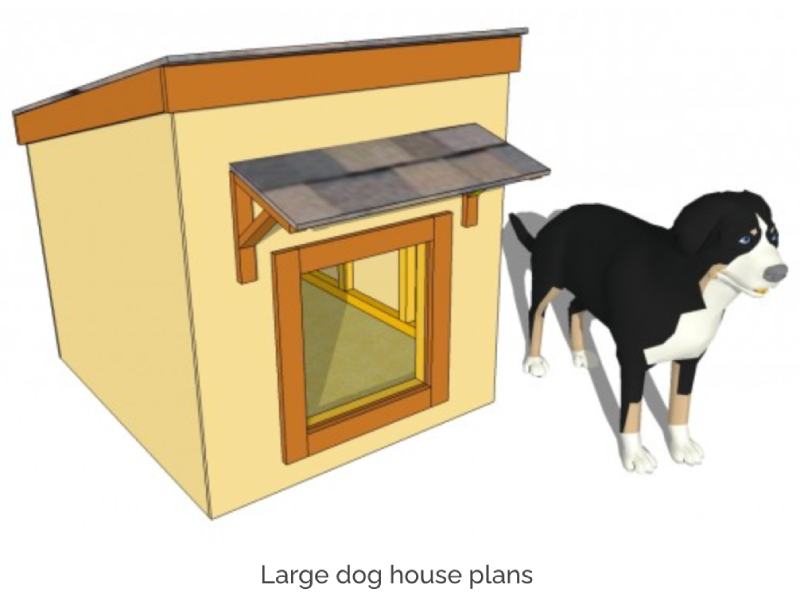
For an oversized slanted-roof doghouse, My Outdoor Plans provides detailed building plans. From a thorough list of cuts and supplies to step-by-step instructions with precise measurements, these plans will help you create a functional yet stylish large doghouse.
5. DIY Dog House Plans by Ancient Pathways, LLC

- Skill saw
- Jigsaw
- Tape measure
- Cordless drill
- Paint brushes
- Wood
- Plywood
- Deck screws
- Liquid Nails glue
- Silicone caulking
- Insulation
- Paint
This simple slanted-roof doghouse by Ancient Pathways provides an insulated shelter for dogs who spend most of their time outdoors. Based on a design intended for sled dogs, the main housing is raised off the ground and has a small, offset door opening that allows for better protection during unpleasant weather conditions.
6. Mini Ranch House for Your Pooch From Sunset
- Tape measure
- Pencil
- Square
- Protractor
- Circular saw
- Paintbrush
- Electric drill
- Tin snips
- Hammer
- Plywood
- Deck screws
- Redwood
- Paint or stain
- Redwood lattice
- All-purpose panel adhesive
- Wire brads
- Metal drip edging
- Galvanized roofing nails
- Asphalt shingles
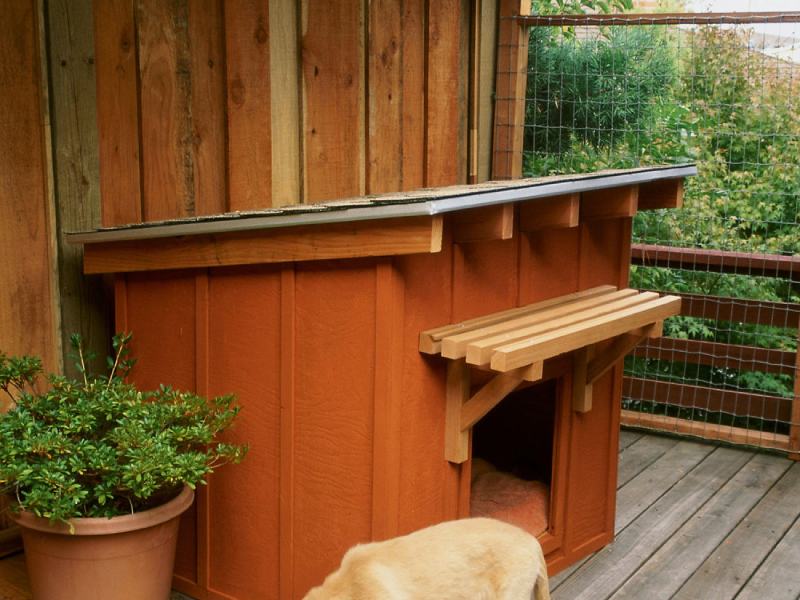
This ranch-style doghouse from Sunset has an eye-appealing design. The plans come with a complete list of tools and supplies, detailed illustrations, and thorough building instructions.
7. Mobile Dog House From Instructables Living

- Grinder
- Circular saw
- Table saw
- Silicone gun
- Nail gun
- Painting gear
- Clamps, drill
- Impact driver
- Hammer
- Handsaw
- Two lawn mower wheels
- Galvanized hinges
- Liquid nails
- Gap filler
- Cement sheeting
- Plywood
- Earth wool insulating material
- Paint
- Decking oil
- External corner pine molding
- Screws, nails, and bolts
With a slanted roof and a boxed-shaped design, this doghouse from Instructables Living has a classic look. Although the plans are not especially detailed, it does offer a smart idea on how to add wheels to your doghouse for mobility. Instructables Living provides tips for customizing the dimensions of your doghouse to your dog’s size requirements.
8. How to Build a Custom-Insulated Dog House From Ron Hazelton
- Measuring tape
- Circular saw
- Clamps
- Power drill
- Staple tackers
- Plywood
- Screws
- Wood boards
- Rigid foam insulation
- Roofing felt/tar paper
- Drip cap
- Asphalt shingles
- Hinge
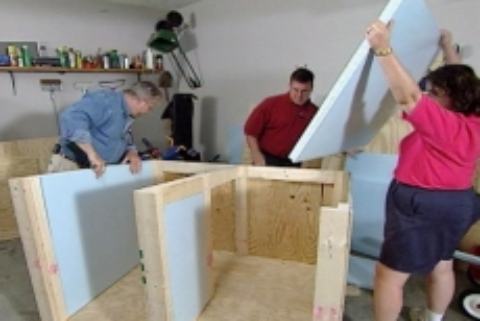
With video clips to explain each step, this slanted-roof doghouse design from Ron Hazelton can be built to fit any size dog. It includes insulation to better protect your pooch against the elements. The two-room design allows for one space exposed to the open door and the other area designated to be warm and cozy.
9. Double Dog House by My Outdoor Plans
- Hammer
- Tape measure
- Framing square
- Level
- Miter saw
- Drill machinery
- Screwdriver
- Sander
- Lumber
- Plywood
- Screws
- Wood stain
- Wood filler
- Wood glue
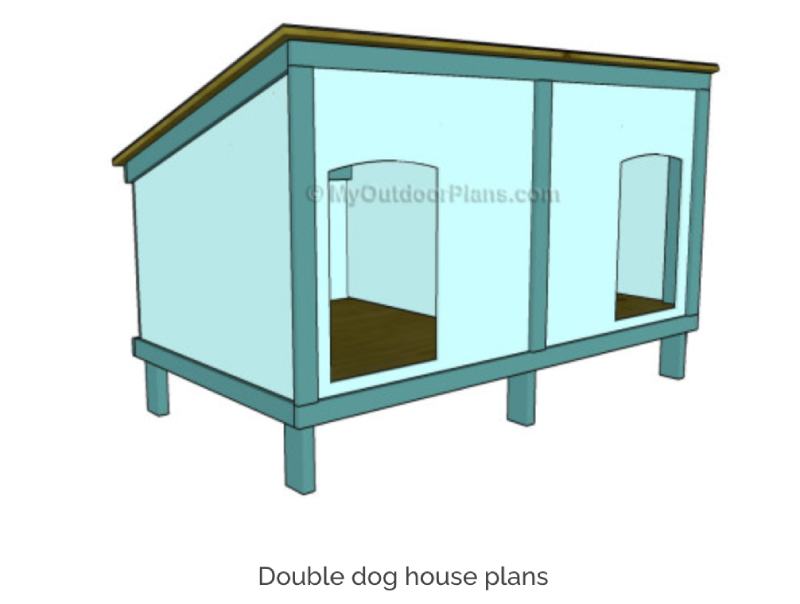
If you own two dogs, why not build a double doghouse? My Outdoor Plans offers a simple design with a slanted roof that comfortably accommodates both of your dogs. The floor of this doghouse is lifted off the ground.
Conclusion
There you have it – with a little skill and a few materials, your pup could have a slanted dog house of their very own. Always be sure you read the instructions before you start to ensure you have everything you need on hand. Happy building!
Featured Image Credit: KellyNelson, Shutterstock


