How to Apply an Aquarium Background (5 Easy Methods)
Updated on
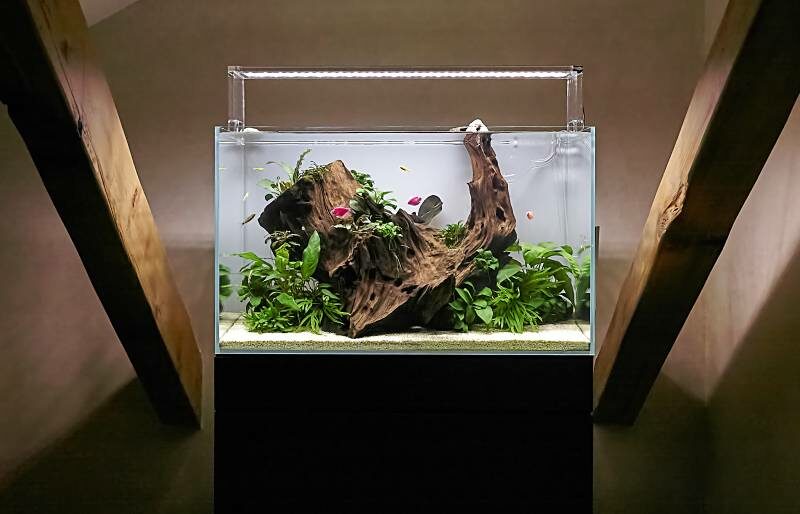
Choosing a theme for your aquarium is a big deal. It can put the final touch on creating a pleasing scene to view for mental health benefits 1. It’s essential since moving a filled tank to fix a background that has slipped out of place is out of the question. That makes a reliable application method imperative. Hobbyists are ingenious in coming up with ways to do it that are unconventional, to say the least.
It’s best to start with an empty tank. However, you can swap out a background if you have easy access to the aquarium’s back. It’ll also make your prep more straightforward to ensure it stays put. You should minimize touching it once it’s in place.

Before You Start
A little prep will make your job easier and ensure the background doesn’t move. You have several choices for installing it. Some manufacturers have an easy-to-remove covering over the piece that you simply pull off and put into place. They rely on static electricity for them to adhere to the aquarium. Another option is to use another product to provide the sticking power. Options include:
- Clear tape
- Mounting solutions
- Vaseline
- Vegetable Oil
- Silicone
Each of these materials suggests a different method we will cover in the third step. The third and fourth ones may seem odd, but they work. After all, DIY solutions often take various paths. Regardless of your choice, the materials you’ll need include the following:
- Tarp
- Paper towels
- Window cleaner
- Scissors
- Credit card or CD case

The 6 Methods on How to Apply an Aquarium Background
1. Prep the Work Space
If you’re using something that can get on the floor, put a tarp on the floor. You’ll thank yourself later if a bead of silicone hits the carpet. Ensure you have enough room to maneuver back and forth to make sure the background is applied correctly.
2. Clean the Surface Thoroughly
Even if you’ve just bought the tank, clean the side where you’re going to put it thoroughly. Any debris between the background and the glass or acrylic can interfere with its adhesion. We like using a window cleaner spray that can cut through grime and grease, which can also prove problematic if you don’t allow it to dry completely before proceeding with the next step.
3. Use the Method of Your Choice to Apply the Background
Place the background on the tank to ensure the size is right. Cut any stray bits with the scissors. Check the top and bottom to ensure there aren’t any gaps in the coverage. Work from one of the top corners to the opposite one to ensure it covers the entire side.
- Clear tape: Apply it to one corner and follow the edge to the opposite side with another piece of tape.
- Mounting solutions: Follow the manufacturer’s instructions for any special prep. Apply a bead of the solution along the perimeter and down the middle of the tank. Place the background on one corner and apply it along the side, using your hand to minimize any bubbles.
- Vaseline: The application is the same as above after applying a thin layer of Vaseline to the tank. You can use paper towels to minimize the mess.
- Vegetable Oil: Follow the same procedure for Vaseline.
- Silicone: Follow the process for the mounting solution.
4. Use a Credit Card or CD Case to Remove Any Bubbles
Run a credit card or CD case along the back of the background from one corner to the opposite one to remove any bubbles. Alternatively, you can use a putty knife.
5. Clean Edges as Necessary
If you used a mounting solution, Vaseline, or cooking oil, you should follow up by wiping any leaked material along the edges. Be careful not to move the background as you work. Make sure to check the bottom lip where any liquid may collect.
6. Set Up the Tank
If you’ve used a mounting solution or silicone, you should wait as recommended by the manufacturer before setting up your tank. The latter will take about 2 hours. It has the advantage of being appropriate for applying backgrounds inside the aquarium. You can also use it for 3D products.

Final Thoughts
The background is the finishing touch on your tank and can take its theme to the next level. You probably spent a lot of time choosing the right one. The application isn’t difficult. It’s all about ensuring it’s placed correctly so it doesn’t move. Most of our methods make it easy to change if you want a different look. It’s essential to follow the same prep every time you change it out.
See Also:
- How to Clean an Aquarium Filter – Internal & External, 6 Easy Steps
- How to Get Rid of Black Beard Algae in Aquariums (Quick & Easy)
- How to Anchor Aquarium Plants (Beginner’s Guide)
Featured Image Credit: Alex Unders, Shutterstock