How to Bandage a Cat Paw: 6 Vet-Approved Easy Steps

Updated on


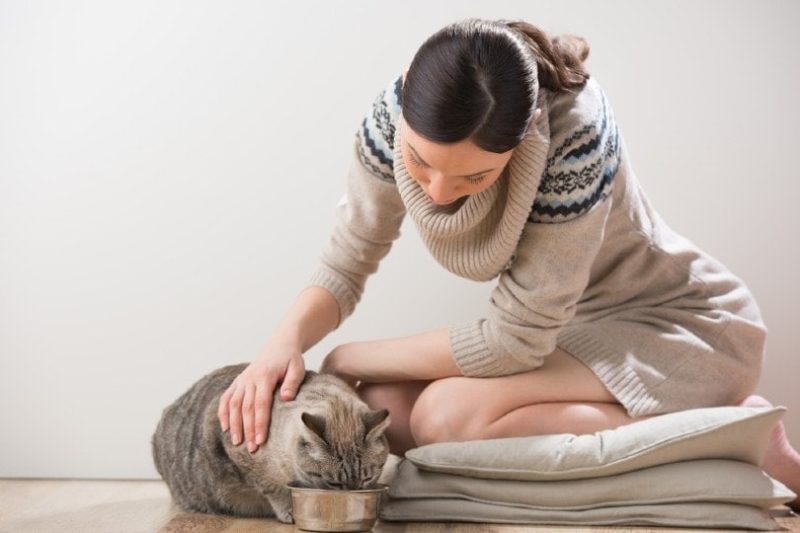
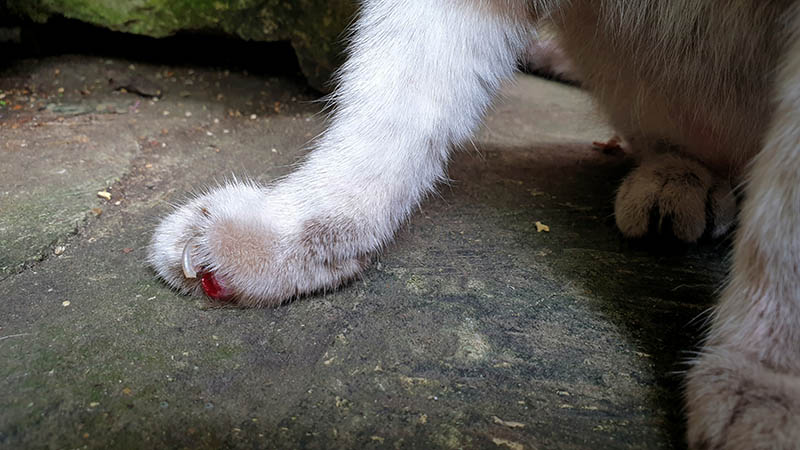
If your cat has a damaged paw, you need to clean it, control the bleeding, and bandage it. It’s a lot to go through, and if you don’t do it properly, it can be frustrating and create more problems by cutting off the blood supply.
That’s why we wanted to take the time here to walk you through everything you need to do to bandage your cat’s paws in no time. Remember, if your cat has a serious injury to their paw, you need to take them to a vet or emergency animal clinic right away to get everything under control. Bandaging at home is a stop-gap measure until you get to the vet.

Before You Start
Before you wrap up your cat’s paw, you’ll want to take the time to clean up any injury they have, and you’ll want to take some steps to control any potential bleeding. When cleaning the wound, you want to start by removing any small pieces of glass or shards from the paw using tweezers.
If there are large shards in their paw, we recommend taking your cat straight to the vet or an animal hospital instead of trying to remove them yourself. Sometimes with large shards, the only thing keeping your cat from bleeding a ton is the fact that the shard is still lodged in the paw.
Once you remove small pieces of debris, clean the wound by putting it under running water and disinfecting it with a mild antibacterial soap-chlorhexidine or povidone-iodine. If the wound is bleeding quite a bit, apply even firm pressure with a towel for up to 5 minutes.
If you can’t get the bleeding under control in about 10 minutes, take them to a vet. If you can get the bleeding under control, move on to bandaging the paw by using the following steps.
What You’ll Need
When you’re bandaging a cat’s paw, you want to get everything you’ll need before you start. Because even if you have an extremely compliant cat, they’re not likely to stay in place while you go get what you need to finish the job.
After you clean the wound, these are the supplies you’ll need to finish wrapping it:
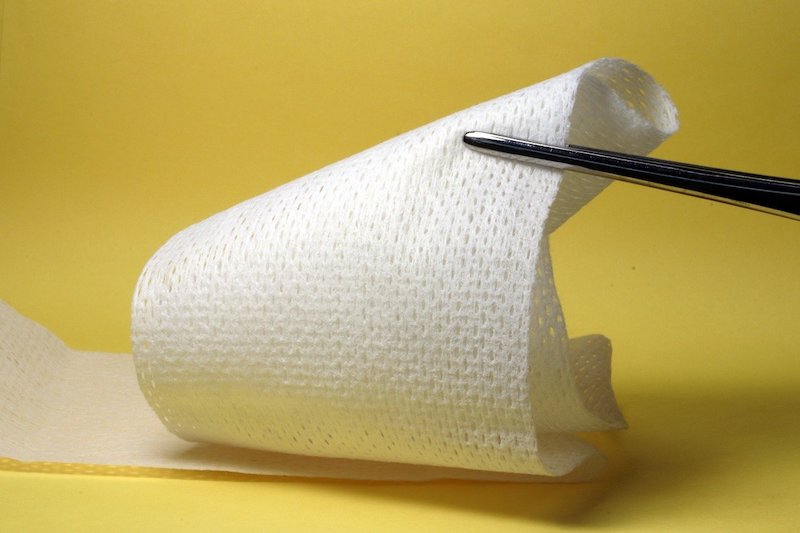
- Gauze
- Self-sticking bandage
- Scissors (optional)
- Anti-lick spray (optional)

The 6 Easy Steps on How to Bandage a Cat Paw
Now that you know how to prepare the paw and have everything you need, it’s time to bandage it. The next steps are highlighted for you here:
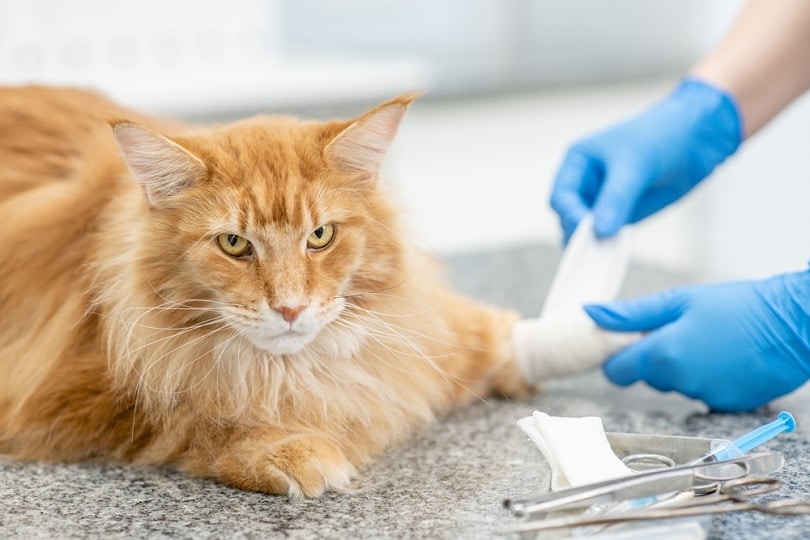
1. Apply Gauze
While some people choose to skip the gauze, we don’t recommend it. Gauze provides two benefits for your cat. First, it acts as a cushion between the wound and the ground, making it a bit more comfortable for your cat. Second, if the wound does break open and bleeds a bit, gauze absorbs the blood, preventing it from tracking all around your home.
Applying the gauze, or non-stick wound pad gently over the wound.
2. Wrap the Wound
After you apply the gauze to the wound, it’s time to start wrapping it with the self-sticking bandage. When wrapping their paw, you need to cover everything from the toes to the carpus (the wrist). Wrapping the toes helps prevent them from swelling, and wrapping up to the carpus ensures it won’t slip off. Use gentle even pressure.
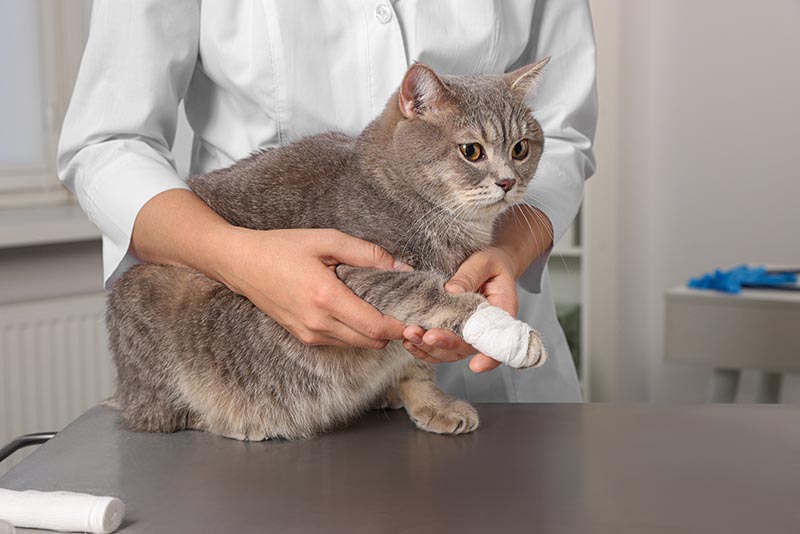
3. Check the Tightness
When applying the bandage, you don’t want to put it on too tight since it can cut off circulation, but if it’s too loose, it’ll fall off. Finding the midpoint can be difficult and this is why we recommended taking your cat to the vet.
4. Spray With Anti-Lick Spray (Optional)
If you think your cat will lick the bandage, you’ll want to spray it with an anti-lick spray. Don’t saturate the bandage, but a little bit of the spray will keep the cat from licking the area and will help keep it in place. Before spraying the bandage, ensure it covers the wound completely so you’re not directly spraying it onto the wound.
5. Inspect Frequently
After you have the bandage on, you need to inspect it to ensure that you’ve adequately covered every area and it isn’t slipping. Once it’s on correctly, you should reinspect the bandage to ensure it’s not moving around while your cat moves and that they’re not bleeding through the bandage. The bandage must not be wet and check for swelling above the bandage.
6. Change the Bandage Needed
If the bandage slips out of place or if your cat bleeds through the bandage, you need to replace it right away. However, even if the bandage stays in place, you need to replace it at the frequency recommended by your veterinarian.
Summary
Now that you know how to bandage your cat’s paws, all that’s left is for you to do it! If the damage to their paw is too severe, take them to a vet or animal clinic right away for the treatment they need. Incorrectly applied bandages and bandage care can result in serious problems for your pet and hence we recommend taking them to the vet for a check-up for any wound that needs bandaging.
Featured Image Credit: VGstockstudio, Shutterstock