How to Build a Plywood Aquarium: Materials, Tips & Tricks

Updated on
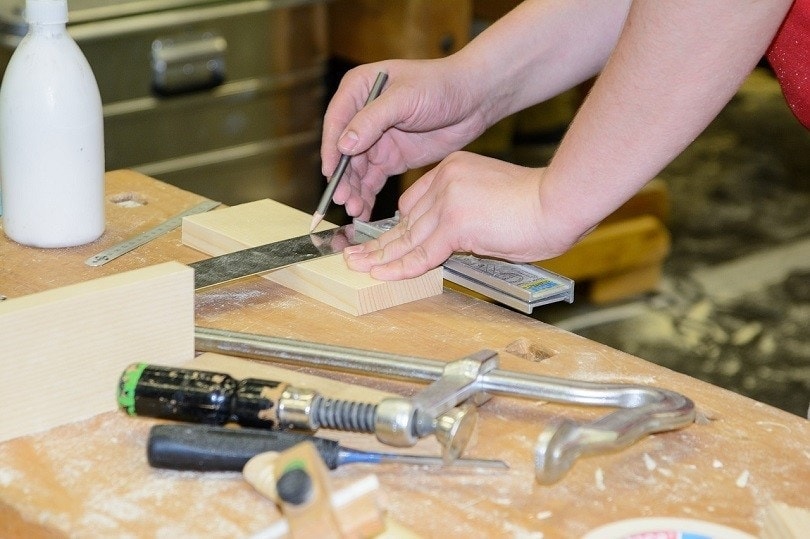
Building your aquarium can be a fun and enjoyable experience. You get to customize the aquarium to your desires. All the components such as height, length, width, and color are up to you to customize.
You may be unimpressed with the tanks on the market today. Most of the aquariums are either too small or too plain. If we have the necessary DIY skills to build our aquarium, it is worth a shot! You are in full control of materials and shapes. Your creative side will come out and you will have the opportunity to create a lavish aquarium for display.
There is a high demand for small tanks, as most people only have minimum space to keep their fish or inhabitants. Walking into your local fish store, you may be faced with rows of small aquariums. Only to find out the larger ones are overpriced than what they are worth. You suddenly get the brilliant idea to furnish your very own aquarium, but where do you begin? In this article, we will be explaining in-depth how to build your very own plywood aquarium.
Why Build an Aquarium?
It may be cheaper overall to design and build your aquarium. Most of the items are cheap and readily available. Using a plywood aquarium design can lessen the risk of cracked sealant, a common problem with store-bought tanks.
- You control the quality of the aquarium
- Build an aquarium to your preferred size
- Ensure the sealant is secure
- The tank won’t necessarily require a stand if you make one connected
- The design options are endless
- Customizable
- Materials may be expensive
- Spacious
- Woodwork skill is needed
- Quality control
- Specific tools are mandatory
Materials
- Epoxy
- 5 sheets of plywood
- Fiberglass or acrylic plates
- Silicone sealant
- Water-resistant paint
- Wood screws
- Washers
- Paint equipment
- Silicone tubes
- Non-toxic paint
- Circular saw
- Protective gear
- A partner to assist
Silicone
Silicone is a non-toxic sealant that will be used to seal the glass edges. It can be used inside the aquarium as it is safe for both freshwater and marine aquariums. It can withstand the pressure of the volume of water and is clear enough to be nearly invisible to the eye. This silicone brand ensures you will have a leak-free tank.
Epoxy
Epoxy is a very strong sealant and cover for the wood. You will be able to secure the sheets of glass or acrylic to the wood with a high resistance to handle the pressure of the water inside. This is important, as water weight can cause an aquarium to crack over time if the design and sealant cannot support the weight. Epoxy resins can tint the wood. Otherwise sweet water epoxy can add a colored topcoat. We recommend this product.
Water-proofing the Wood
The plywood should be coated in waterproof paint. Plywood is not water-tight and will absorb and hold any water spillage. Therefore it is essential to coat the wood with a quality water sealant such as this
You may need to add a few coats of paint once each layer has dried to ensure the wood is well protected.
Plywood is lightweight and sturdy, making it an excellent option to build your aquarium with.

Transparency
An aquarium has six sides, with at least two visible for viewing the inside of the aquarium. This is mainly the top and the front. Adjustments to the front plywood will be required to secure a sheet of glass or acrylic.
The top part of the aquarium can be left bare. You also have the option of adding a ledge to the top, this is ideal if you plan to use an external filter.
Should You Use Glass or Acrylic?
Both glass and acrylic have their pros and cons. Glass is normally the better option as it is thick and able to hold a greater volume of water. The only downside is that glass cracks easily. Whereas acrylic sheets scratch easily, leading to an aquarium looking unattractive. Acrylic sheets are not able to withstand large volumes of water and may give in.

- Related Read: Acrylic vs. Glass Aquariums: Which is Best?
How to Build Your Plywood Aquarium

- Go to your local hardware store and purchase 6 sheets of plywood. Make sure to get large pieces to your desired height and thickness. You will be cutting and shaping the plywood further on in the process, so do not worry if the size is larger than you intend the tank to be.
- Once the plywood has been purchased, set up a workspace as the building process will get messy. Apply the necessary protective gear such as industrial gloves, safety goggles, and an apron or old clothes for any dust and dirt.
- Use the circular chainsaw to cut the wood to your desired dimensions. Make sure you saw the wood evenly. Once the dimensions are to your standards, you can then get started on water-proofing the wood.
- Use this product to seal the inside and outside of the wood. This ensures it will be waterproof. Let the paint dry and then apply a second coat.
- Cut a rectangular opening in the front for a sheet of glass or acrylic to be placed inside. This allows you to easily see inside of your aquarium.
- Start to assemble and seal the plates of plywood together. Be cautious not to let any glue run down the sides or seep out, as this may make the aquarium unattractive. We recommend this sealant
- Measure the exact dimensions of the inside of the plywood mold and go to your local hardware store to have the sheets of glass or acrylic cut to fit the aquarium.
- Apply epoxy all along with the inside wood panels and stick the glass or acrylic firmly against it. Make sure the hold is secure. Leave the top exposed.
- Let the epoxy dry and create a strong bond between the materials.
- Proceed to use a clear sealant and seal each corner of your aquarium. Do not miss any spots, as this will cause the aquarium to leak and lose strength.
- Let the sealant dry for a few hours.
- Do a water leak test first before setting up your aquarium and let it sit overnight.
- If you want to make a ledge for an external filter, use epoxy to seal glass or acrylic cut off to the top back end of the aquarium.
Once the aquarium has passed the leak test, you have now successfully built your plywood aquarium! If the tank is leaking, you may have to reseal the entire aquarium and test again. We hope this article has helped you get familiar with building your plywood aquarium. The rest of the aquarium’s customization is up to you.
See also:
- How to Build a DIY Aquarium in 15 Easy Steps
- 10 Best Saltwater Aquarium Fish For Beginners (With Pictures)
Featured Image Credit to: wohnblogAt, Pixabay


