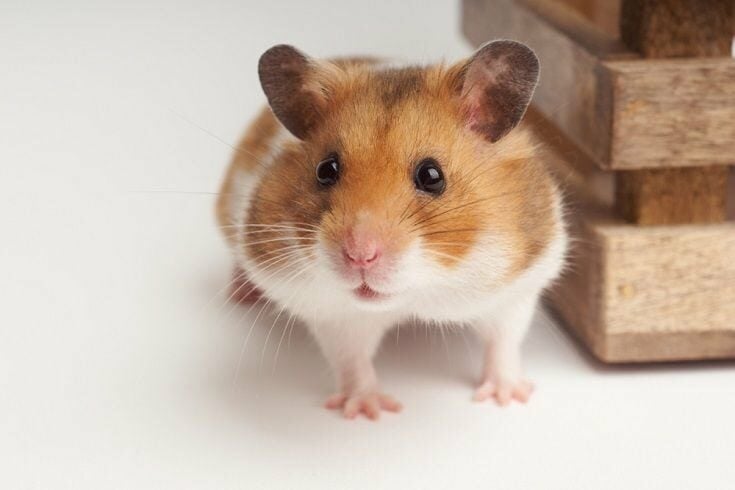
9 DIY Hamster Bin Cages You Can Make at Home (With Pictures)

Updated on
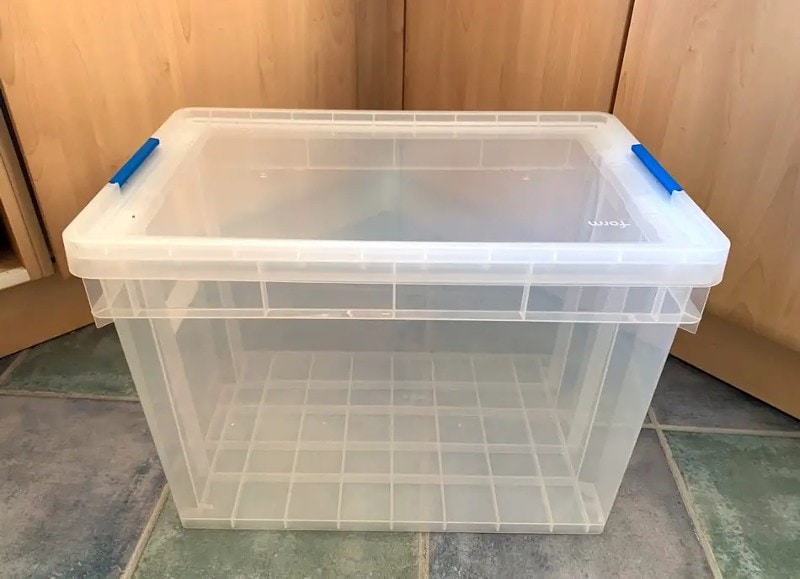
As the name suggests, a hamster bin cage is conveniently made of plastic container bins. Making a bin cage for your hamster is a great way to save money on their habitat without sacrificing their safety, comfort, space, or fun. By using just a few supplies and basic tools, you can build a DIY hamster bin cage in the comfort of your home that your pet is sure to love.
With proper care, your hamster’s new homemade bin cage can last for years to come. Here are the top DIY hamster bin cage plans that you can make at home today.

The 9 DIY Hamster Bin Cages
1. A Basic Bin Hamster Cage by Nola Claire
| Materials: | zip ties, duct tape, medium plastic bin |
| Tools: | Box cutter |
| Difficulty Level: | Easy |
This is a basic hamster bin cage setup, but it’s also colorful and effective as a safe home for small rodent pets. All you need is a box cutter and a few supplies to complete this project. This design utilizes a bin with locking handles, so there is no need to drill any handles or clasps into the bin to secure the top. Something to keep in mind, though, is that the lockable handles can get loose over time, so they should be double-checked whenever the cage gets closed.
2. The Hamster Guru Bin Cage
| Materials: | Zip ties, wire mesh, large plastic bin |
| Tools: | Scissors, drill |
| Difficulty Level: | Easy |
Look no further than Hamster Guru for a reliable, straightforward DIY hamster bin cage plan. It’s easy to build and shouldn’t take you more than a few hours to complete. You will need to drill holes in the plastic bin, and you’ll be cutting most of the plastic from the top and replacing it with mesh for ventilation purposes. The result should be a cozy habitat that your hamster can relax in.
3. Blue Crystal Sky Hamster Bin Cage
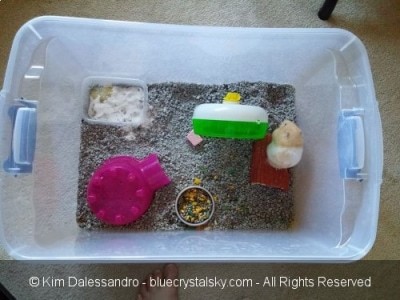
| Materials: | 0-gallon pet tank topper, plastic bin that the topper will fit on |
| Tools: | Glue gun, drill, box cutter |
| Difficulty Level: | Moderate |
This hamster bin cage design by Blue Crystal Sky utilizes a pet tank topper that ensures optimal security, ventilation, and temperature control. The tank topper is secured with hot glue, so it may need to be reinforced with more glue occasionally to maintain its integrity. No mesh wire, nuts, or bolts are required to complete this project, so aside from the tank topper, you might already have all the necessary materials sitting around at home.
4. Hammy Happenings Interconnected DIY Hamster Bin Cage
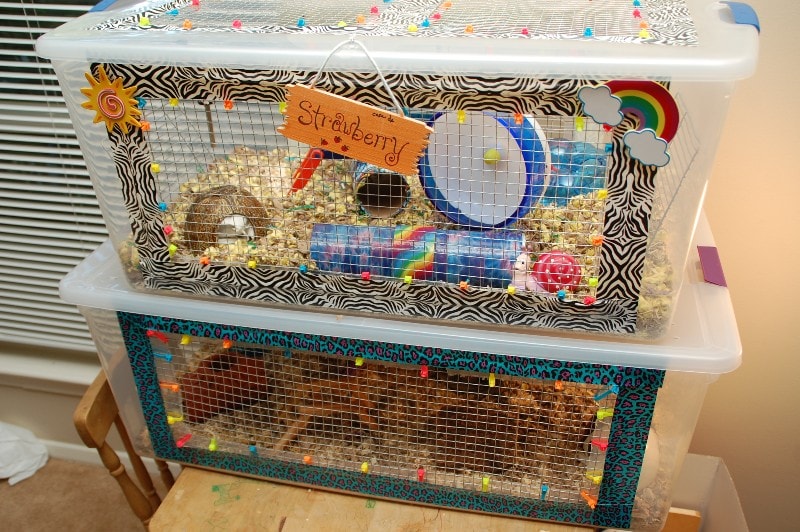
| Materials: | Two or more plastic bins, cable ties, plastic tubing, mesh wire, various décor as preferred |
| Tools: | Box cutter |
| Difficulty Level: | Moderate |
If you want to give your pet hamster a mansion to live in, this interconnected hamster bin cage is an awesome option. This multi-tiered habitat provides access to and from each bin via plastic tubing, which offers exercise and excitement during travel. This is an easy design to customize by adding wire doors and other embellishments as you see fit. Your hamster isn’t likely to get bored in this setup, which is important if they won’t be spending much time outside of their habitat.
5. Basic DIY Hamster Bin Cage by Victoria Raechel
| Materials: | Plastic bin, mesh wire, zip ties |
| Tools: | Dremel, power drill |
| Difficulty Level: | Easy |
Victoria Raechel seems to know how to get things done when it comes to providing a pet hamster with a safe and secure place to live their life. This design is as basic as it gets, though Victoria does offer tips and advice for customizations and creating a more “finished” overall look with the help of other supplies, such as sandpaper, so it doesn’t look like your hamster is simply living in a plastic bin.
6. DIY Triple Story Rodent House by Consumer Queen
| Materials: | Three plastic bins, X-Acto knife, candle, screws, washers, zip ties, mesh wire |
| Tools: | Drill, ruler, Sharpie |
| Difficulty Level: | Moderate |
While this impressive triple-level habitat was originally designed for gerbils, it is the perfect house for hamsters too. Each level can serve a specific purpose, which can help keep things tidy and make cleaning a bit easier. One level can be for adventure and play, another for exercise and sleep, and another for eating and bathroom relief (though you can’t completely control that!).
7. Planet Fishness DIY Hamster Cage Setup
| Materials: | Plastic bin with lid, rope, zip ties, chicken wire |
| Tools: | Drill, knife |
| Difficulty Level: | Easy |
You should be able to put this DIY hamster bin cage together in just a couple of hours once you have all the tools and supplies gathered. This video tutorial explains each step well so you aren’t left wondering if you’re doing everything correctly. This plan utilizes a drill to attach a water bottle to the habitat, ensuring that it won’t budge between cleanings and fill-ups. Chicken wire is used for ventilation and temperature.
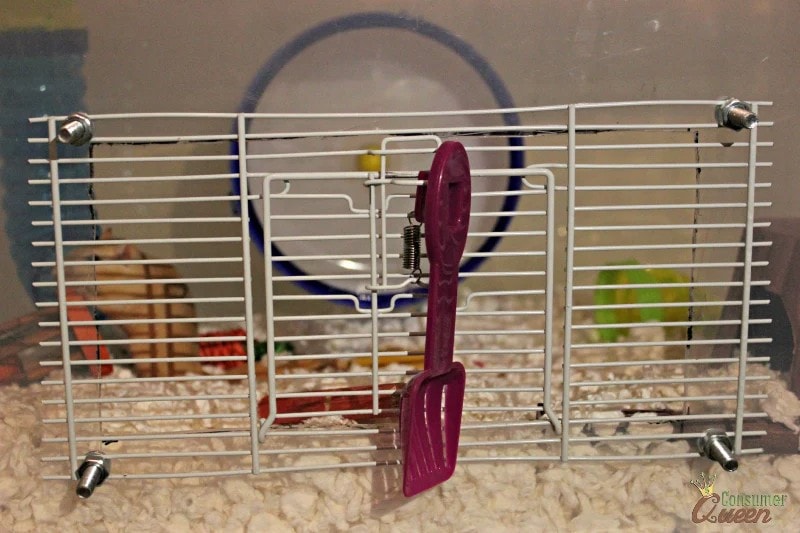
8. Instructables Hamster Bin Cage Tutorial

| Materials: | Plastic bin and lid, wire mesh, wire, bolts, nuts, washers |
| Tools: | Drill and bits, wire cutter, utility knife or small saw |
| Difficulty Level: | Easy |
This Instructables DIY hamster bin cage focuses on escape prevention for hamsters that are more adventurous and active than the typical rodent. The wire mesh is held in place with nuts, bolts, and washers to ensure that a hamster can’t loosen it and create a small opening to slip through. Additional ventilation is afforded by drilling small holes around the top of the bin. These holes will also help ensure that things don’t get too humid and moist inside.
9. DIY Double Decker Cage by Hammy Time
| Materials: | Two plastic bins with lids, screws, washers, wire mesh |
| Tools: | Box cutter, drill |
| Difficulty Level: | Easy |
Presented by Hammy Time, this easy DIY hamster bin cage project is great for those who want to make something spacious but don’t have much experience with tools like drills. The work involved offers an awesome opportunity to practice small project skills, so when it’s time to make another DIY cage later, the experience can be used to do something more elaborate and satisfying.
What Size Should a Hamster’s DIY Bin Cage Be?
Chinese and Dwarf hamsters should have a habitat that offers 700 square inches of floor space at a minimum, which is about 40 x 17 inches. Syrian hamsters should have at least 900 square inches’ worth of floor space, which equates to about 40 x 22 inches. Keep in mind that these are minimum dimensions—bigger is better, as far as your hamster is concerned.
What Should Go in a Hamster’s DIY Bin Cage?
Several things should go into a hamster’s cage for safety, comfort, cleanliness, exercise, and fun. The first thing to consider is hamster bedding. A layer of 10 inches or more of bedding in a hamster’s habitat is necessary for burrowing, which is something that comes naturally to a hamster, as it would be done in the wild.
- Aspen
- Spruce
- Hemp
- Paper
- Soft hay
These are commercially available, but you can make your own bedding by shredding things like newspapers, paper towels, and even toilet paper.
A water bottle that is refilled daily should always be available in the habitat, as should a food bowl.
- Crawl tubes
- Small branches
- Untreated softwood
- Exercise wheel
- Cardboard box
- Paper towel tube
Utilize the creative chops that you have developed while building a DIY hamster bin cage when deciding how to outfit the habitat. There are likely many things lying around your house that could be used to save money.
In Conclusion
With so many cool DIY hamster bin cage designs to choose from, the challenge will be figuring out which one will be a good fit for your pet rodent. Consider longevity when deciding. Will the cage be used temporarily or only for travel? If so, a small basic design is a good idea. If the cage is meant to be a permanent home, a larger double or triple-decker option is a great bet!
Featured Image Credit: