How to Make DIY Hamster Water Bottle: Step-by-Step Guide
Updated on

Click to Skip Ahead
Hamsters require access to water every day, just like us humans, though of course, they don’t need nearly as much water as we do to thrive throughout their lives. You can put a small bowl of water in your hamster’s habitat for them to drink from, but you will find that it’s necessary to clean the water dish out at least once a day, if not more often, because they will quickly dirty it with things like used bedding and feces.
Providing your hamster with an elevated water bottle is a great way to ensure that the water stays clean between refills and that you won’t have to do refills more than a few times a week. There is no need to buy a pricey commercial water bottle either, as it’s easy and inexpensive to make one yourself at home!
Here’s a step-by-step guide and important guidance and tips that will help ensure that you feel confident in the care that you’re providing to your pet rodent.

Before You Begin: Gather the Necessary Materials
You will need various materials to create a homemade hamster water bottle that works effectively and doesn’t easily break down. So, before you start thinking about how the water bottle will be put together, you should gather all the necessary materials so you can focus on all the steps of the plan.
Here’s everything that you’ll need to complete this DIY hamster water bottle project:
- Plastic bottle with a screw-on top
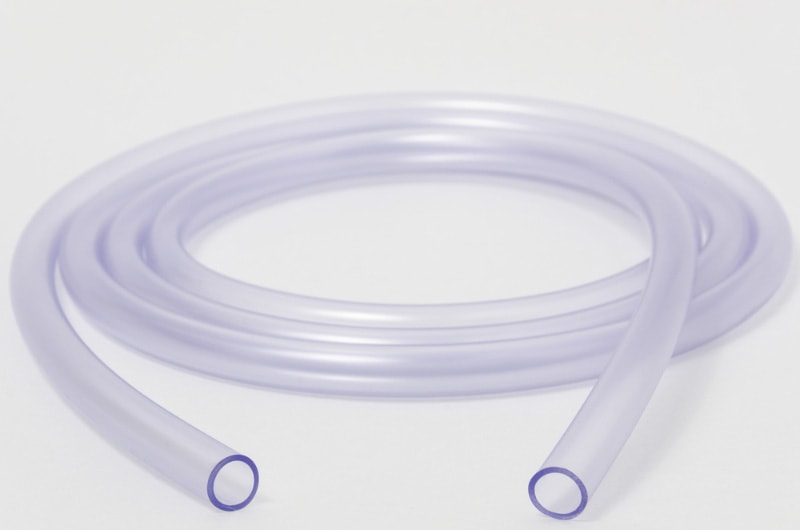
- Small flexible tube that can be attached to the plastic bottle’s top (e.g., a straw)
- Hot glue to secure the tube to the water bottle
- Drill and small drill bit to create a hole in the plastic bottle
- Waterproof adhesive that’s also leak-proof
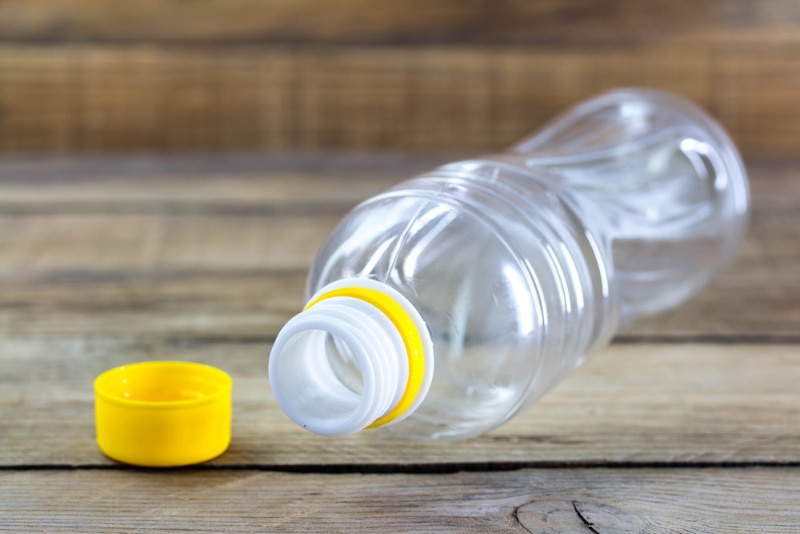
Choosing the Right Plastic Bottle for Your DIY Project
There are a few things to consider when choosing a plastic bottle to complete this project. The first is what size the plastic bottle should be. You can use a soda bottle that’s found at convenience stores—most people drink them as single servings—as this is a manageable size to maintain and for your hamster to navigate. Anything larger can be troublesome to attach to a habitat and will need to be cleaned and refilled more often than the water runs out.
It is also important to consider what the plastic bottle is made of. According to animal studies, BPA is an endocrine disruptor that can affect breast tissue and prostate glands.1 Therefore, the plastic bottle that you choose to use should be BPA free. It is also a good idea to choose a plastic bottle that has smooth walls so it’s easy to clean out with a small brush. Bottles with ridges can be tough to wash and may need to be replaced more often.
The 6 Steps for Creating a DIY Hamster Water Bottle
1. Prep the Bottle
Thoroughly wash the plastic bottle and top that you’ve chosen to use with soap and hot water. Make sure all the soap has been completely rinsed from the inside.
2. Drill a Hole
Next, use a small drill bit to drill a hole in the bottom of the plastic bottle. The size of the hole should be just big enough that the flexible tube that you’re using can snugly fit through it.
3. Insert the Tube
Gently thread your tube through the hole that you have just drilled into the plastic bottle. The tube should sit so a small portion of it extends past the hole inside the bottle and at least 1 inch of the tube is extended through the hole on the outside.
4. Secure the Tube in Place
Administer a small amount of hot glue around the entire tube where it meets the hole in the plastic bottle to secure the tube in place. Let the glue thoroughly dry, then administer one more coat of the glue and let it dry again. Finally, wrap the tube where it meets the hole with waterproof adhesive to ensure that water doesn’t get through the hole.
5. Cut the Tube
If the tube is sticking out more than 1 inch from the bottle, cut it down to size. This will help maintain proper water pressure so water doesn’t leak out of the tube unless your hamster drinks from it.
6. Test the Water Bottle
Now that your DIY hamster bottle has been created, you should test it to make sure no water leaks from the hole in the bottle or the end of the tube. Once you confirm that no leaks are present, use a paper towel to tap the end of the tube and make sure a small amount of water comes out each time you do so. If all works well, you’re ready to install the water bottle like you would a commercial one!
The Benefits of Making a Hamster Water Bottle Over Buying One
There are a few benefits to take advantage of when making a water bottle for your hamster rather than buying a commercial model. First, it gives you an opportunity to tap into your artistic and creative side. Doing a project like this offers an opportunity to destress and relax too.
- You can save money on providing water to your hamster.
- A DIY water bottle can be customized with rodent-safe embellishments and paint.
- Creating DIY hamster water bottles is a great way to recycle plastic bottles.
How to Care for Your DIY Hamster Water Bottle
It’s easy to take care of a plastic DIY water bottle as time goes on, though the bottle may need to be replaced after several months of continuous use. It all depends on the type of bottle that was used and how often it’s handled and moved around. To maintain your hamster’s water bottle, rinse it out with warm water and soap each time you refill it. Check the bottle for leaks and cracks frequently. If you see any damage developing, you can cover it with your waterproof adhesive to get more life out of the bottle overall. That’s all there is to it!

In Conclusion
It’s easy to make a DIY hamster water bottle to save money on care expenses. The process can be great fun too, especially when the experience is shared with children. Be patient while working with the tubing, and you shouldn’t have any trouble getting the water bottle to work the way that it’s expected to.
Featured Image Credit: shanghaiface, Shutterstock