Infusoria for Baby Fish: How to Culture It & What to Avoid

Updated on
Breeding your fish requires planning and forethought, especially for egg layers like goldfish. One of the best ways to prepare for newly hatched fry is by ensuring you have a food source ready to go when they hatch. Fry have specific nutrition needs and may have difficulty eating normal pellet, flake, or gel food. One of the best food sources for newly hatched fry is infusoria, and the best part is you can culture your own infusoria at home. Read on to learn more about infusoria, and why it is good for baby fish.
What is Infusoria?
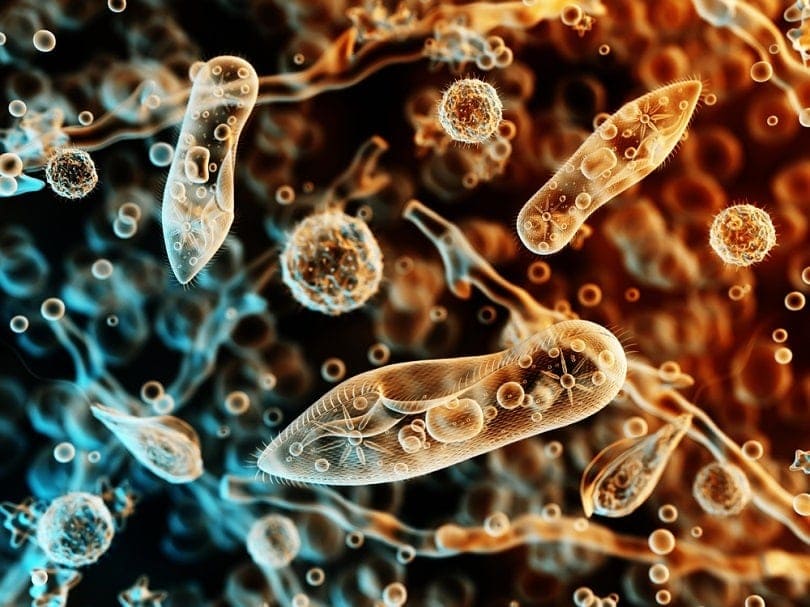
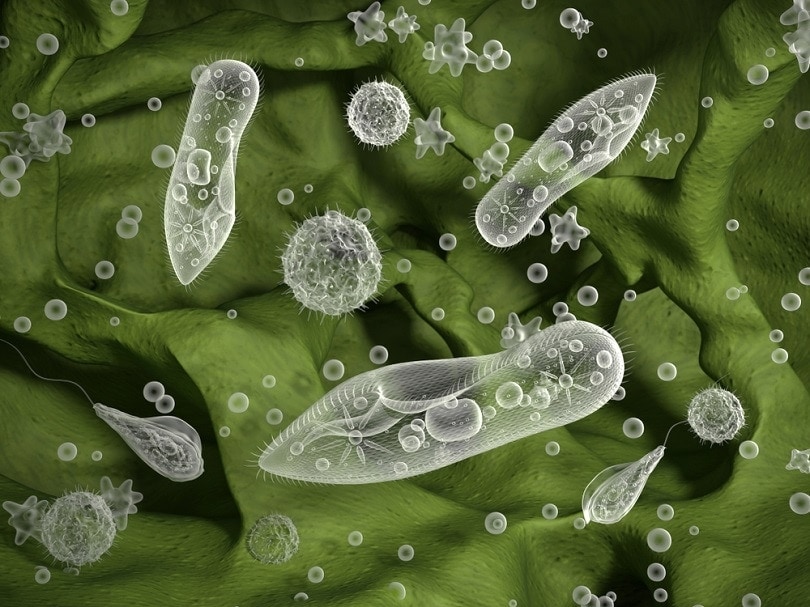
Infusoria refers to aquatic life that is microscopic or nearly microscopic. There are multiple creatures that fall under this category, but some of the most common are amoebas, paramecium, rotifers, certain types of algae, and vorticella. These organisms are small enough for the smallest fry to eat and they’re easy to culture yourself at home.
How to Culture Infusoria
- Start with a Source: You want to start your culture with a clear container, like a mason jar, and water that already has microorganisms living in it, like water from your aquarium or filter. Remember that these organisms are usually microscopic or almost microscopic, so even if you don’t see them, they’re still there.
- Feed the Starter: Add some organic material to the tank to create a food source for the infusoria. This can include grass, powdered, blanched, or steamed lettuce, yeast, and even plant-based foods like rabbit or guinea pig pellets.
- Get Some Sun: Find a sunny spot and let your culture sit for 3-4 days or so. You will see the water become cloudy and it may smell like stagnant or dirty aquarium water. After a couple of days, the water should begin clearing up with the establishment of a microbiome.
- Feed the Fry: Once your culture has had a few days to get set up, you’re ready to feed your fry their first meals. You don’t want to overfeed, though, because the infusoria can lead to cloudiness or poor water quality in your fry tank. You want to feed small amounts 2-3 times per day. This can be accomplished through the use of a syringe, pipette, small turkey baster, or even a small medicine cup. If you have the equipment handy, you can even set up a slow drip from the infusoria container to your fry tank, but you’ll need to closely monitor this to ensure the drip doesn’t speed up.
- Repeat: After a week or so, your infusoria may be becoming stagnant and need to be replaced. You can start the cycle over before your first culture goes bad so you still have infusoria when you toss the first batch, or you can use a small portion of the first batch to create the second batch.
- Dirty Water: Some people use water collected from natural sources, like rainwater and creeks, but this is risky and has the potential for introducing unwanted organisms into your fry tank. Some organisms, like dragonfly larvae and certain bacteria, can be deadly to fry.
- Contaminated Water: Using natural water sources risks more than unwanted organisms because it also carries the risk of chemical contamination. Pesticides, fertilizers, and other dangerous chemicals can get into natural bodies of water, which can be detrimental to your fry. Some people even report using dirty water from flower vases for their culture, but it’s important to only use this water if you’re certain that no potentially hazardous chemicals could have gotten into the water or onto the flowers.
- Keeping the Culture Too Long: If you keep your culture for too long, it will become stagnant. This can lead to the growth of unwanted bacteria and microorganisms, so it’s important to replace or refresh your culture every week or so.
In Conclusion
Culturing your own infusoria is easy, especially if you have a tank that’s up and running. If you don’t, you may be able to get starter water from a friend’s tank or your local fish store, but make sure it’s a trusted source so you don’t introduce pathogens. Infusoria is an essential “starter” food for your fry while they are too small to eat baby brine shrimp.
Featured Image Credit: 3d_man, Shutterstock


