5 DIY Cat Cones You Can Make Today (With Pictures)

Updated on


There is nothing like a good old-fashioned DIY project. The next time your cat needs the help of a cat collar to protect itself from an injury, you may be pleasantly surprised to learn that there are some thrifty and effective ways to create a homemade version rather than footing the expense of buying one outright.
No one wants to see their poor kitty trapped in a cone, as these cones are for the sole purpose of preventing them from licking, biting, or irritating an area that needs to be off-limits for healing.
They may not be convenient, and there is no doubt that your cat is going to hate it but look at these five options for DIY cat cones before you rush to purchase one. You may even be able to make a cone that is more comfortable than the standard cones from the vet or pet stores!

Understanding the Cat Cone
Cat cones are also referred to as Elizabethan Collars, or “E-Collars” for short. Most will refer to these cone-shaped contraptions like the “cone of shame.” These cones are designed to prevent pets from scratching, licking, or irritating wounds or surgery sites that need healing. These cones are essential in preventing further injury and infection from the wound or incision site.
The 5 DIY Cat Cones
1. DIY Foam Pool Noodle Cat Cone by Marissaanderss
It turns out, you do not need a swimming pool for those noodle floats to provide you with some use. If you are a pet owner, these handy noodles are the perfect way to make a fast and easy DIY cone collar.
For safety and extra durability, wrap each of the foam pieces with electric tape before assembling them into the collar. Be careful not to leave the noodle or the cut pieces laying around, especially if you have a dog or cat that likes to chew!
- Small pool noodle
- Yarn or burlap string’
Cut the small pool noodle into sections that are approximately 2 to 3 inches in length. Pull the yarn or burlap string directly through the center of the pool noodle sections. Once you have ensured the proper length based on your cat’s neck circumference, then tie off the yarn or burlap string. Voila! You have a cat cone that quickly!
2. DIY Posterboard Cat Cone by 87Beamara
If you want an easy DIY cat cone that will also help you home in on your math skills, this DIY project is the one for you. You can even get your kids in on it for a little extra math lesson. On the plus side, these are all materials you probably have lying around already.
- Scissors
- Posterboard
- Tape
- Ruler
- Pencil
Measure from the tip of your cat’s nose to where their collar usually rests on their neck then add an extra inch to this measurement. Cut out a circle from the piece of posterboard with a diameter equal to double the initial measurement.
Cut a line down the radius of the circle, then measure your cat’s neck circumference then divide the measurement by four. After you get your total, create a smaller circle that has a radius of that number. You will then cut this sized circle out of the larger circle you previously made.
You can then place the larger circle with the cutout onto your cat and form it into a cone shape. Your goal is to ensure this makeshift cone will easily slip on and off your cat without falling off on its own or being easy for your cat to remove themselves.
You then use tape to secure the cone and ta-da! Posterboard DIY cat cone complete!
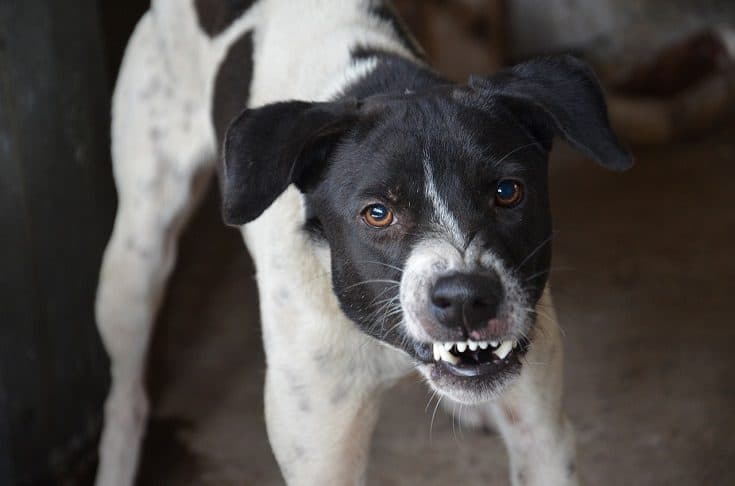
3. DIY Cardboard Cat Cone by PetPrepper
The photo may be of a cute and huggable dog, but this cardboard DIY cone works for cats as well. The good news? You will not need as much cardboard. What’s more, you can put all those Amazon boxes to some use!
- Cardboard
- Ruler or measuring tape
- Scissors
- Tape
- Collar
- Zip ties (or shoestrings)
Start by measuring a piece of cardboard into a rainbow shape that is size appropriate for your pet. Cut two pieces of duct tape together to make strips of make-shift fabric (or use vinyl or fabric itself), then fold the strips over the inside edge to make loops for the collar.
Duct tape the loops in place and feed the collar through the loops. Measure the collar around your cat’s neck, poke holes through the overlapping area and weave a shoestring or zip ties through the holes to tie the cone shut.
4. Fabric-based Cone by Blizzard Arts
- Cotton Fabric
- Collar (or ribbon)
While there are many store-bought options available, making a DIY cat cone with simple cut fabric is a cost-effective and customizable option. To start, measure your cat’s neck circumference and cut a piece of fabric to that length, adding a few inches for overlap. Fold the fabric in half and cut a half-circle out of the center, leaving enough space for your cat’s head to fit through comfortably. Sew the two pieces of fabric together, leaving an opening for your cat’s head. Finally, add some elastic to secure the cone around their neck. With a little bit of sewing know-how, you can make a cat cone that will keep your furry friend safe and comfortable.
5. Taped Foam Collar by Instructables

- Pliable foam
- Tape
And then there’s foam. You can quickly make a simple collar using some tubed foam and a bit of tape. First, you’ll need to gather your materials, including foam sheets, scissors, adhesive tape, and measuring tape. Next, measure your cat’s neck and cut the foam sheet to the appropriate length, but be sure to add an inch or two to be on the safe side. You can cut it off afterward. Then, cut a curve shape out of the foam to create the cone shape. Fit the foam and cut off any loose slack. Finally, attach the ends of the foam together using adhesive tape, and your DIY cat cone is complete.
History of the Elizabethan Collar
Now that we know what the Elizabethan collar is, what it is used for, and have some savvy ways on how to do some DIY versions, let’s take a quick look at how the E-Collar came to be.
Where Did It Get Its Name?
If you are a history buff, you probably already have a good idea as to where the name comes from. It is derived from the Elizabethan era that lasted from November 17, 1558, to March 24, 1603. In this timeframe, the Elizabethan ruff was an easily identified piece of attire.
A large, stiff, upright, collar that would typically be made of lace was a fashion statement in the late 16th and 17th centuries. This collar was an indicator of wealth and high social status. This collar is now etched in history not just for its unique look, but for the ideas that sprouted among the animal-loving world.
Veterinary Usage
Said to patented in the United States sometime in the 1950s, the veterinary usage for the E-Collar has never wavered. In addition to the DIY projects mentioned above, these collars are also sold and/or supplied by veterinarians and pet stores.
Benefits of DIYing
DIY projects may not be for everyone, but they definitely come with several benefits. Whether you are making your cat a homemade E-Collar or are looking into building something around for home, DIY is at least worth a try!
- Saves money
- Help reduce stress and improve mood
- Teaches you new skills
- Builds confidence
Conclusion
You do not have to be a particularly creative person to make a successful DIY cone collar for your cat. Not only will it save you money, but it may also even be a more comfortable alternative to the regular e-collars sold by veterinary clinics and pet stores.
Remember, do not use these collars for fun or to get a quick picture. These cat cone collars should only be used to protect your cat’s health. Make sure you speak to your veterinarian about how to properly use the collar and the length of time it will need worn.
Featured Image Credit: elwynn, Shutterstock