9 DIY Dog Toy Boxes You Can Make Today (With Pictures)

Updated on
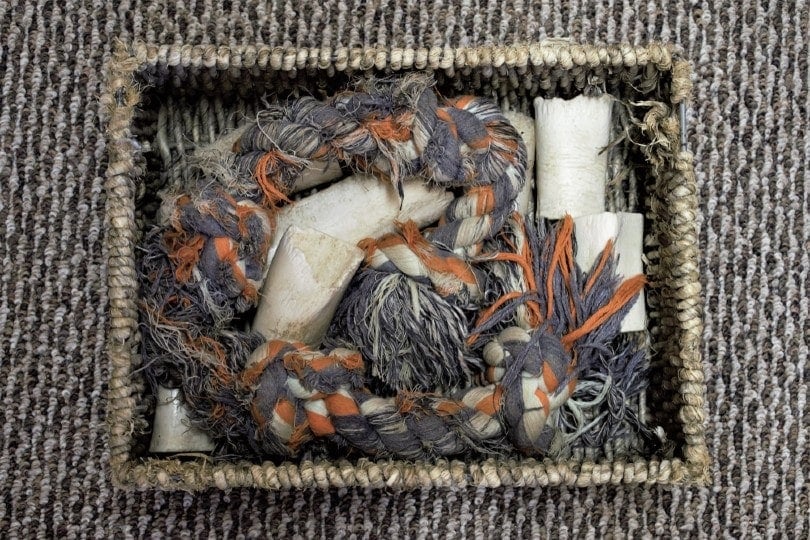
Dogs go through a lot of toys, and you likely have tons hanging around the house. But if you’ve got them stored in an old cardboard box or an ugly plastic bin, you don’t need to spend a ton of money to make your space look a little classier.
These 10 tutorials give you a range of options for dog toy boxes that you can make yourself, ranging from an easy afternoon DIY to major woodworking plans so that you can choose a project that matches your skills and vision.
The 9 DIY Dog Toy Boxes
1. Upcycled Wooden Crate to Dog Box by Dog Mom Days
| Materials: | Wooden crate, wooden letters or embellishments, wood glue, acrylic paint |
| Tools: | Paint brushes, sandpaper |
| Difficulty: | Easy |
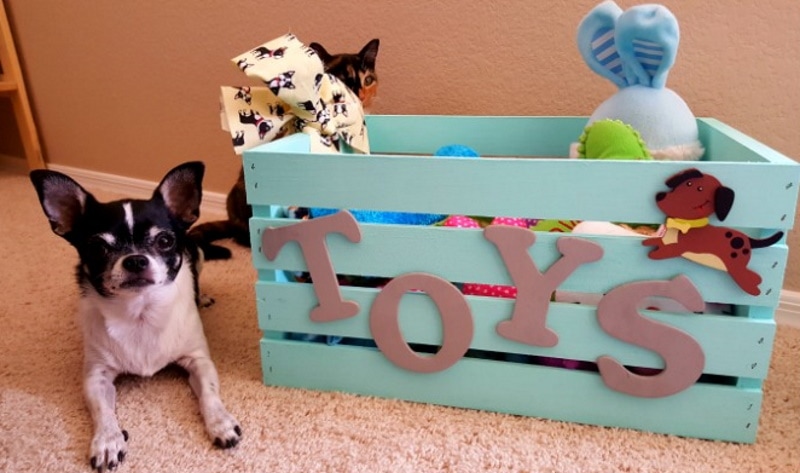
A wooden crate can make a simple and attractive storage container, and this DIY tutorial helps you make the crate stand out. Bright paint and wooden letters turn the crate from something ordinary to something fun and beautiful. This DIY is super easy as well—no need to deal with woodworking tools or complex painting techniques, just a few simple materials and a sturdy crate to get you started.
2. Simple Rope Storage Bin from Cardboard Box by Our House Now a Home
| Materials: | Cardboard box, rope, hot glue, spray paint, peel-and-stick paper (optional) |
| Tools: | Hot glue gun, scissors |
| Difficulty: | Easy |
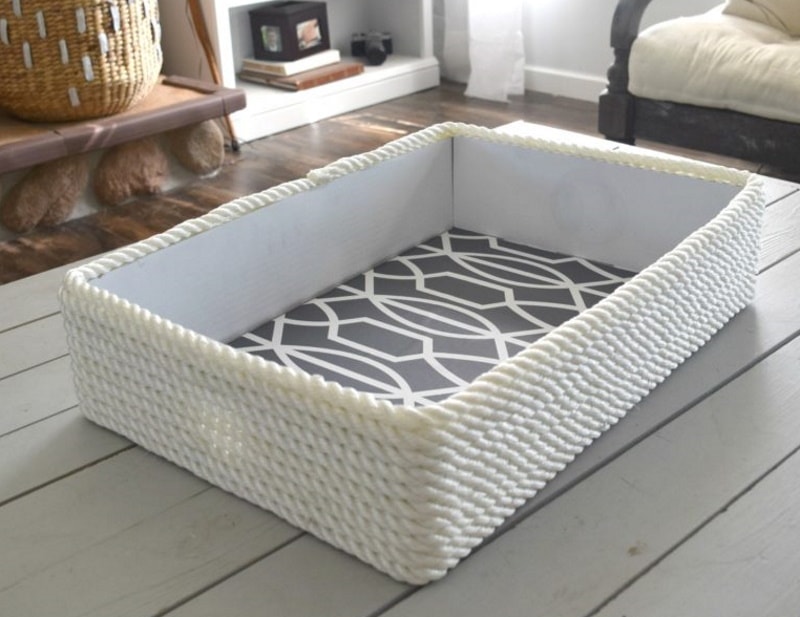
If a rope basket is more your style, what could be cheaper and easier than turning a cardboard box into this beautiful storage bin? Cardboard boxes are easy to find in all shapes and sizes, so if you have a tight space to fit your toys into, this tutorial might be for you. The secret to making this bin is to find a sturdy box that will stand the test of time. From there, it’s easy to transform your box with paint, rope, and peel-and-stick paper into something that looks chic and expensive.
3. Wine Crate Toy Box by Condoblues
| Materials: | Wine crate, wood rounds, wood glue, four screws, wood stain |
| Tools: | Jigsaw, sandpaper, screwdriver, paintbrush |
| Difficulty: | Moderate |
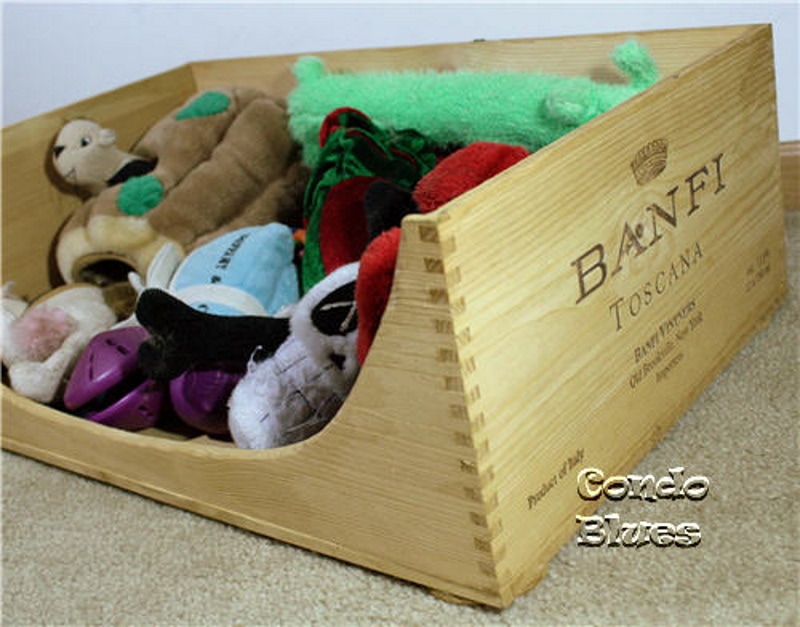
If you want a toy box that’s classy and gives your dog easy access to the toys, try making a wine crate toy box. Recycled wine crates can often be found free by asking at restaurants or liquor stores or else bought cheaply. They make a great candidate for a toy box because they are sturdy and generally high-quality. This tutorial shows you how to cut a rounded opening on one side of the crate so it can corral your dog’s toys but still make it easy for your dog to pick out the perfect choice. It’s raised slightly off the floor by feet made from small wood rounds. It does require a jigsaw and some elementary woodworking, but if you’re willing to put in a little work, it will make a beautiful piece.
4. Dog Bone Basket by Birdz of a Feather
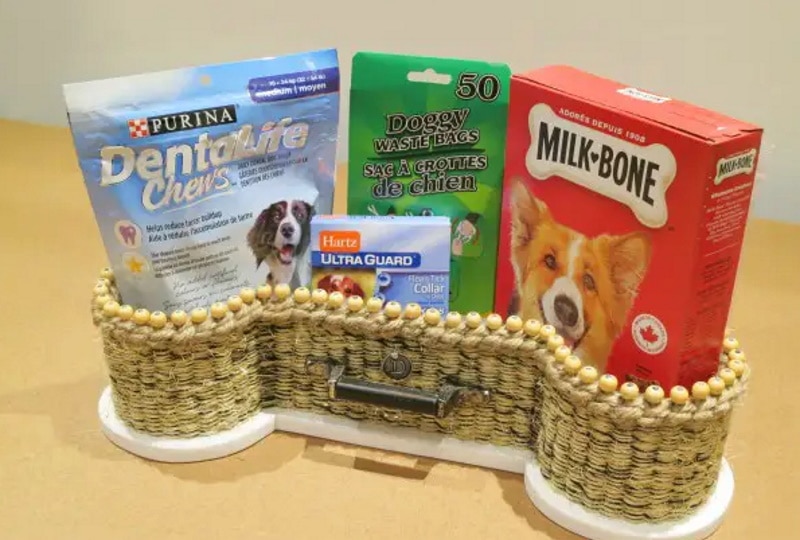
| Materials: | Dowels, glue, wooden beads, twine, yarn, sisal rope, MDF scrap, door pulls, permanent marker, acrylic paint |
| Tools: | Drill, paintbrushes, jigsaw |
| Difficulty: | Moderate |
This super cute basket is way easier than it looks. The bottom of the basket is made from a scrap of MDF, although you could easily substitute it for something similar instead. Aside from a little bit of woodworking when making the bone-shaped base, the rest of the basket comes together super easily by weaving a mixture of twine and yarn to make the basket walls. If a dog bone isn’t your style, you could also switch up the shape and have a totally different look.
5. Fancy Dog Toy Box from Nightstand Drawer by Life Of Posey
| Materials: | Old drawer, pencil, corbels (optional), wood glue, paint, stencils (optional) |
| Tools: | Jigsaw, sandpaper, staple gun, paintbrushes |
| Difficulty: | Moderate |
If you’ve got beat-up old furniture hanging around, why not give it a refresh? This tutorial shows how to take a nightstand drawer or something similar to make a dog toy box. Some fancy corbels and beautiful stenciling transforms this box from basic to beautiful, making it the perfect project for your little princess to store her treasures. It’s hard to be cheaper than a drawer from an old piece of furniture, but the results definitely scream glam!
6. Rustic Dog Box DIY From Scratch by Character Red Workshop
| Materials: | 3/4″ birch plywood panel, 96″ 1×4 whiteboard, 5 pieces of poplar trim, 2 handles, wood stain, and glue |
| Tools: | Drill, circular saw, planar |
| Difficulty: | Advanced |
Do you want the perfect piece and have some woodworking skills under your belt? This YouTube video can walk you through the process of making a custom wooden box for your dog’s toys. All steps, including dimensions for cutting the wood. The finished box has an open top and two sturdy handles for easy stowing. It would be beautiful in a rustic home or a farmhouse-style living area.
7. DIY Wooden Crate Toy Box for Dogs from Breanna Spain Blog
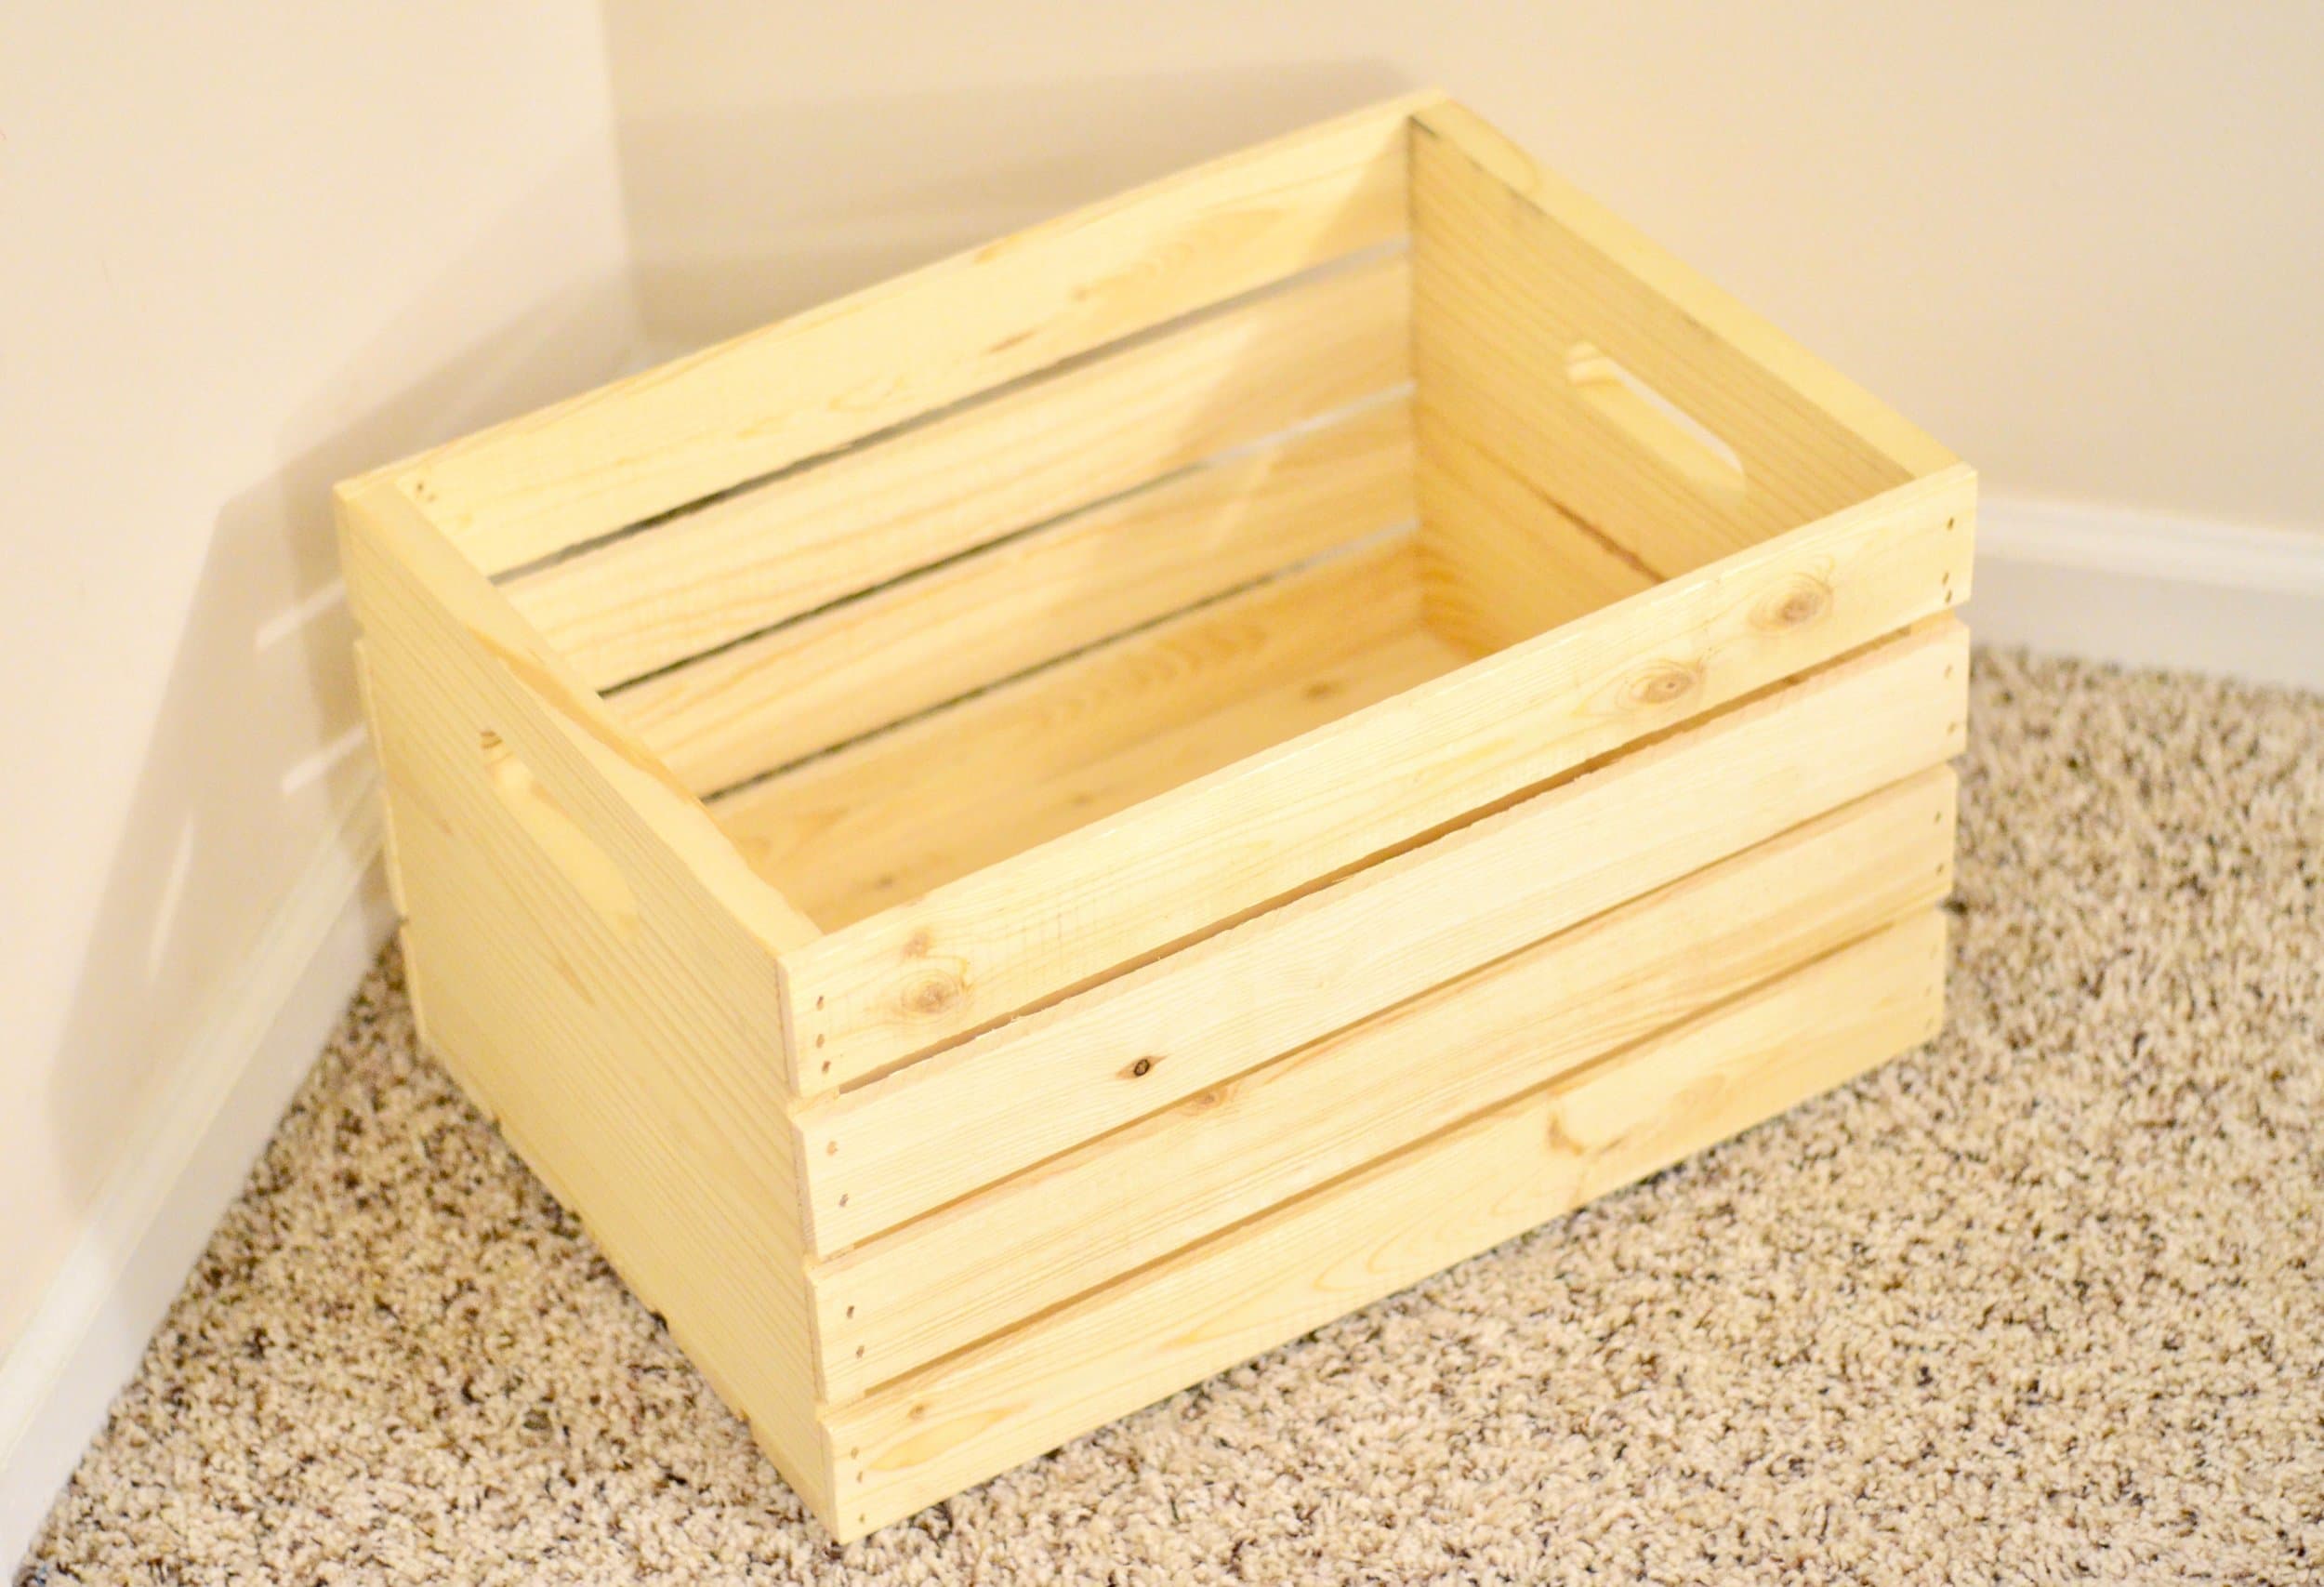
| Materials: | Pine crate, wood letters, wooden doll heads (for the legs), circular wooden plaque, fabric, oil-based sharpie, stain, glue stick refills for glue gun, tarp, newspaper or cardboard boxes, paint, paper towels, rag, plastic cup (check instructions for specifics on measurements, brands, & colors) |
| Tools: | Paintbrushes, hot glue gun, ruler, scissors, |
| Difficulty: | Easy |
The maker of this DIY wooden crate toy box found creative ways to spruce up a basic, unfinished crate and turn it into a cute, stylish, and personalized toy box. There are a lot of materials required to make this crate, but they’re pretty basic supplies that you can find easily. It’s put together with a hot glue gun, so no drilling or screwing holes is required.
You can also adapt some of the materials, like the wooden doll heads used for the legs, the type of fabric, and decorations to whatever you have available or whatever you prefer.
8. DIY Customized Dog Toy Box by Hound Hugger DIY
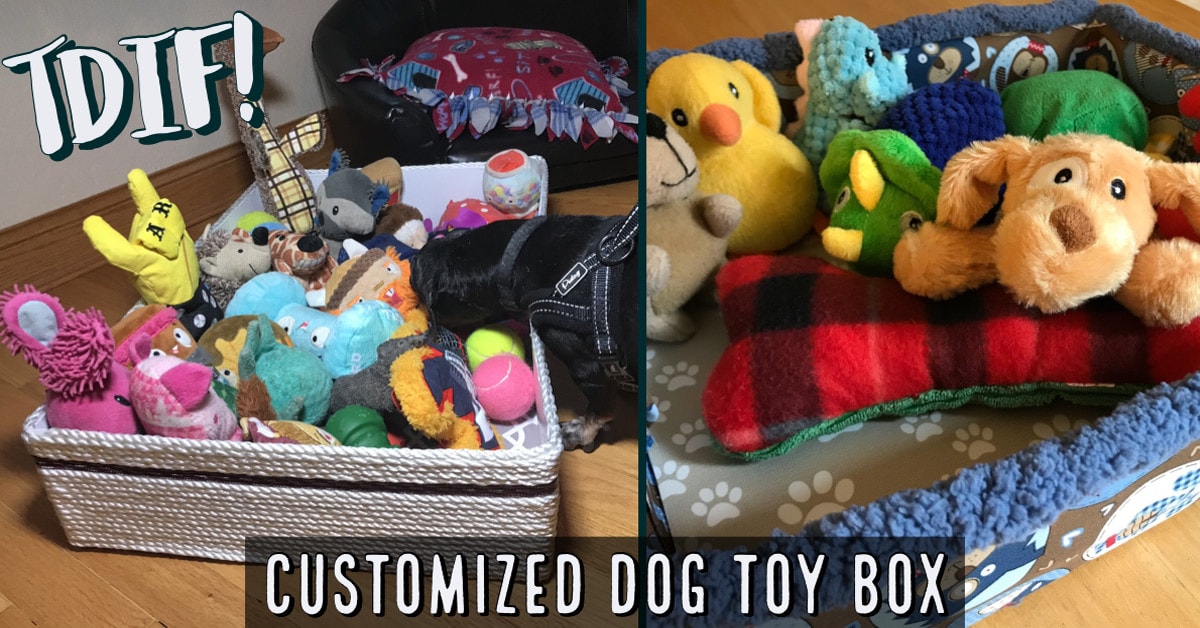
| Materials: | Cardboard box, contact paper, cotton rope |
| Tools: | Scissors, hot glue gun |
| Difficulty: | Easy |
This customized toy box is a great option for those looking for something very simple and easy to make with minimal materials and tools. You don’t even have to paint, drill, or screw anything—all you need is a hot glue gun to put everything together. If you feel like adding an extra flash of color as the creator of this project did, you can add a length of colored cotton rope.
Based on the video tutorial kindly provided by the creator, this project shouldn’t take you more than 15–30 minutes to complete, so, if you’re short on time, this could be the DIY plan for you!
9. DIY Wooden Toy Box for Dog Toys by HomeTalk
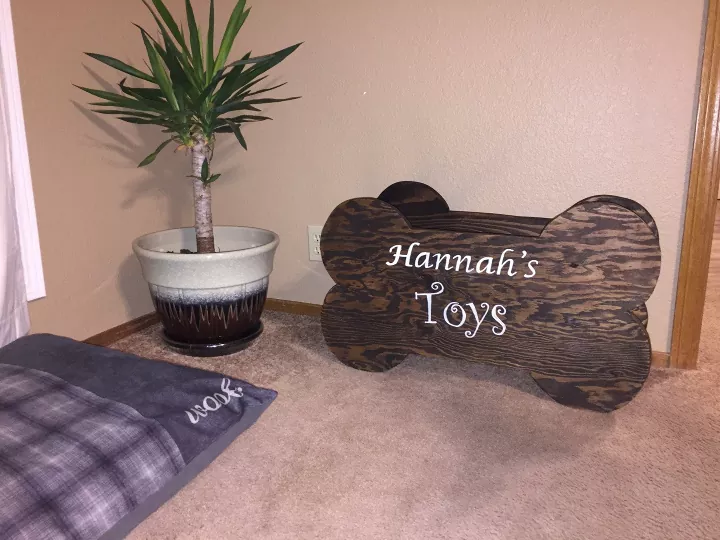
| Materials: | Plywood, 1×12 board, wood glue, pocket hole screws, brad nails, craft paint, stain |
| Tools: | Kreg jig, Brad nailer, sander, jig saw |
| Difficulty: | Moderate |
If you’re a more experienced DIYer or want a bit of a challenge, you could try making a dog toy box from scratch as shown in this project by Home Talk. You will need some cutting skills and know how to use tools like Kreg jigs and Brad nailers, so it might be a bit tricky for complete beginners. The end product is a personalized, rustic-looking box, an effect achieved by using a Rustoleum Dark Walnut stain.
Conclusion
These DIY projects will not only be fun and engaging, but they will also help you save a few bucks in the process. Plus, dog toy boxes will help keep the clutter out from under your feet. Even though your dog cannot speak in a human language, they would probably thank you for making one of these DIY toy boxes. Now if only you can get them to pack away their own toys!
Related Reads:
Featured Image Credit: Kevin Toney, Shutterstock


