5 DIY Ferret Tunnel Systems (With Pictures)
By Cheryl Regan
Updated on
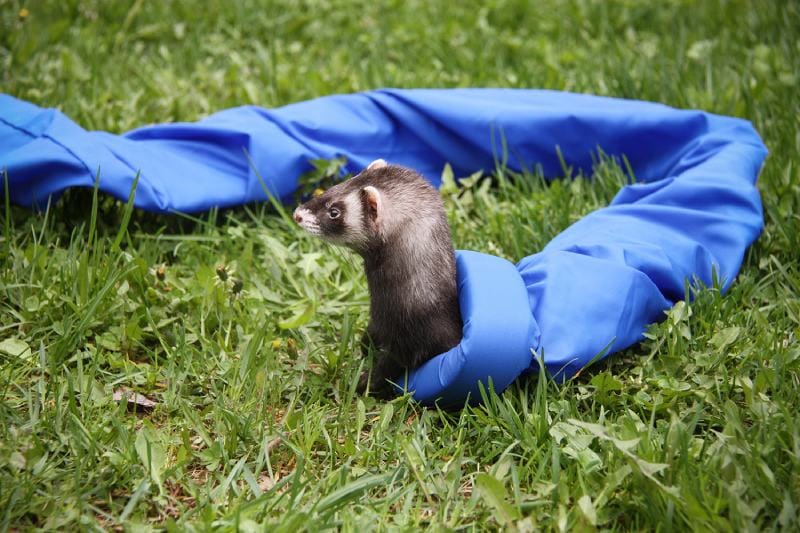
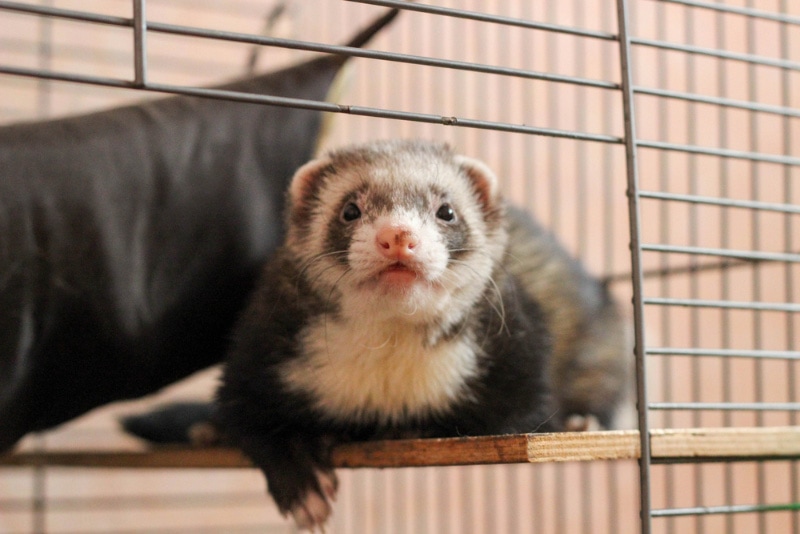
Ferrets adore tunneling through tubes that fulfill the role of natural burrows and dens for these little animals. They’ll run through them, chasing each other around, and even give them the ideal location for secreting away some of their prizes (make sure to keep your keys, wallets, and socks out of reach!).
A tunnel system will provide your pet ferret with much-needed physical and mental stimulation, and while you can buy ready-made tunnels from the store, there are a few reasons you should consider building your own. For a start, you can save money by crafting the tunnel systems yourself. You’ll also have more control over the shape, size, and overall aesthetic of the tunnel system.
Below are five DIY ferret tunnel systems you can start building today, but don’t forget that you can adapt them to make your own custom design!
The 5 DIY Ferret Tunnel Systems
1. Fabulous Ferret DIY Small Ferret Tunnel
| Materials: | Plastic bottles, tape |
| Tools: | Scissors |
| Difficulty Level: | Easy |
Fabulous Ferret’s DIY small ferret tunnel is super simple to create. You can use large soda or water bottles, and the best part is that you can continue to grow and expand your tunnel system, making it more complex—if that’s what you want to do.
The idea is simple: cut the ends off two large bottles and attach them using tape. If you choose to add additional bottles to make a larger tunnel system, we recommend cutting holes along the lengths. This will allow your ferret to pop their head out at regular intervals and improve airflow.
2. Breanna Ellison DIY Ferret Tunnel Wall
| Materials: | Plastic tubing, nails and screws, flexible wall attachment strip |
| Tools: | Drill, screwdriver, hammer, scissors |
| Difficulty Level: | Moderate |
If you’re prepared to take on a slightly more complex project, this DIY Ferret Tunnel by Breanna Ellison could result in a fabulously fun setup for your pet ferrets. With a plastic tube that twists, rises, and gently zigzags back toward the ground, it’ll give your ferrets an adventure course to scuttle and shuffle through.
You’ll need to hang supports in all the right places to prevent the tube from sagging. If you have the right tools, it’s not a complex task, though it may take a few hours to perfect. With enough tubing, you can design the ultimate course to match your room!
3. Ferret Tails Small Animal Tunnel
| Materials: | Fleece, plastic boning, Pellon fusible fleece |
| Tools: | Sewing machine, ruler, scissors, iron, pen/pencil, pins/clips |
| Difficulty Level: | Easy |
This DIY ferret tunnel by Ferret Tails not only looks great but it’s also soft, comfortable, and warm. Although the plan calls for a sewing machine, the tunnel could be hand-sewn, though this will take longer.
You can choose a fleece pattern and color that suits your home and adjust the size to suit your pet. If you decide to make the tunnel longer than the creator does, we suggest crafting a circular hole into the middle to allow your ferret to come out sooner if they want. It will also improve airflow.
4. Ferret Tails Ferret Crinkle Tunnel DIY
| Materials: | Fleece, plastic boning, crinkle paper |
| Tools: | Sewing machine, ruler, scissors, clips or pins |
| Difficulty Level: | Moderate |
Another DIY ferret tunnel from Ferret Tails, this time with added crinkle paper for an additional sensory detail your pets are almost guaranteed to love! You can also try to sew this tunnel by hand, though a sewing machine will result in a more professional look. Though the plan calls for fleece, you can use any sturdy fabric you choose. So, if you have some leftover material, a sewing machine, and half an hour or so to spare, try the crinkle tunnel.
5. Ferret Tails 4-Way Tunnel for Ferrets
| Materials: | Flannel/cotton fabric, fleece, fusible fleece |
| Tools: | Sewing machine, ruler, scissors, clips or pins, pen |
| Difficulty Level: | Moderate |
If you’re new to sewing and looking for a challenge, this 4-way ferret tunnel may be the perfect project. Also made from fabric and fleece, this tunnel system has, as the name suggests, four exits/entrances for your ferret to explore.
You can adjust the size of this tunnel to match different types of animals, including cats! Just ensure the tunnels are large enough for your ferret to pass through easily.
Why Ferrets Need Tunnels
In the wild, ferrets love burrowing into tunnels, running through them, and using dens and burrows to hide their loot, which usually consists of food! By providing your ferret with lots of tunnels, they can carry out their natural instincts, which in turn will enrich their life.
Elaborate tunnels will provide your pet ferret with mental stimulation as they work to find their way through. Additionally, a fun and exciting tunnel will encourage physical exercise.
Are Hamster Tubes Suitable for Ferrets?
This depends on the size of the hamster tube. Although ferrets can fit through holes that are approximately an inch or larger, the tunnel system you make for them should be closer to 4 inches in diameter. Most hamster tunnels have a diameter of 2.4 inches, making them less than ideal for ferrets.
The Ideal Size for Ferret Tunnels
Make sure the diameter of your ferret tunnel is around 4 inches. When it comes to length, it depends on your space. Some tunnels are just 2 feet long, while others stretch to 20 feet!

Final Thoughts
You don’t have to follow any of the above plans to the letter. Use them as inspiration instead and create a perfect ferret tunnel system for you, your home, and your pets. The main things to remember are to ensure the tunnel system is stable so your pet can’t get stuck, provide air holes for breathability, and create plenty of exit opportunities in more complex systems.
Before you begin, think about the material you’d like to use for your ferret tunnel system. Then, plan it out on paper. Finally, have fun crafting, and don’t forget to take photos of your ferret enjoying their new tunnel system!
Featured Image Credit: Burloncita, Shutterstock


