How To Breed Bearded Dragons: Step By Step Guide (Vet Answer)
By Dr. Luqman Javed, DVM (Vet)
Updated on
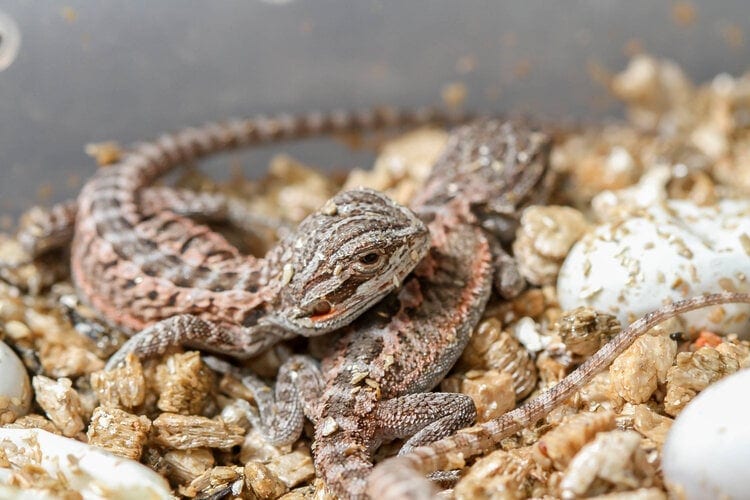
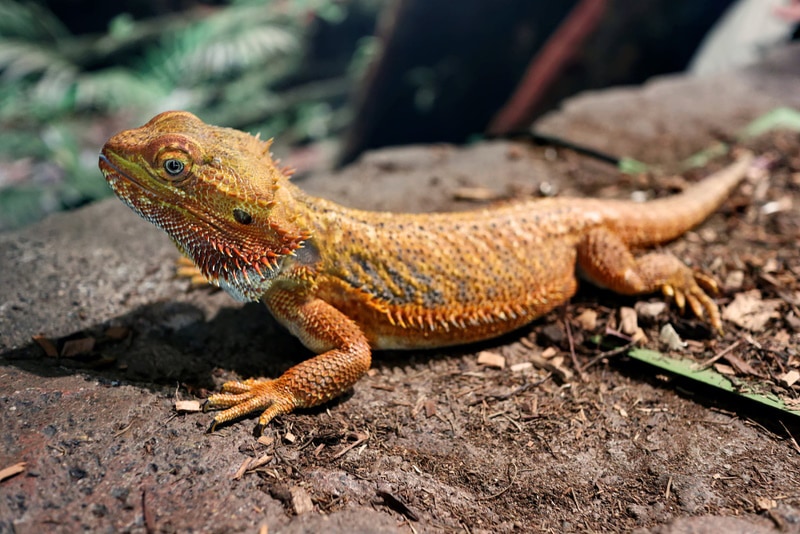
Bearded dragons are among the most popular pet lizards in the world. Their relative ease of care, manageable temperament, and signature “beard” (a trademark most noticeable in males) have cemented their popularity among reptile enthusiasts.
While purchasing a bearded dragon from a breeder, it might be tempting to ponder if breeding your bearded dragon for a clutch of eggs and some baby dragons is something you can do at home. Though bearded dragons can be bred with success in captivity, the task is best left to experts and not a decision you should rush.
The 17 Steps to Breed Bearded Dragons:
Please note that as mentioned above, we don’t recommend breeding your bearded dragon on a whim or just for the curiosity of the process. The task is rarely profitable for first-time breeders, may come with extensive amounts of heartbreak, requires additional costs in the form of veterinary care (both planned and unexpected in case your dragons don’t behave as you expect), and requires a great deal of time, space and commitment. It may not be possible to immediately rehome your baby bearded dragons, and they may quickly turn aggressive towards their conspecifics (especially the males) – they wouldn’t have a “sibling truce” for long and won’t recognize others as their “clutch mates”. The information provided in this article is mostly for informative purposes.
1. Gather Necessities
Before attempting to breed bearded dragons, it’s advised to gather the necessities.
- A breeding tank – this should be large enough to comfortably house two adult dragons. A standard 100 gallon aquarium is the bare minimum, however, larger tanks are preferred. Like all bearded dragon setups, this needs the appropriate lighting, basking area, temperature control, hiding spots, and a suitable substrate.
- A laying box – this needs to be placed in the breeding tank and should be a 10-15 gallon standard aquarium and should be full of about 8 inches worth of reptile-safe topsoil or potting soil, along with sand. The mixture of the substrate should be slightly clumpy, allowing for easy digging for the female to lay her eggs.
- Two individual tanks – these should be the homes of the male and female you intend to breed; they each need their own enclosure, complete with temperature control and humidity levels established.
- An incubator – for incubating the eggs.
- Vermiculite – for the incubator. Perlite is an acceptable alternative
- Additional small tanks (at least 20-25 gallons) – to house the babies when they’re very young; different tanks for larger and smaller babies. These are not suitable as long term housing enclosures.
- Individual adult bearded dragon tanks – for however many bearded dragon babies from the clutch you think you’ll permanently keep.
In addition to all of the above, you’ll also need access to healthy, gut-loaded crickets to feed your baby dragons a few days after they’ve hatched. Finally, you’ll need a male and female bearded dragon. These individuals should be healthy adults that are ideally at least 2 years old.
2. Seek Veterinary Care For a Clean Bill of Health
Both individuals you wish to breed should be checked by a veterinarian to ensure they are healthy and problem free. Your veterinarian will assess the general health status of each individual (such as their weight, length, temperament and general disposition).
Your veterinarian will also likely run some blood tests to ensure that both parents are healthy and free of any underlying health issues or deficiencies (which may lead to a very high rate of mortality or an unhealthy clutch of babies).
Of key importance here is the atadenovirus. Parents that are positive for this virus should not be bred, as they can pass it on to their offspring. It’s also important to note that this virus should be tested multiple times prior to commencing breeding, as the test may show a false negative (if your beardie is positive for the virus but is not shedding the virus at the time of the health checkup). This virus is checked for via a cloacal or fecal swab.
3. Place Both Individuals In Their Cages
If your dragons get a clean bill of health, they should be housed adjacently in their own enclosures (physical contact should not be allowed at this point, but visual contact should be permitted). Observe the reactions of each individual when they’re allowed to view each other. Overly ambitious males may be very exuberant in their pursuit of females; if your male dragon seems to be of this type, he may very easily injure the female when they’re placed together in the future by continuously nipping at her feet or tail.

4. Condition Both Individuals
For the next few weeks, both individuals should be conditioned for mating by offering them additional supplements. Of key importance here are calcium and vitamin D, a supplement which your female will need on a daily basis for several weeks. Talk to your veterinarian about the best supplements for your dragons.
5. Simulate Brumation
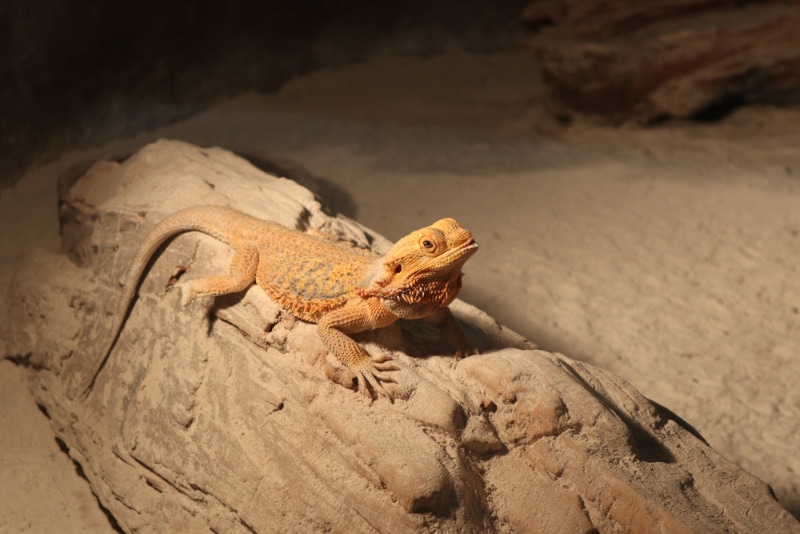
In the wild, bearded dragons undergo a hibernation-like state known as brumation in the winter and mate around springtime, when this period ends. This situation must be simulated in a setup to encourage your individuals to brumate. This can be achieved by decreasing the temperature to 80 °F (26.7° C) during the day and 60 °F (15.6° C) at night. In addition, their exposure to light must be limited to 10 hours of light and 14 hours of darkness. Your dragons will brumate for at least 2-3 months before they breed.
6. Place the Bearded Dragons Together
Once brumation ends and you re-adjust the temperature to its normal amount to simulate “spring”, both individuals should be housed together in the breeding tank. It is very important to observe them at this point for any signs of aggression, as they wouldn’t breed right away.
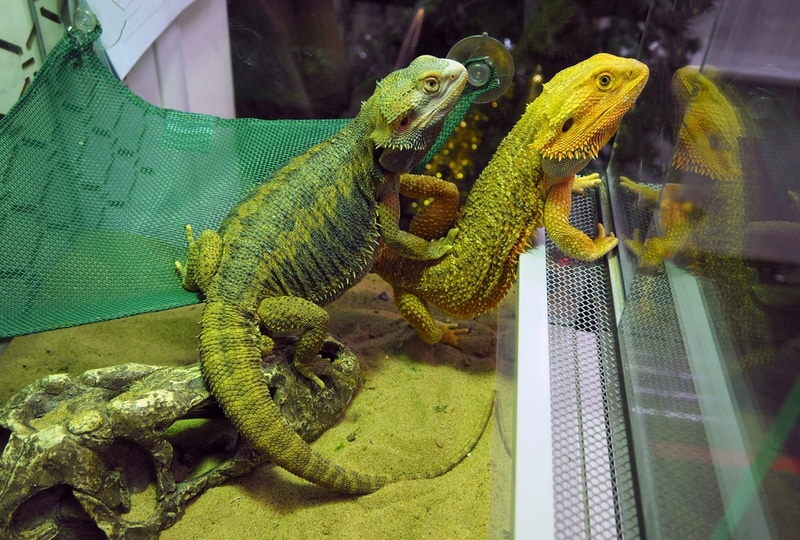
7. Check For Courtship Signs
Observe your bearded dragons as time passes (assuming they don’t mind each other’s company) for signs that courtship is imminent.
- Beard will likely turn black
- Foot stomping
- Chasing the female around the enclosure
- Head bobbing
- Waving an arm to signal readiness for mating
- Head bobbing
8. Observe Copulation
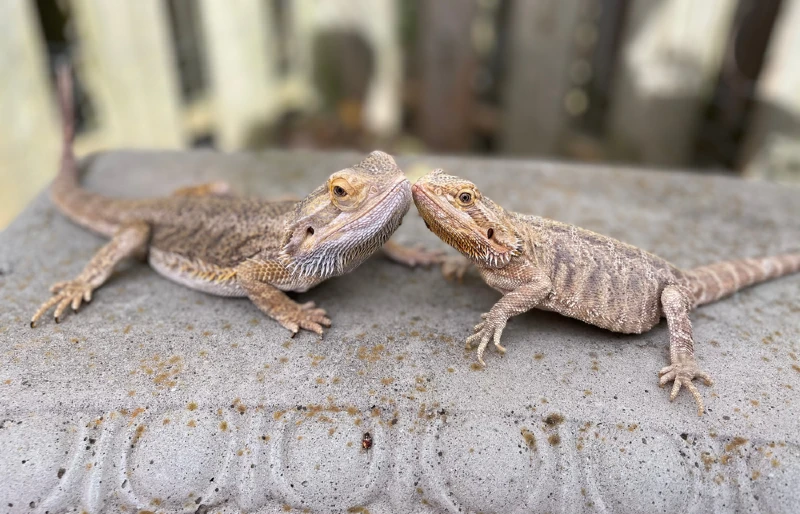
Copulation in bearded dragons is relatively short (lasts only for a matter of a few minutes) and is marked by the male gently climbing onto the female and biting her neck and both of them engaging in a “cloacal kiss”. Fertilization of the eggs happens inside the female’s body.
9. Allow Cohabitation
After the copulation, it’s best to leave the couple in the same breeding tank for a period of about a week.
10. Separate & Re-Mate
Return your male and female to their individual cages after the cohabitation period, and continue to condition both of them for another week. After this, repeat steps 6-9 once more. Multiple breeding sessions like this are recommended to ensure success.
11. Observe Female For Impending Lay
Females usually prepare to lay eggs 4-6 weeks after they’ve mated.
- Pacing in her cage
- Appearing restless or anxious
- Having a very enlarged belly, looking as it is full of “marbles”
At this point, the female should be housed alone (in the breeding tank, with the breeding box) and not in the company of the male. The male should be returned to his enclosure.

12. Introduce the Female To the Laying Box
Place the female in her laying box. Females typically lay their eggs in the mid-afternoon or early evening after digging for a comfortable spot. It may be difficult to observe the moment she lays her eggs, but she will often appear somewhat “deflated” after the process. A normal clutch size is about 25 eggs, but it might be as low as 15-20 or as high as 45-50 in some cases.
IMPORTANT: If you feel like your female dragon is struggling to lay or is unable to pass all her eggs, immediately take her to a veterinarian.
13. Return the Female To Her Cage
Female bearded dragons don’t have strong maternal instincts; once she’d laid her clutch, she should be returned to her own enclosure.
14. Retrieve & Incubate the Clutch
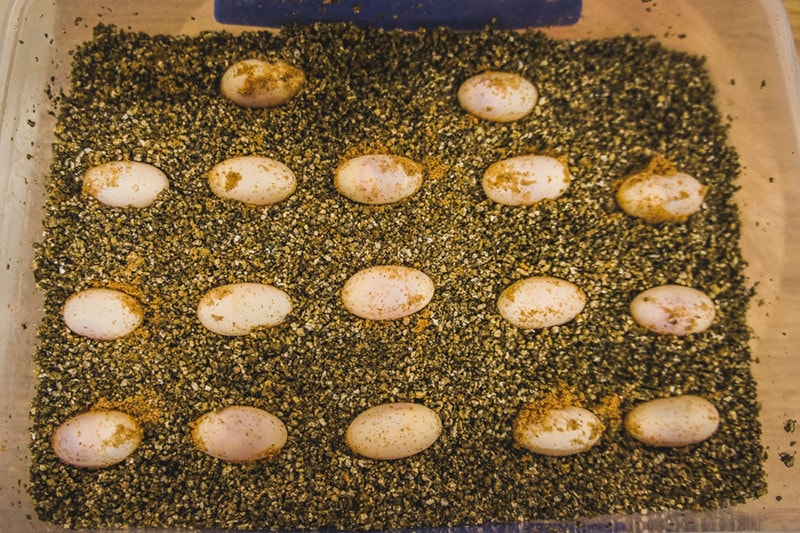
The eggs should be gently retrieved by careful digging. Please note that freshly laid eggs are very fragile and should be handled with utmost care. The substrate lining in the incubator should be indented with a spoon at equal intervals to make “pockets” for the eggs. Each egg should be placed in one pocket, and the eggs should be laid flat and equally spaced from each other.
Note: You should NOT cover the eggs with the substrate used in the incubator.
15. Incubator Settings & Monitoring
Adjust the incubator settings to 84-85 °F (around 29 °C). The humidity should be set at 80%. The temperature and the humidity should be carefully controlled and monitored throughout the incubation period.
Important: the incubator should be placed in a room that’s colder the temperature of incubation; so that it works to keep the temperature warm. If the incubator is placed in too warm a room, the embryos might die due to heat stress (and the incubator would rarely turn on, as the ambient temperature would be higher than the temperature it is set at).
Monitor your eggs at least once a week throughout the process. They should not appear overly wet or overly dry, as both of these conditions can lead to embryo death. The incubation period lasts around 60-70 days.
16. Monitor Hatchlings
As the eggs are about to hatch, they will “deflate” and develop water-like droplets on their surface. They will also turn slightly darker. It’s important to keep an eye on emerging hatchlings. You should NOT attempt to assist in the hatching process. The hatchlings should all emerge within 24-48 hours (from the first hatch to last one). The hatchlings should be left in the incubator for a day, so they can adjust to the temperature settings of their environment. Eggs that don’t hatch after 72 hours after the first hatchling emerges should be discarded.
17. Separate Hatchlings
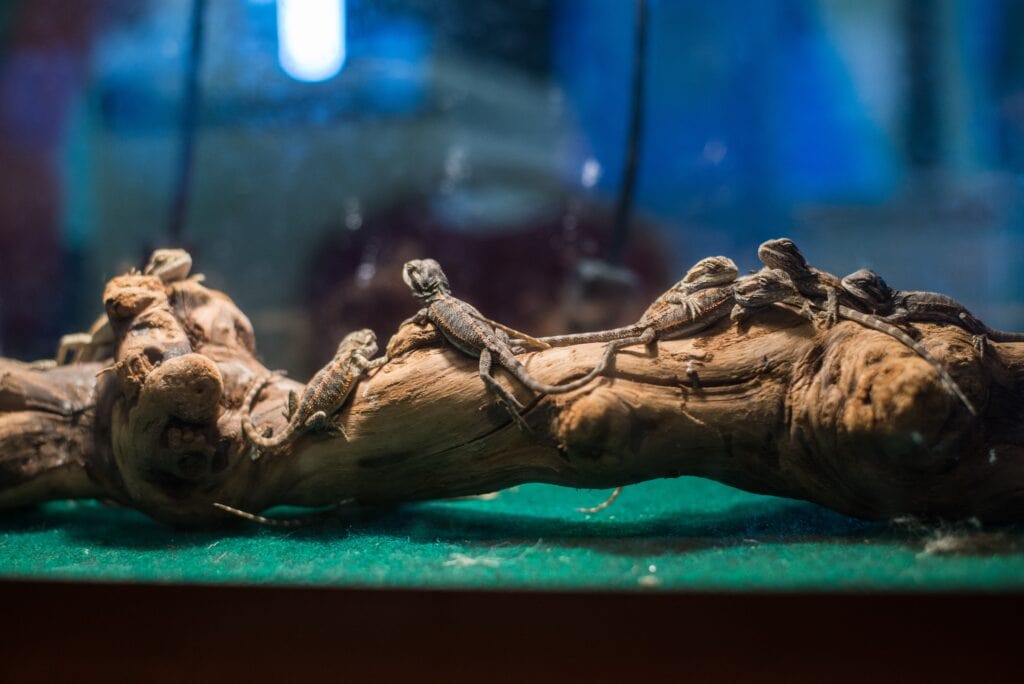
Hatchlings don’t need to be fed for about 2-3 days after they hatch; they absorb their egg yolks before they hatch which offers them sustenance for the first few days of life. After this period though, they definitely need to be fed with gut-loaded healthy crickets and chopped vegetables. It’s best to separate the hatchlings by size and place the larger, stronger hatchlings in one cage, and the smaller ones in another cage – this is to ensure that everyone gets to eat amidst the competition. Hatchlings are fairly independent when born and don’t require maternal or paternal care. Placing them with adults is dangerous as their “parents” wouldn’t recognize them as their “children” and might harm or even eat them.
Other Important Information
Please be mindful that you might have to register to breed and sell bearded dragons, depending on where you live. Attempting to sell them without the proper license might have legal consequences. In addition, if you do plan on selling your bearded dragon babies, you will also need to take the appropriate steps to track their date and time of birth, as pet owners often require their birth certificates to be presented prior to a sale.
Conclusion
Breeding bearded dragons is interesting, but is a task best left to professionals. The capital cost, time dedication, and chances of things going awry are risks that may make breeding attempts unsuccessful and lead to heartbreak. If you do plan on breeding your dragons, it’s important to ensure that you’re ready for the entire process and able to care for all the hatched babies as well.
Featured Image Credit: bluedog studio, Shutterstock


