How to Change Goldfish Water in Your Tank (in 5 Steps)

Updated on

The importance of clean water can’t be stressed enough when it comes to caring for your fish. If you want a healthy goldfish, you have to start with healthy water.
Usually, the water we start out with is clean, but it sure doesn’t stay that way. (You know what I’m talking about if you’ve owned a goldfish for any length of time.)
They eat, they poop, and the nitrates rise. So, this means we’ve got to roll up our sleeves periodically and change our goldfish’s water.
But don’t worry:
Today I’m going to show you how to do this the EASY way.

How to Do a Small Water Change for Your Aquarium
Small water changes are ideal to maintain already low nitrate levels periodically. Depending on your setup this may be all you need, especially if your tank is not very dirty and your stocking is light.
And, of course, if your water quality is already on point or close to it.
Note: This WILL take forever if you intend to do a big water change or if your tank is over 40 gallons! See the section after this on how to do a big water change instead.
- A 5-gallon bucket
- Siphon & Squeezer
- Water conditioner (I use Prime)
1. Disconnect the power source
All heaters and pumps should be unplugged. Not only does it prevent your equipment from burning out but it protects you in case of a water spill.
Done? Great!
2. Start the siphon and vacuum into the bucket
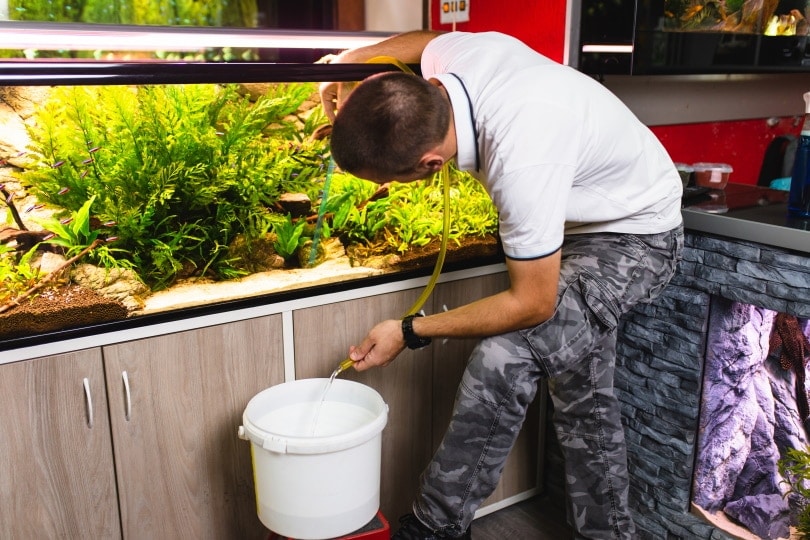
With one end of the siphon in the tank water and the squeezer end in the bucket, begin squeezing the rubber squeezer rapidly. This will start the water flow from your tank to the bucket.
Tip: It seems to work better if the end is pointed up, and best if both ends are underwater. Now that your flow is going, it’s time to pick up the debris from the bottom. If you have a bare-bottom tank, this is pretty straightforward.
Anything on the bottom will probably have the most waste trapped under it, so it is time to pick it up and vacuum underneath. If you have sand, it’s still pretty easy. You can gently swirl the end of the siphon over the sand to stir up the debris and vacuum it up.
Now, if you have gravel, you need to plunge the entire end of the siphon as far as you can and try your best to get all the debris out. Sadly gravel is quite difficult to clean and there’s really not an easy way around it. (I recommend removing it and using sand or bare-bottom instead for your goldfish—you will be shocked at how much easier it is to clean.)
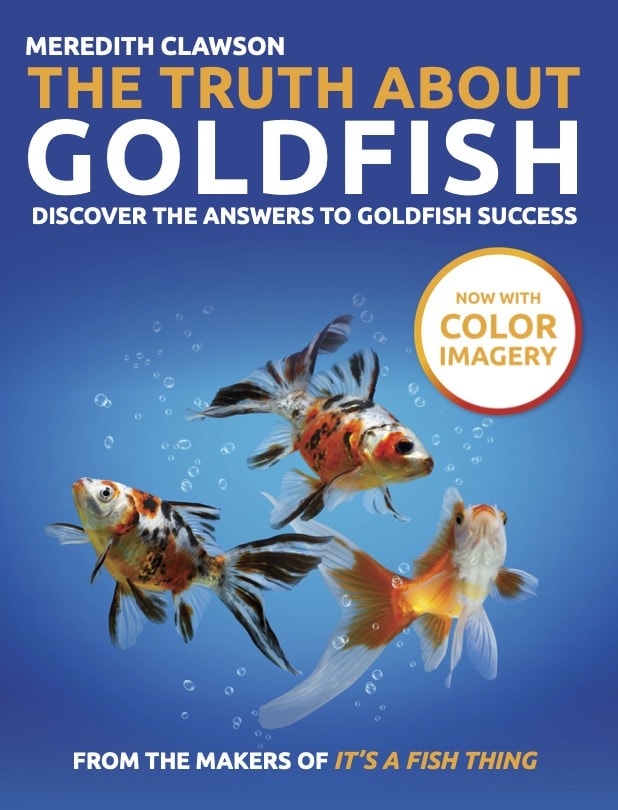
If you are a new or even experienced goldfish owner and feel tired of what seems like endless water changes, you should also check out our best-selling book, The Truth About Goldfish. It covers everything about all the seamless tank maintenance practices you could imagine and more!
3. Dispose of the bucket water
Is your bucket full yet? Time to stop vacuuming (just remove the siphon from the tank) and dump it out!
Here’s a secret: Plants LOVE this wastewater from your tank. Instead of putting it down the toilet or sink (which you can still do), I recommend watering your garden if you have one.
- Repeat this process from step one until you have removed how much water you want (typically 10–25%)
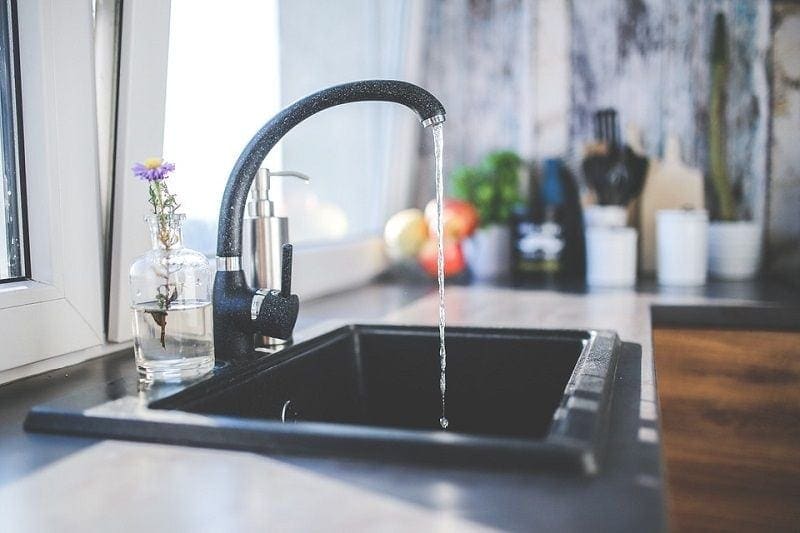
4. Refill the bucket with clean water & condition
It’s time to refill the bucket with clean water now. Be sure to match the temperature to within 2 degrees for your goldfish. I use a digital thermometer for this part because it is usually much more accurate than testing by hand. Now you need to add your water conditioner (I like Prime the best).
If your water source is too acidic, now is the time to put your buffer in as well. You can give it a few good swirls with your hand or the siphon end to mix it up nice and thoroughly.
5. Add the new water into the aquarium
Lug your bucket to the tank, trying your best not to slosh the water all over the floor, and carefully—and SLOWLY—pour the water in.
And there you go, my friend. You’re all done!

How to Do a Big Water Change for Your Aquarium
Okay, so the method above is great for when you need to do a small water change, but what if you need to take out and replace a LOT of water? You will probably end up breaking your back.
Yikes!
Many goldfish keepers really need to do 50% or more water changes at least once every week. And if your tank is over 20 gallons, that’s a whole lot of buckets to haul. Not everybody has the strength—or time—to do that.
But don’t panic:
I have the strategy for that too that involves much less effort on your part.
- Aquarium water changing kit (I prefer the Python No Spill Clean N’ Fill)
- Water conditioner
- Pump (optional)
Video recap:
1. Connect the faucet adapter & green plastic pump to the sink
You will probably need to unscrew the default aerator on your sink. Then screw the brass connector in its place. Done?
Now you screw the bright green plastic pump onto the brass connector.
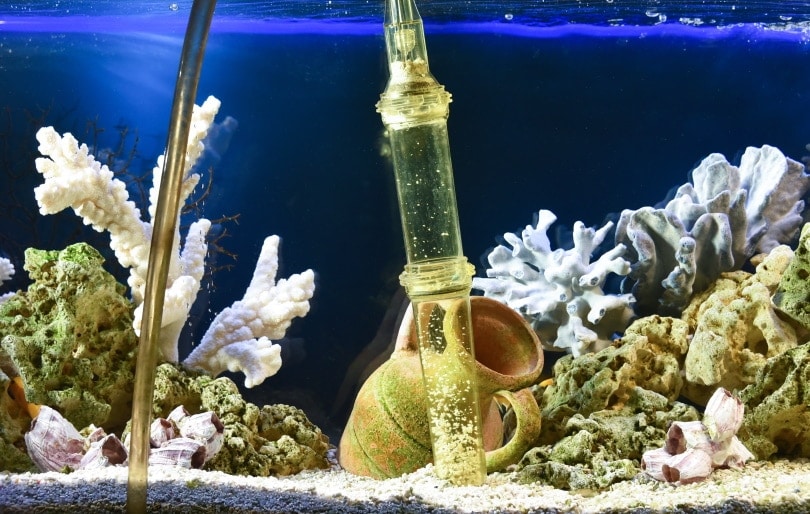
2. Put the other end of the siphon into the water
This is pretty straightforward (I hope!). If it’s not in the water it won’t be able to suck anything out.
3. Start the drain process & vacuum the waste
Sink method
For this method, just turn on the sink and the suction of the water coming out will start the suction. Make sure it is in the “drain” position before you turn the water on and start the suction. Now you can use the end in your tank to pull up the waste.
Don’t forget to get those really dirty spots under anything in the tank.
Pump method
If you don’t want to waste so much water…
… Or if you have a pretty big tank…
… Or you want to change out a lot of water in a much SHORTER amount of time…
… The pump method is for you.
Instead of turning on the sink and wasting perfectly good clean water, you remove the hard plastic tube and connect it to a submersible pond pump. This takes out a lot of water FAST.
That said, with the pond pump, you won’t be able to get waste out of gravel or do as good of a job vacuuming up the poop. But if you use good mechanical filtration with a bare-bottom goldfish tank, you probably don’t need to vacuum up the debris much anyway.
It really depends on your setup.
4. Switch off sink & condition the water
Once you’ve taken out how much water you want, it’s time to turn the sink off. Good job! Now you just need to condition the water and refill. Unlike with the bucket method, just measure out the full amount of water conditioner for the volume of your tank and put it straight in the water with your fish.
Don’t worry—this strong water conditioner concentration will soon be diluted and won’t hurt your fish temporarily.
5. Refill the tank
Is your tank conditioned? Perfect! The last step is to refill the tank with fresh water. All you have to do is change the green pump to the “fill” position and start the water flow.
Don’t forget to match the temperature (important!). And you’re all done!

Conclusion
This was a simple run-down of how to do water changes for your goldfish tank. There are more complex ways to do it, such as aging & aerating the water first before you refill, but not everyone wants or needs to do that. I bet you feel much better knowing how awesome of a goldfish owner you are by giving them nice clean water!
Great job on all your hard work—it’s totally worth it!
Now I want to hear from you. Do you have any tips you’d like to share? Got a burning question?
Featured Image Credit: Chaikom, Shutterstock