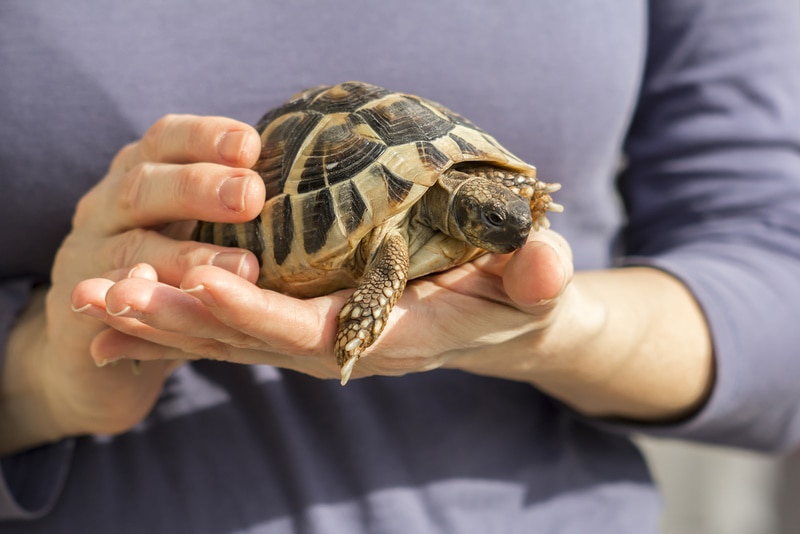
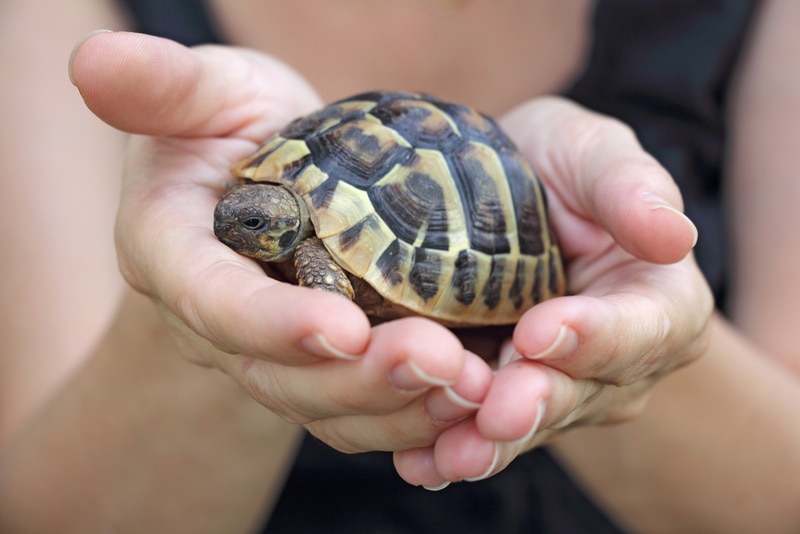
How to Clean a Turtle’s Shell: Vet-Reviewed Steps & Tips
Updated on


Sometimes a turtle’s shell must be cleaned to keep them happy and healthy. It might sound counterproductive, as many turtles tend to spend most of their time in the water. However, staying wet does not always keep a turtle’s shell and body as clean as necessary to stave off illness and disease. Therefore, you might find yourself in need of “bathing” your turtle, even if just occasionally. Here’s what you should know about safely and easily cleaning your turtle’s shell.

When Should Your Turtle’s Shell Be Cleaned?
There is no need to maintain a cleaning schedule for your turtle’s shell. With any luck, you won’t have to clean your pet’s shell often. Simply inspect the shell once a week or so to see if cleaning is required. If your turtle’s shell shows signs of algae and/or dirt buildup, it’s time to clean it.
Cleaning a Turtle’s Shell
Preparation Steps
When it’s time to clean your turtle’s shell, you will need to gather a few bathing supplies to ensure that the process goes smoothly and safely.
- A bathing tub, such as a Rubbermaid container or large bucket
- A small, soft, and unused brush (such as a new toothbrush)
- Clean, dechlorinated water
- A cup for rinsing
You will need to dechlorinate the water by either treating it with a water conditioner the day before you’ll be using it or by boiling it and letting it cool. Avoid using your sink or bathtub for bathing your turtle, as turtles can harbor Salmonella (even when they look and act healthy) and spread the disease through their feces 1. Utilizing a plastic tub or bucket that won’t be used for anything else will help ensure that you don’t expose yourself or your family to the possibility of illness.

1. Prepare the Bathing Tub
Once you have dechlorinated the water that you will be using to clean your turtle’s shell, fill the bathing tub. It should be large enough for your turtle to comfortably hang out inside. Let the water reach room temperature before you proceed, to make sure it will be comfortable for your turtle.
2. Disinfect Your Hands
To ensure that you don’t pass any germs on to your turtle, thoroughly wash and dry your hands before you start cleaning their shell. Regular soap and water are all that you need to use; just be sure that all the soap is completely rinsed away, so you won’t transfer it to your turtle’s shell as you work.
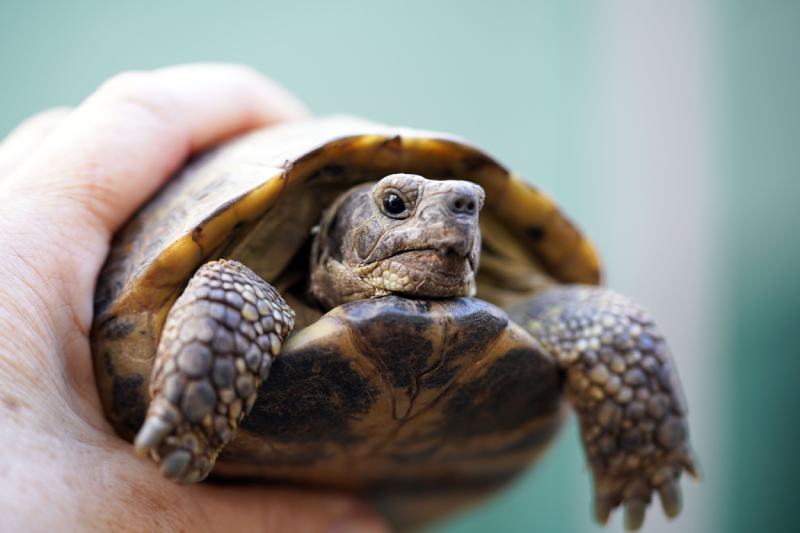
3. Lightly Scrub Your Turtle’s Shell
When you’re ready, place your turtle into the bathing tub, and get the soft toothbrush wet. Gently scrub the entirety of your turtle’s shell using circular motions, being careful not to apply too much pressure. Keep in mind that your turtle’s shell contains nerves that can feel every move that you make. Too much pressure can lead to discomfort and stress.
4. Consider Scrubbing the Rest of Your Turtle’s Body
Once you have finished cleaning your turtle’s shell, you can clean their tail, legs, belly, and neck with the brush. These areas are even more sensitive than the shell, so use as little pressure as possible. If you don’t notice any dirt or algae buildup on the body, it might be best to skip this step so you don’t put your turtle through any more stress than is necessary.
5. Give Your Turtle a Thorough Rinsing
Once the cleaning process is complete, use the cup to rinse your turtle’s shell and body with the dechlorinated water. This will help ensure that any loose debris is removed before they are put back into their tank habitat.
6. Inspect Your Turtle’s Shell and Body for Problems
Before putting your turtle back in their tank, check their shell and body for possible problems. Things like discolored skin, a patchy-looking shell, swelling, sunken eyes, cracks, cuts, and irregular growths should be reported to your veterinarian as soon as possible. These could indicate an underlying health problem or injury that must be addressed.
7. Clean Everything Up
Properly dispose of your turtle’s bathing water, and disinfect your supplies before putting everything away. Either pour the water down the toilet or around a tree in your yard to avoid the chance of spreading bacteria in your home. If you choose to pour it down the toilet, use a disinfectant to clean the toilet afterward.
Next, disinfect your bathing tub and toothbrush with disinfectant spray or soap and water, then thoroughly dry the items before storing them away for your next turtle bathing session. If you clean your turtle’s shell indoors, it’s a good idea to clean your workspace with disinfectant spray for good measure.
A Quick Review
Cleaning your turtle’s shell should only be done when the beginning of algae and/or dirt buildup is noticeable. The process helps get rid of the algae and dirt and gives you the opportunity to look for signs of injury, disease, and other problems. After you’ve cleaned your turtle’s shell once, you should find the process to be easier in the future.
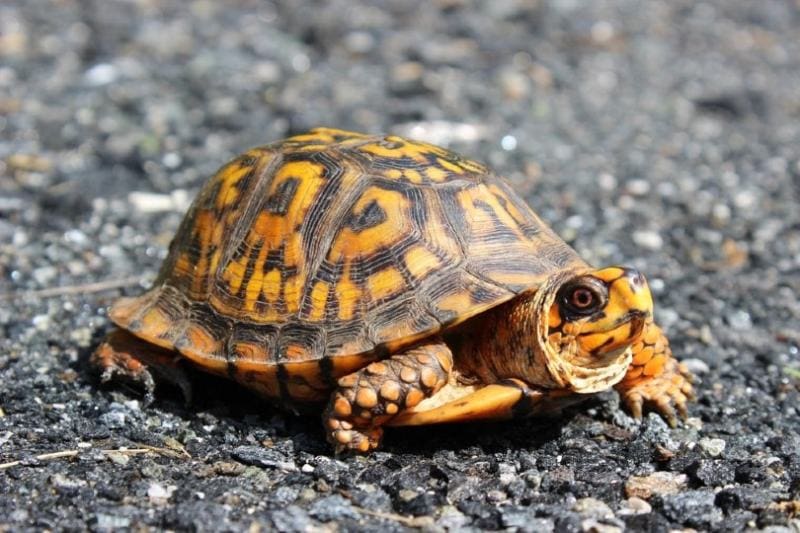
Featured Image Credit to: Maks_Nova, Shutterstock