How to Clean Your Dog’s Ears: 8 Vet-Approved Steps

Updated on


Keeping your dog clean can be a challenge, and that includes maintaining the ears. Most dogs don’t need frequent ear cleaning, but an occasional deep clean can keep your dog’s ears clean, healthy, and free from infection. But if you’re going to clean your dog’s ears, learn how to do it right—bad cleaning habits like blindly sticking a Q-tip deep into your dog’s ear canal can cause serious damage. Here’s a quick guide to the best way to clean your dog’s ears safely.

The 8 Steps to Clean Your Dog’s Ears
Before you start, you’ll need a few basic tools. The most important tool is an appropriate ear-cleaning solution. Look for a vet-recommended brand—don’t use hydrogen peroxide, rubbing alcohol, or a cleaner designed for human ears. You might also find it useful to have a few old towels, some dirty clothes, and cotton balls or pads. Finally, if your dog has long hair in or around their ears, tweezers or small grooming scissors can be useful too.
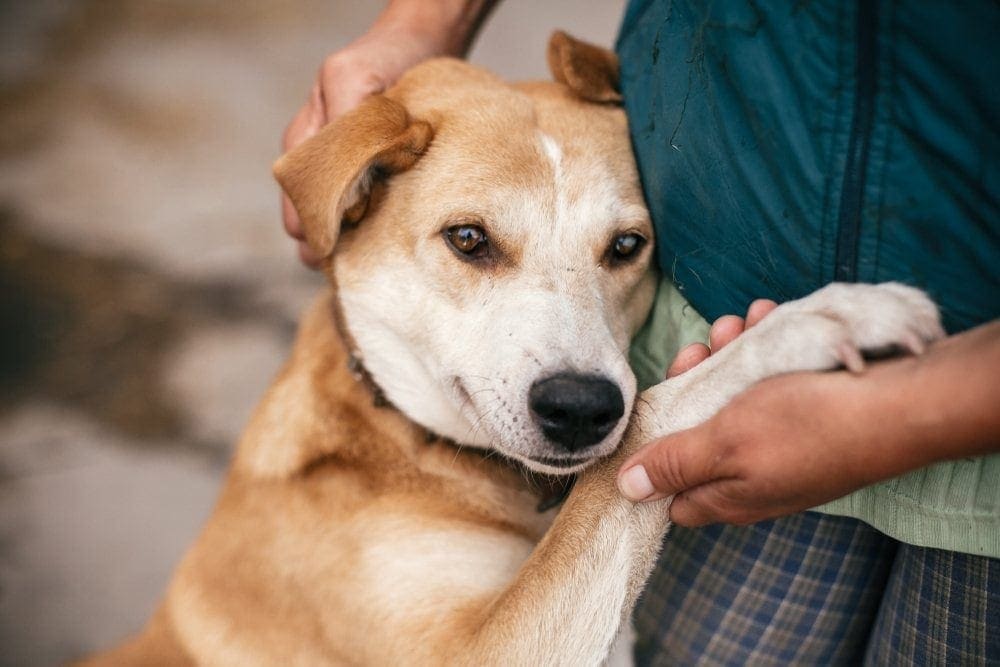
1. Get Your Dog Comfortable
When you’re cleaning your dog’s ears, it’s important to get in a comfortable position. A small dog can be restrained by wrapping them in a towel, while you’ll want to find a position that makes it easy to restrain a large dog. Many owners put their dogs in the bathtub or outside to avoid messes. Make sure that any tools are within reach.
2. Check for Ear Irritation
Before you start, look for signs of irritation, redness, itchiness, unusual discharge, or foul smell. These might be signs of an infection or ear mites. If you think there’s something wrong with your dog’s ear, don’t clean it yourself—take your dog to the vet.
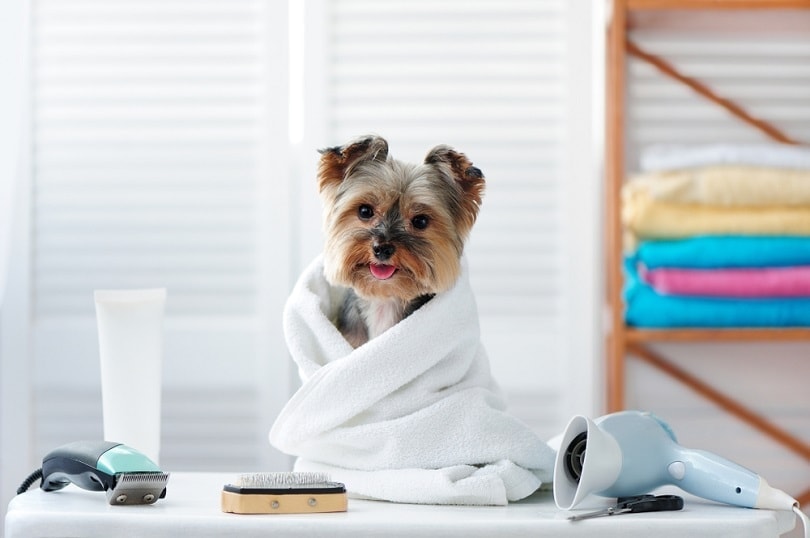
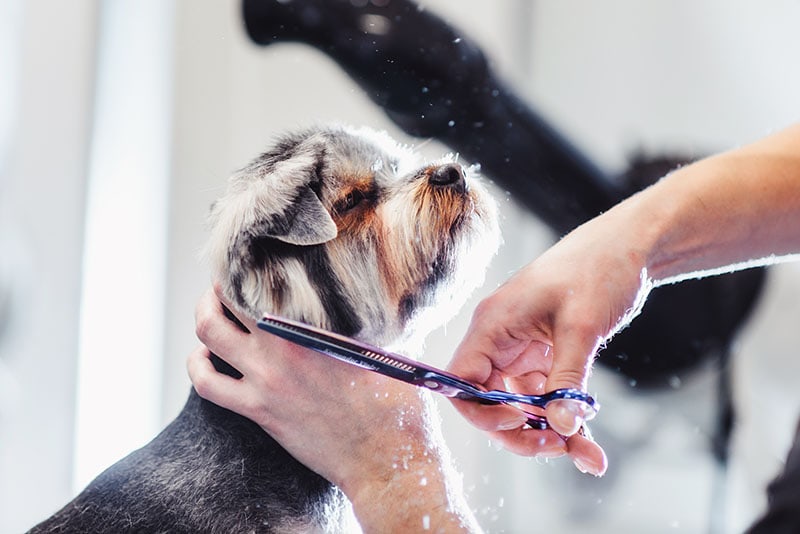
3. Trim and Groom If Necessary
If your dog has hairy ears, you might need to trim back the hair to clean properly. Remove any matted hair or hair that makes it hard to see properly. If your dog only has a little hair in the way, you might be able to brush it to the side and clean around it.
4. Fill One Ear With the Cleaning Solution, and Massage Gently
Once you’ve done any grooming you need to, the next step is to insert the ear cleaning solution. If your dog has floppy ears, you’ll have to hold the ear flap open. Carefully pour the cleaning solution into the ear canal—you might need more than you think. Leave the solution in the ear for about 15 to 20 seconds, and massage the base of the ear gently.
5. Allow Your Dog to Clear Out the Solution
Release your dog’s head, and allow your dog to clear out the solution. Most pups will shake their heads vigorously, so you’ll probably want to use a towel as a splash guard. If your dog doesn’t shake their head, don’t worry; gravity will do the work too.
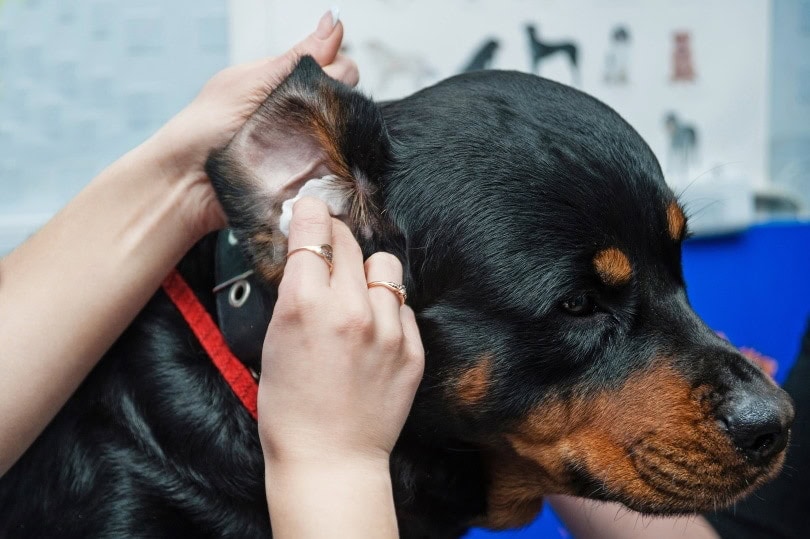
6. Clean the Visible Ear With a Wipe If Necessary
If your dog has earwax or other gunk on their outer ear or the visible part of their ear canal, you can use a cotton ball or cleaning wipe to wipe it off. Clean gently, especially around the ear canal. Don’t use a Q-tip to poke into nooks and crannies or try to clean deep in the ear canal. This can cause damage to your dog’s delicate anatomy within the canal.
High-quality wet wipes can help you keep your dog clean from head to tail. Our Hepper Wash Wipes are infused with natural, moisturizing ingredients that will soothe your dog's skin while effectively removing dirt and grime. These soft, hypoallergenic wipes are made in the USA and safe for dogs and puppies of all breeds.

- Gentle Care For All Pets - Infused with moisturizing hypoallergenic ingredients & enriched with...
- Deep Cleans From Head to Tail - Tackle the toughest dirt & messes with our extra strong pet wipes...
7. Repeat With the Other Ear
Once you’ve cleaned one ear, it’s time for the other. You’ll want to repeat the same steps: grooming, using ear cleaning solution, and cleaning the visible ear. Make sure to give your dog lots of praise along the way for their patience.
8. Reward Your Dog Frequently
Most dogs don’t like having their ears cleaned, so praise and rewards are important for helping your dog stay calm and comfortable. You might want to give them a treat after each step, especially after the cleaning solution.

Final Thoughts
Ear cleaning can be a little scary for dogs, but regular cleaning can have lots of benefits, especially if your dog has floppy or hairy ears. Most pups will benefit from regular cleaning as needed, and it is a great chance to make sure that your dog doesn’t have any ear mites or other problems.
Related Reads:
Featured Image Credit: fetrinka, Shutterstock