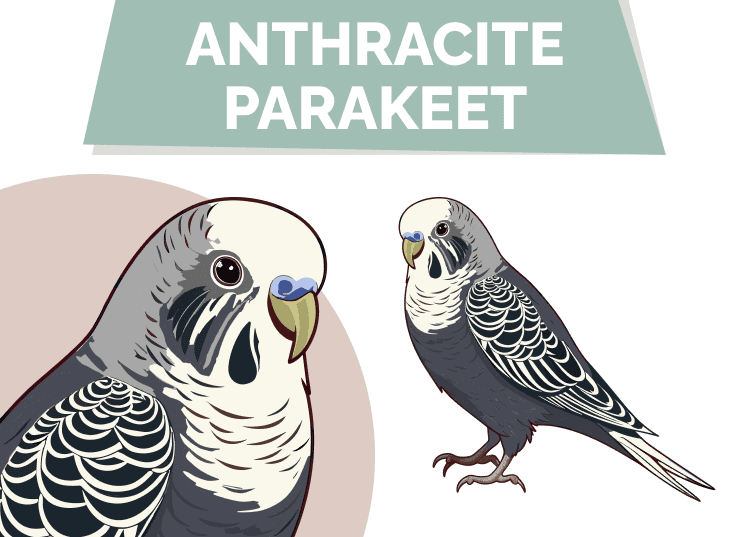
How to Introduce Parakeets to Each Other: 7 Vet-Approved Steps
Updated on


How you introduce your parakeets to each other plays a huge role in how they will interact for the rest of their lives. You cannot simply throw two of these birds together and expect them to get along. A gradual introduction is best, even between two very well-socialized birds.
To properly introduce your parakeets, there are a few very specific steps you should take. We’ll discuss each step in detail below.

The 7 Tips on How to Introduce Parakeets to Each Other
The term “parakeet” refers to several parrot species across various genera. The term is often used quite loosely and generally refers to small and medium-sized parrots with long tails. In this article, we specifically focus on the rose-ringed parakeet (Psittacula krameri). Many species of parrots referred to as parakeets have a strong flock drive, so this information may be transferable to other species.
1. Quarantine
Before you introduce two birds to each other, your newcomer should be quarantined for a period of at least 4 to 6 weeks. Quarantine means that the new parrot should be in a different room with their own cage and supplies, and these shouldn’t be mixed with those of your existing pet.
This step is vital because a new pet might be harboring hidden illnesses that can be passed onto your existing pet. Before interacting with each pet, you should be mindful of your own hygiene. This involves thoroughly washing your hands before and after handling each animal and ideally, wearing different clothes during interactions.
2. Separate Cages, Same Room
You should always start with separate cages. These should be outfitted with everything your bird needs to thrive, which helps reduce stress during the introduction period. You want each bird as relaxed as possible, and that’s only going to happen if they have all their needs met.
Place these cages in the same room and decently close together. However, the birds should not be able to interact with each other. Make sure there is enough buffer room between them so that the birds cannot reach their beaks through the cages at each other.
You’ll need to keep them separate until they are used to each other’s presence. Both should return to being relatively stress-free and should spend most of their time ignoring one another.

3. Observing and Waiting
You should give each bird a week or more to observe each other through their cage. It may take some parakeets much longer than a week to settle down, but you should leave them in their separate cages for at least a week—even if they seem fine before that.
During this time, make sure they can see and hear each other. Don’t try to interfere with their behavior too much, though. Trying to make your parakeets not perform certain territorial behaviors may only make them worse. Instead, play the waiting game.
4. Parallel Playtime
After about a week of letting the birds observe each other through their cages, you should let each bird out individually to play in the same room. Don’t let both birds out at the same time. Instead, make them take turns.
This step lets the birds get used to each other in a slightly different context, and it helps ensure that both birds are getting the exercise they need.
If one bird approaches the other’s cage and begins being aggressive, place them back inside their own cage and wait a few more days. Your goal is to be able to let one bird out and have them generally ignore the other bird (or at least not act aggressively). This step should allow you to gauge whether your birds have had enough time simply observing each other or not.

5. Neutral Territory
Next, establish some neutral territory for your birds to play in. Preferably, this should be in a different room and should involve toys that neither bird had seen before. You don’t want either bird to feel possessive of the space or things in it.
Once this space is set up, you can allow each bird out of its cage at the same time (in this neutral space, of course). Observe them very carefully and keep the first session very short—even 2–3 minutes may be enough at this stage! If your birds display any sign of aggression, separate them right away. You may need to let them observe each other for longer if this is the case.
As they become more used to each other, you can elongate these mutual play sessions. Keep these sessions relatively short and watch for signs of stress. You want to separate the birds before they show any signs of stress. Try to end each play session on a happy note before either bird gets irritated.
If you decide to do these short sessions once a day, you can expect it to take several weeks before you can move on to the next step.
6. Gradual Cohabitation
If the birds are getting along well together during the longer play sessions, you can consider having them in the same cage for part of the time. Preferably, you should only have them in the same cage when you can supervise them directly—in the beginning, at least.
Keep the first sessions short, just like you did when introducing the birds outside the cage. These sessions should help you figure out if the cage is suitable or if the birds require another food bowl, more toys, or more room. You likely won’t have the cage setup perfect at first, so these practice sessions are vital to help you make the necessary adjustments.
You can increase the amount of time the birds spend in the same cage as they get along. Luckily, if the previous steps were done correctly, this step shouldn’t take long. Most birds adjust to cohabiting within a week or so.

7. Continuing to Observe
Continue to observe your birds for signs of stress and injuries. While your parakeets may seem like they’re getting along great, things may change in the future. Environmental changes, stress, illnesses, and even molting can all make birds more irritable and cause fighting. The more birds you keep together, the higher the chance that one will become stressed and mess with the social peace of the flock.
Parakeets that have been living together for years may need to be separated occasionally and reintroduced once the source of conflict has passed. You’re never off the hook with observing your birds, as you never know when they may suddenly stop getting along.

Conclusion
Parakeets can live together when introduced properly. The easiest parakeets to keep together are those that have been together since the beginning. However, introducing two birds later in life is also possible. It just takes time and a bit more know-how.
The most important thing is to be patient. These steps take time, but if you try to rush them, you risk forcing the birds together too soon. A bad first impression can make it much harder to keep two parakeets together without fighting. It’s much easier to go slow and steady from the start, even if it may mean moving slower than you would like.
Featured Image Credit: Redha Ali, Shutterstock