How to Sharpen Dog Nail Clippers in 10 Simple Steps

Updated on

Click to Skip Ahead
Your furry friend relies on you for their grooming needs, and one essential aspect of canine care is keeping their nails trimmed. Dull dog nail clippers can make this task uncomfortable and even painful for your beloved pet. But don’t fret!
With the right knowledge and a few simple tools, you can easily bring those clippers back to their sharp, efficient glory.
In this comprehensive guide, we’ll walk you through the process of sharpening your dog’s nail clippers in just 10 easy steps. Say goodbye to splintered nails and hello to happy paws, as we show you how to keep your pup’s nails in tip-top shape with ease!

The Importance of Sharp Clippers
Having sharp dog nail clippers is of paramount importance for the well-being of your furry companion. Dull clippers can cause crushing or splintering of the nail, leading to pain, discomfort, and potential injury to your pet.
When nails are trimmed cleanly and efficiently, it promotes proper foot posture, reduces the risk of ingrown nails, and prevents joint issues that can arise from improper gait. Sharp clippers make the entire nail-trimming process quicker and less stressful for both you and your dog, fostering a more positive grooming experience and reinforcing the bond between pet and owner.
Regularly maintaining sharp clippers is not just a matter of convenience but a fundamental aspect of responsible pet care.

When Should I Sharpen My Dog Clippers?
The timing for sharpening your dog nail clippers depends on several factors. Firstly, monitor the clippers’ performance – when they start to struggle or crush nails instead of cutting cleanly, it’s a clear sign they need sharpening.
The frequency of use is another key consideration; if you trim your dog’s nails regularly, you might need to sharpen them more frequently, potentially every few months. Another factor is the type of clippers you own, and the quality of the materials used can influence how often they require sharpening.
When in doubt, the golden rule is to sharpen your clippers whenever they no longer provide a smooth and efficient nail trim, ensuring your dog’s comfort and overall well-being.
Things to Prepare:
Tools
Before getting started, it’s helpful to keep all your materials cleaned, prepared, and well within reach to make the sharpening process much easier.
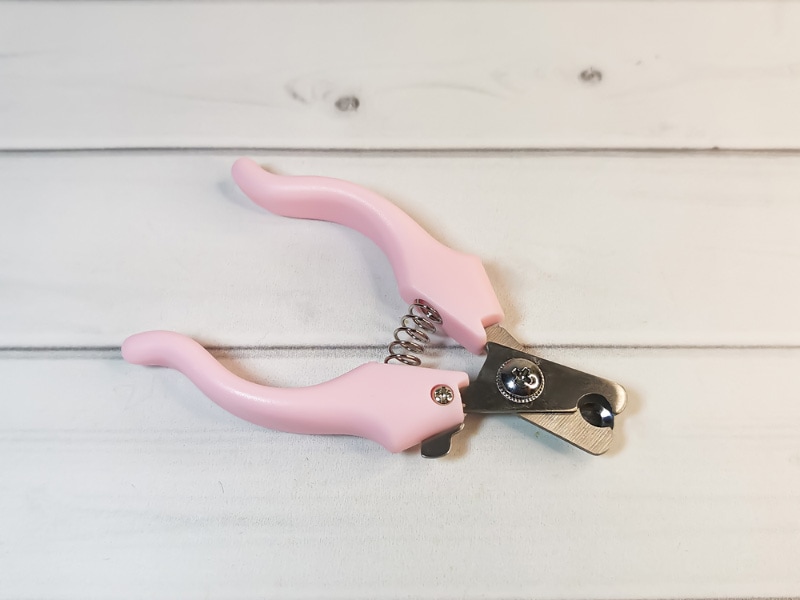
- Your dog nail clippers that are to be sharpened
- A sharpening stone or diamond nail file
- A towel or cloth
- Safety goggles (optional, but recommended)
Workspace
Before you begin sharpening your dog’s nail clippers, it’s essential to prepare a clean and well-organized workspace. Find a well-lit area with good visibility to ensure accuracy during the sharpening process. Lay down a towel or cloth to catch any metal shavings or debris, making cleanup easier and preventing any small parts from getting lost.
Safety Precautions
Safety is paramount when sharpening dog nail clippers. To ensure a secure environment, it’s always a safe practice to wear safety goggles to shield your eyes from potential metal shavings.
Keep your hands and fingers away from the cutting edge of the clippers while sharpening to prevent accidental cuts or injuries. If you choose to use a vise or clamp to secure the clippers, make sure it’s stable and properly adjusted to minimize any risk of accidents.
By adhering to these safety precautions, you can maintain a safe and injury-free workspace while sharpening your dog’s nail clippers.

The 10 Steps for Sharpening Dog Clippers
1. Inspect the Clippers
Before sharpening, it’s crucial to visually inspect the clippers. Look for any dirt, nail debris, or signs of wear and tear. Cleaning the clippers ensures that you’re working with a clean surface and allows you to spot any potential issues that may need addressing.
2. Disassemble the Clippers if Needed
Some dog nail clippers have removable parts, such as a guard or a cover. If your clippers have these components, consider disassembling them to access the cutting edge more effectively. This step can make the sharpening process more thorough.
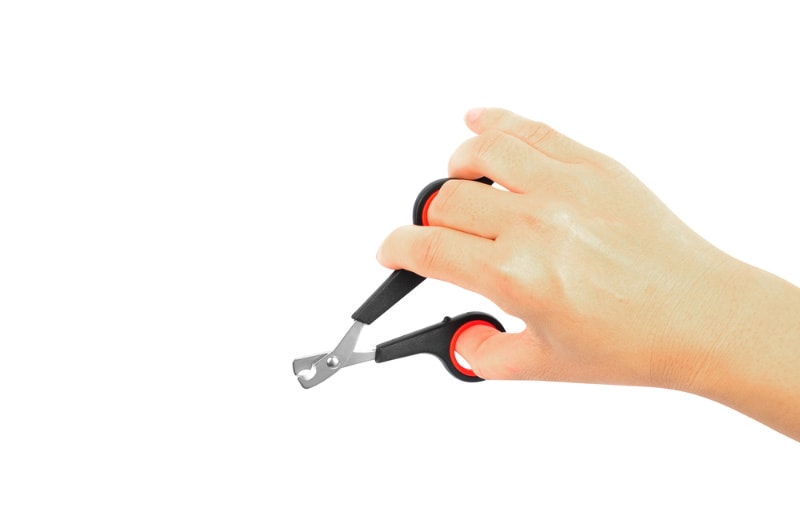
3. Hold the Clippers Securely
Properly securing the clippers while sharpening is vital for safety and precision. Ensure a firm grip on the clippers to prevent any accidental slips or mishaps during sharpening. For added stability, consider using a vise or clamp if available.
4. Sharpen the Cutting Edge
Using a sharpening stone or diamond nail file, carefully sharpen the cutting edge of the clippers. Maintain a consistent angle and use smooth, controlled motions to remove any dullness and restore sharpness. This step is central to ensuring clean and painless nail trims for your pet.
5. Test the Sharpness
After sharpening, it’s essential to test the clippers’ sharpness. Try cutting a small piece of paper to ensure that the clippers cut smoothly and cleanly. This test helps verify that the sharpening process was successful.
6. Remove any Burrs
Inspect the edge for any rough spots or burrs that may have formed during sharpening. Use the fine side of the diamond nail file or a finer grit on the sharpening stone to smooth out these imperfections for a clean cutting edge.
7. Clean and Oil the Clippers
After sharpening and removing any debris, it’s a good practice to clean the clippers thoroughly. Apply a small amount of clipper oil to the hinge and pivot points to maintain proper functioning and prevent rust.
8. Final Inspection
Take a moment to review the clippers one last time. Ensure they are clean, sharp, and free from any defects or burrs. This step helps guarantee a successful nail trimming session.

9. Test The Clippers
Perform another test cut on a piece of paper or a soft material to confirm that the clippers are now cutting cleanly and efficiently, without any snags or tearing.
10. Store Clippers Properly
Store your sharpened clippers in a safe and clean place, away from moisture, to prevent rust or dulling. Proper storage ensures that they remain ready for future nail trimming sessions, providing a safe and comfortable experience for your dog.
Final Thoughts
Mastering the art of sharpening your dog’s nail clippers is not only a practical skill but also an essential one for ensuring your pet’s comfort and well-being. With a systematic approach encompassing inspection, secure handling, effective sharpening techniques, and thorough testing, you can maintain clippers that consistently deliver clean, pain-free nail trims. Remember to also prioritize safety, cleanliness, and proper maintenance. A well-sharpened pair of clippers not only facilitates the grooming process but also fosters a positive bond between you and your furry friend. So, sharpen those clippers, keep your pet’s paws happy, and ensure a smoother, more enjoyable nail trimming experience for both of you.
Featured Image Credit: pedphoto36pm, Shutterstock