How to Wrap a Dog Paw: 9 Vet Approved Tips
Updated on


Click to Skip Ahead
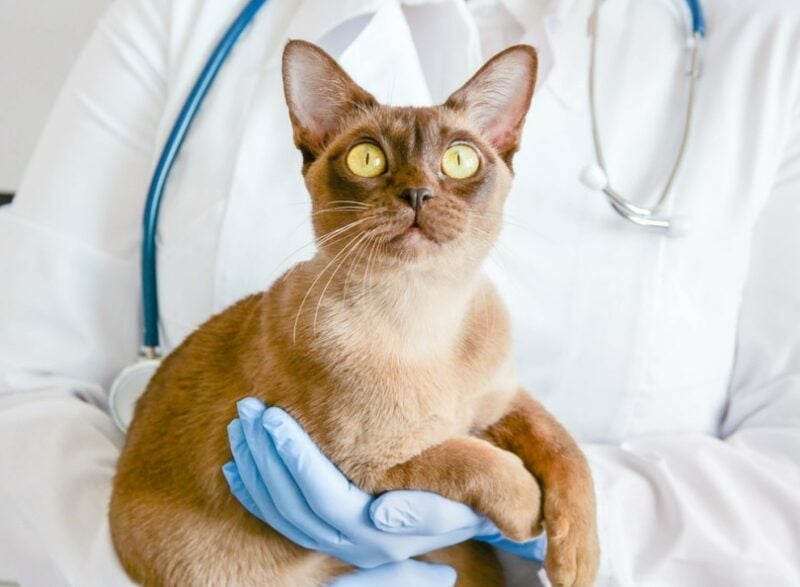
A hurt paw can cause your dog pain and depending on the type of injury, could expose them to infection that results in the development of disease. If the injury is anything more than minor, it’s important to see a veterinarian as soon as possible to have the situation assessed. Some of the most common situations that might require you to wrap a dog’s paw include a ripped toenail, scraped paw pad or a small wound.
Wrapping your dog’s paw can protect the injured site and relieve pain until the minor injury heals or you can get professional help. If you decide to wrap your dog’s paw, you need to know how to do it properly. Here are expert tips that will help you efficiently and effectively get the job done.

Items That You’ll Need to Wrap Your Dog’s Paw
Several items should be gathered before you start the process of wrapping your dog’s paw after an injury. It’s a good idea to keep these items in a medical kit that is portable and easily accessible in case of emergencies.
- Scissors
- Square gauze pads, non-stick wound pads
- Rolled gauze
- Adhesive bandages such as vet wrap
- Bandage tape
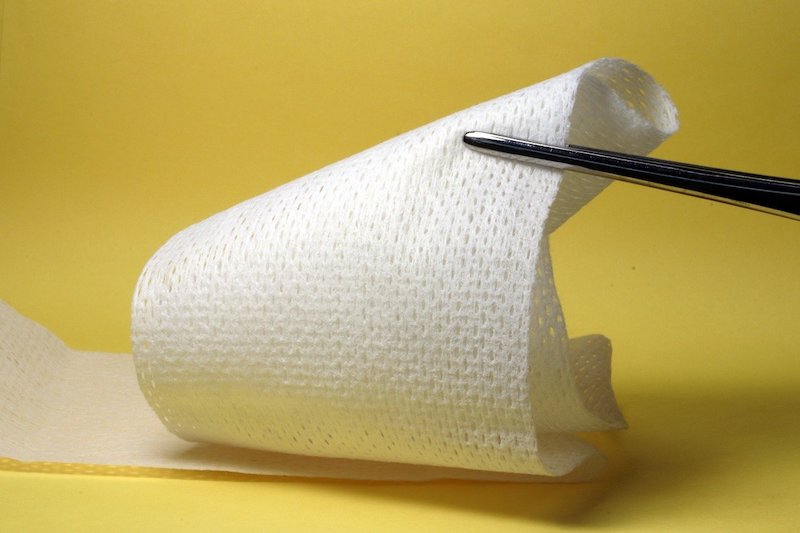
- A clean cloth or paper towel
- Antiseptic e.g. hibiscrub ( chlorhexidine)
The 9 Tips for Wrapping Your Dog’s Paw
1. Make Sure the Wound Is Clean (If Applicable)
If you are wrapping your dog’s paw due to an injury that has created an open wound, clean the wound as much as possible before wrapping it. Check for anything obviously stuck in the paw such as a piece of glass, thorn or grass seed. Remove any of these foreign bodies only if it is easy to do so, otherwise take them straight to your vet for help.
To clean a wound you can use a home-made saline solution (half a teaspoon of salt to one cup of water) or a diluted antiseptic if you have one such as hibiscrub ( 1 part hibiscrub to 10 parts water).
If the wound is bleeding, apply pressure with a clean cloth/ towel until it stops. If there is heavy bleeding or it is not stopping in 5-10 minutes then contact your vet immediately.
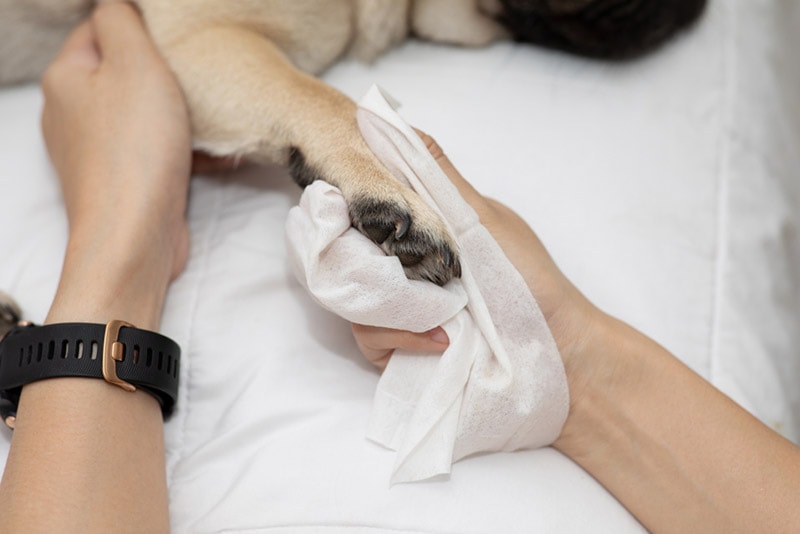
2. Ensure That the Paw Is Completely Dry
It is important to make sure your dog’s paw is completely dry before you try wrapping it, or the wrap is likely to slide off. Also, moisture will make it more likely for bacteria to grow and could make the wound worse. Thorough drying can be achieved by simply letting the paw air dry if your dog will stay still during the process, or blotting gently with a clean towel or kitchen paper.
3. Use an antimicrobial pet safe spray if you have one
Once the paw has been cleaned and completely dried, you could spray some pet safe antiseptic spray if you have it to hand. This can be a useful addition to your first aid kit.
4. Place a Piece of Gauze or non adherent wound dressing
If your dog’s paw has an open wound such as a cut or scrape, apply a square of gauze pad or other non adherent wound dressing to the affected area.
5. Wrap the Paw Using a Roll of Gauze
Using the gauze roll, wrap it around your dog’s paw and up their leg. Overlap each layer by about 50%. You will need at least 2 layers of gauze roll but sometimes more to protect the paw.
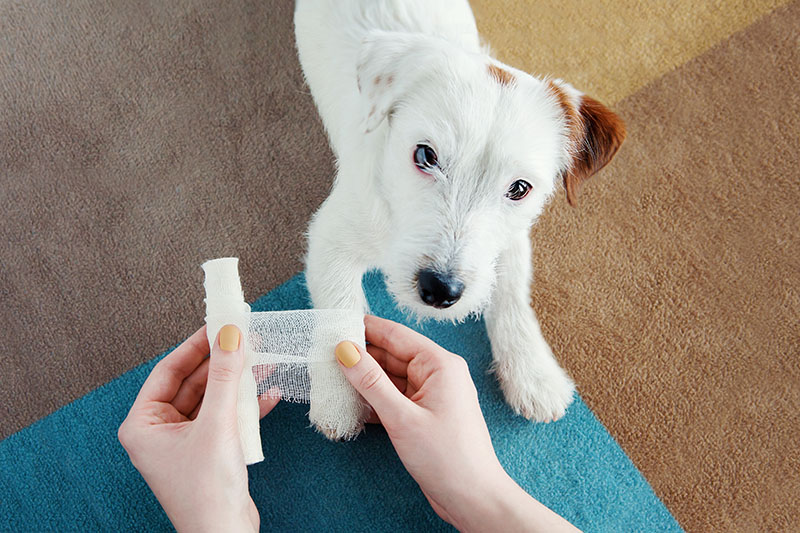
6. Finish Up With Adhesive Bandaging
After the gauze is in place, finish things with a layer of adhesive bandaging material such as vet wrap, which sticks to itself. This will help keep the gauze in place so it does not slide off and expose the injury or wound. These bandaging materials are usually stretchy and it can be easy to wrap them too tightly. You want to wrap them with a mild stretch only. If done too tight this can cut off the blood circulation to the paw which can be dangerous. Always make sure you can insert 2 fingers into the top of the bandage, between the bandage and the leg, to make sure it’s not too tight.
If you don’t have a bandaging material that sticks to itself you can place a small piece of bandage tape to the end of the bandage to secure it in place.
Tips for Making Sure the Wrapping Stays On
7. Keep it clean and dry
If it’s wet or muddy outside it’s a good idea to place a plastic bag or dog paw boot over your dog’s paw wrap when you take your dog outside, removing it when back inside. Keeping it clean and dry will help it stay on and is important to prevent infection.
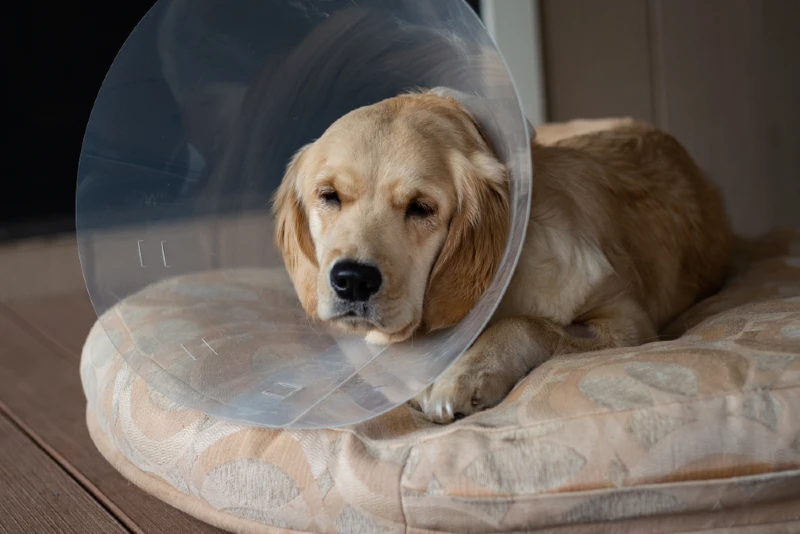
8. Utilize a Cone
Cone collars (a.k.a. Elizabethan collars, pet cones, or E collars) are typically utilized to keep dogs from licking their stitches and reduce the chance that they will rip off their wound wrapping. The paws are generally easy to access for a dog, so a cone collar won’t guarantee that they can’t get to their wrap. However, it will decrease the amount of damage that they can do to it and therefore, reduce the risk that the wrap will fall off altogether.
9. Make Use of Deterrent Spray
You can spray your dog’s paw wrap with the same pet product that can be used to treat furniture and other items that you don’t want your dog messing with. This type of product is designed to smell bad to your dog so they don’t want to get near it. Lightly spraying their paw wrap with a deterrent product may keep them from showing any interest in their paw overall.
Final Thoughts
It is possible to wrap your dog’s paw for protection and to help with healing after a minor injury, it is vital that you don’t put it on too tight. If the problem is more than very minor, though, it is important to schedule an appointment with a veterinarian as soon as possible. If in any doubt always get the injury assessed by your vet before attempting any home treatments such as paw wrappings. Don’t leave a paw wrap on for longer than 24 hours unless applied by your vet.
Featured Image Credit: Aleksey Boyko, Shutterstock