How to Make a DIY Blind Dog Bumper (8 Easy Steps)

Updated on

Watching your blind dog struggle to adjust to obstacles or navigate around your house can be heartbreaking. This is where a blind dog bumper comes in. It works similarly to a white cane used by visually impaired people. It takes the brunt of the collision with furniture, walls, or doorframes so your dog doesn’t hurt themselves.
Bumpers are effective and easy to make, so we put together this step-by-step guide to show you how to make your own.

Before You Start
To make a DIY blind dog bumper, you’ll need to do a bit of preparation to make sure you get the right size materials for the job. Dogs come in all shapes and sizes, and to ensure their bumper works for them, you need to customize it to their needs.
Sizing
The size of your dog will have a big impact on how you make their bumper. Not only do you have to ensure that their harness fits properly — if they don’t already have one — but you also have to make sure the hoop is big enough to protect them.
There are two sections of this blind dog bumper design. Both parts require accurate measurements.
Harness
The harness needs to be comfortable for your dog and fitted properly. Leather harnesses are the best due to their durability.
To figure out the size of your dog’s harness, you must take an accurate measurement of their girth. Place the tape measure just behind your dog’s front legs, and measure the broadest part of their chest while your dog is standing.
Remember to leave at least two fingers of space between your dog and the measuring tape, and you’ll need the same gap for the harness. Their weight can play a part in the size of the harness that you choose, so take that into account after you’ve measured their girth.
Hoop
The hoop is the part that acts as a bumper for your dog. You can make it out of a strip of aluminum or alternative materials, like hanger strap or another sturdy, flexible, and light material.
Working out the amount of material that you need here requires a bit of math.
First, you’ll need to measure your dog from their girth or the rear strap of their harness to the tip of their nose.
The next bit depends on the size of your dog. Add a few inches to your dog’s chest-to-nose measurement to make sure the bumper gives them enough space.
- Small dog = 4 inches
- Medium dog = 5 inches
- Large dog = 6 inches
You can adapt these measurements depending on your dog, but don’t make the hoop too small or too big. Remember that whatever material you use for the hoop needs to be bent into shape.
Finally, multiply the result by 2 to calculate the length of the strap that you need for the hoop.
Safe Environment
Even with the bumper, there are still risks that your dog faces, whether they’re at home or exploring the park. The bumper can get caught on fences, trees, and even furniture. You’ll need to take this into account and make sure your dog is safe if you’re out on a walk or at home.

How to Make a Blind Dog Bumper in 8 Steps
While blind dog bumpers are relatively easy to make, there are many parts to consider, so this section has three segments to help make it easier to follow. If you’re short on time, you can skip ahead to preparing the harness, preparing the bumper, and finally putting it all together.
- Leather harness
- Aluminum strip (sized for your dog)
- Rivet gun
- 5mm rivets
- Drill
- 5mm twist drill bit
- Metal file or grinder
1. Fit the Harness
First, if you’ve brought a new harness for this project, you’ll want to adjust it to make sure it fits properly. Fitting it beforehand will make it easier for you to secure the dog bumper to your dog later. This will also enable you to see how the harness sits on your dog and help you visualize how you want the bumper to look.
You need to do this step even if you’re using a harness that you’ve owned for years. It’ll help you accurately measure out where you want the hoop to attach to the harness to keep it parallel to the floor.
Once you’ve figured out where you want to attach the bumper to the harness, mark the leather. You’ll need four marks in total: two on each side of the harness, one on the back strap and the other on the front strap.
2. Drill Harness Holes
Remove the harness from your dog and put it on a sturdy work surface, preferably one that you don’t mind getting damaged. You can rest it on a worktable if you have one or a scrap block of wood while you drill the holes. Follow the marks that you made in the previous step for accuracy.
3. Measure Aluminum Strip
If you haven’t already, make sure your aluminum strip is the right size. Measure your dog from their girth to the tip of their nose, add a few inches depending on their size, and then multiply by 2.
4. Smooth Corners on the Aluminum Strip
Smoothing the sharp corners on the aluminum strip will ensure a comfortable fit. You can do this step for whatever material you’ve chosen for your bumper too, even if you’re using hanger strap.
Use a grinder, metal file, or belt sander to smooth the edges. Don’t take off too much — you only need to round off the corners. You’ll know that you’ve succeeded when the edges are smooth to the touch instead of sharp.
5. Drill Holes
Measure the distance between the straps on your dog’s harness. You might find it easier if your dog wears the harness while you do this. If you’ve already drilled holes into your harness, you can use the holes as a guide to mark the aluminum strip.
You’ll need to drill four holes in the aluminum strip, two on each end. Don’t drill too close to the edge of the strip, though; you want to leave at least ¼ of an inch at the end. Use a scrap piece of wood for support while you work.
6. Form the Bumper
This part is best to take slowly. Aim for creating a keyhole or lightbulb shape.
Start by bending the ends at a 45-degree angle. You want to leave enough space for both holes to fix to the harness without interfering with the main hoop. If you want to, you can also add a gentle curve to this section to fit more snugly to your dog.
Next, you want to work on the main hoop shape of the bumper. If you have something rounded to help you, this will be easy. Bend the area between the two angles that you’ve already made. This is the section that will keep your dog’s head safe from bumping into things.
You can make sure your dog has enough room to move their head and still be protected by holding the final keyhole shape in place. By checking the fit here, you can adjust the bend if you need to.
7. Add the Rivets
Once you’ve prepared both the harness and the aluminum strip, it’s time to fit it together. Working on one side at a time, line up the holes on the aluminum strip and the harness. Using the rivets and the rivet gun, fix them together.
8. Test the Final Product
Now that the bumper is finished, it’s time to test the fit on your dog. If you’ve already adjusted the harness to make sure it fits correctly, this step should be easy.
Remember to reassure your dog with plenty of praise to help them settle into wearing their new bumper. Some dogs may take a little longer than others to adjust to wearing it.

Final Thoughts
Even blind dogs deserve to have the chance to explore, and a blind dog bumper enables them to stay safe while they wander around the house. With a simple design, this DIY project is quick and easy. When it comes to protecting a puppy from collisions, it works like a charm.
Hopefully, this step-by-step guide has helped you make a blind dog bumper for your own pooch!
See Also:
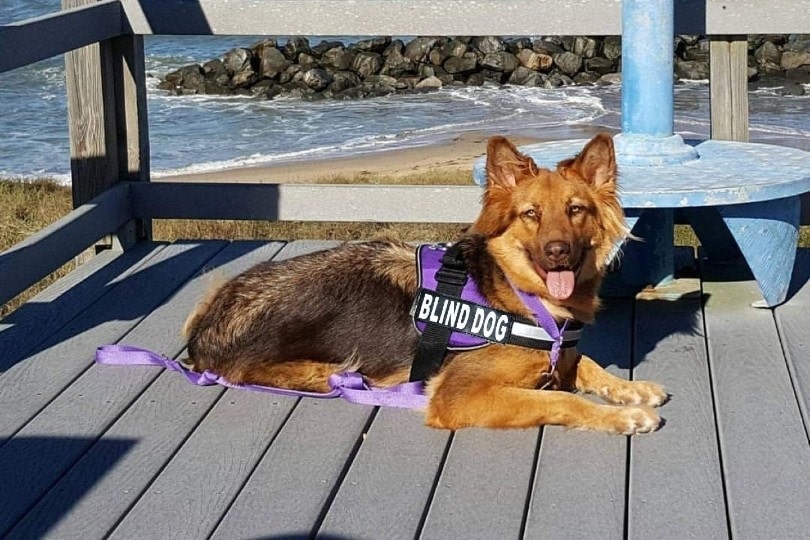
Featured Image Credit: Janice Hedgecock, Shutterstock