8 DIY Hamster Hideout Ideas You Can Make (With Pictures)
By Ashley Bates
Updated on
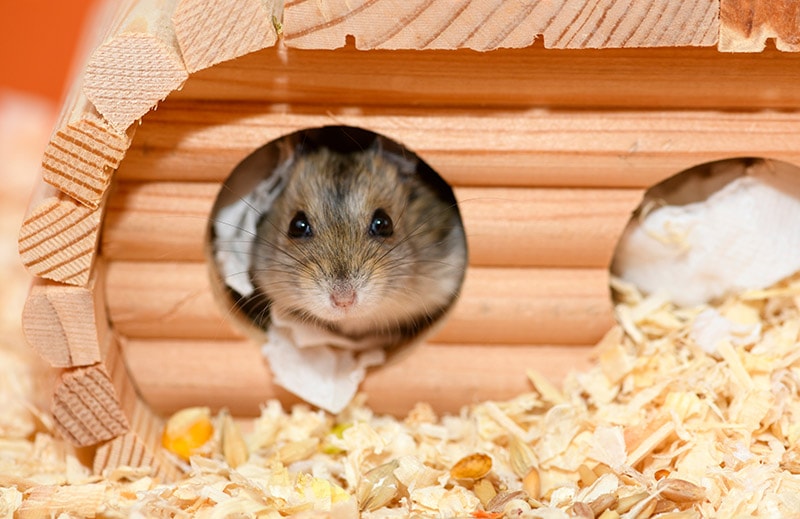
Buying hamster hideouts can be expensive. Why do all that when you can get out your creative side and some recyclables and have a craft day? There are so many intricate and simple designs that would work for hamsters. Plus, you can make your own designs once you have the hang of it.
Here are 8 DIY options for you to choose from. You can make one exactly as the video shows—or take a turn and create something similar but all your own. It’s up to you!

The 8 DIY Hamster Hideout Ideas
1. Cheap Hamster Hideout by Victoria Raechel
| Materials: | Cardboard |
| Tools: | Scissors, box cutter, pencil |
We don’t think you will regret this Cheap Hamster Hideout by Victoria Raechel. It is multi-compartmental, so your hamsters can explore and choose different relaxing spaces. It’s a very inexpensive option. So if you have extra time and some cardboard on hand, you can let your hamster enjoy this shelter.
This hideout has a lot of room for your hamster to explore and do what is instinctual to them. Since it’s made out of cardboard, the materials are very budget friendly, and you can likely get use out of materials that you already have on hand. You can put your online purchase packaging to use once and for all.
2. DIY Simple Hideout by Victoria Raechel
| Materials: | Toilet paper |
| Tools: | Mold, scissors |
You can probably go in your kitchen or bathroom and whip one of these up in a matter of minutes. No need to run to the store. This DIY Simple Hamster Hideout by Victoria Raechel is the easiest one on the list—and likely free to make.
If you have clean, empty Tupperware or another container lying around, you can use it as a mold. Simple wrap layers of wet toilet paper around a bowl and voila! You have made your very own hamster hideout. You can even make a few at once to replace it when the hideout gets dirty or chewed up.
3. VanillaHamHam Underground Hamster Hideout
| Materials: | cardboard, non-toxic PVA glue, hamster-safe plant, paper towel, plastic wrap, |
| Tools: | Scissors. Pencil, ruler |
Let your hammy burrow just like nature intended with the VanillaHamHam Underground Hamster Hideout. When you finish it, your hamster can go into a hollow underground space to get a deep sleep or stash some goodies. You don’t need too many things to get started, but you might have to buy a few supplies in this particular DIY.
This video gives you all the supplies and instructions right up front so you can follow along. It is quite easy to make. So, even though you might have to dish out a few dollars for supplies, you can make it even if you aren’t crafty. Plus, your hamster will adore the privacy!
4. Vanilla HamHam Ice Cream Truck Hideout
| Materials: | Balsa wood sheets, balsa dowels, non-toxic, water-soluble glue, masking tape, pet-safe paint |
| Tools: | pencil, metal ruler, craft knife, sandpaper, paintbrush |
This beyond-adorable little cream truck is both aesthetically pleasing and a prime space for adventure for your hammy. If you want a more intricate design to challenge your crafting skills, this might be a fun one to try out. It’s a little more heavy-duty than others on the list right now, so while it may be more work, it could also last longer.
This DIY walks you through all materials, along with a step-by-step tutorial on how to make this sizable, cozy design. When you are finished, you will have a product to be proud of, and your hammy will love making it their new hangout.
5. DIY Paper Mache Hamster by Victoria Raechel
| Materials: | Baking flour, water, newspaper, salt, cardboard boxes |
| Tools: | Measuring cup |
If you haven’t tried papier-mache since childhood, brushing up on your skills is always a good idea! This DIY Paper Mache Hamster Hide by Victoria Raechel is a great excuse to get rid of old cereal boxes and scraps using materials in your own cabinets. Once you’re finished, your hamster will have a sanctuary for a few months before completely annihilating it.
All you need is a few basic things to get you started: a little bit of baking flour, water, newspaper, and cardboard boxes. Once the design is done, you could even get really crafty and paint it up to your liking. Your hamster will love exploring all of the different levels, and you can make it look completely different than what’s on the tutorial. The choice is yours!
6. Rock Wall and Hideaway by Hammy Time
| Materials: | Drink carriers |
| Tools: | Blender |
Well, this is a simple way to upcycle your fast-food leftovers! The Rock Wall and Hideaway by Hammy Time gives way for your hamster to have lots of adventures and napping space. Plus, it’s relatively easy to make, even if it’s a multi-step process.
If you have a blender and some water, you’re in business. You can add this as a little complementary addition to the cage space. Once it starts to fall apart, you can exchange it for another—simple and free!
7. DIY Donut Tunnel for Hamsters and Mice by SomethingAnimal
| Materials: | Cardboard tube, tissue, non-toxic children’s glue, pet-safe paint, flour, water |
| Tools: | Pencil, scissors |
The DIY Donut Tunnel for Hamsters and Mice by SomethingAnimal is such a cute addition to any cage! It looks like a Pac-Man donut. Your hamster will certainly appreciate the intricacy of the inside and use it for playing, hiding, and stashing.
The creator wants you to keep in mind that larger hamsters might get stuck in these small tubes. She makes other suggestions on how you can use other materials for hamsters of a larger stature.
8. Multi-Chamber Hideout by Abi’s Animals
| Materials: | cardboard, non-toxic hot glue |
| Tools: | Glue gun, scissors, pencils |
The Multi-Chamber Hideout by Abi’s Animals will give your hamster lots of room to roam and explore. This design has six chambers for your hamster, but you can make more or less, depending on your setup.
In the video, they use a Cheez-It box and measure out equal parts. They bind it together with a hot glue gun. Be sure to get non-toxic glue, so it’s safe for your hammy buddies.

Final Thoughts
Which one of these designs stood out most to you? You can make one or several of these hideouts. Plus, you can use this article for later reference if you want to try out each one as the months pass.
We love that you can make so many DIYs for your hamster for next to no money! It really cuts back on costs, as some commercial hideouts can be downright expensive. This is a fun and frugal way to create some new spaces to entertain your hamster.
Featured Photo Credit: IRINA ORLOVA, Shutterstock


