How to Groom a Dog With Matted Hair: 6 Vet-Reviewed Easy Steps

Updated on


Click to Skip Ahead
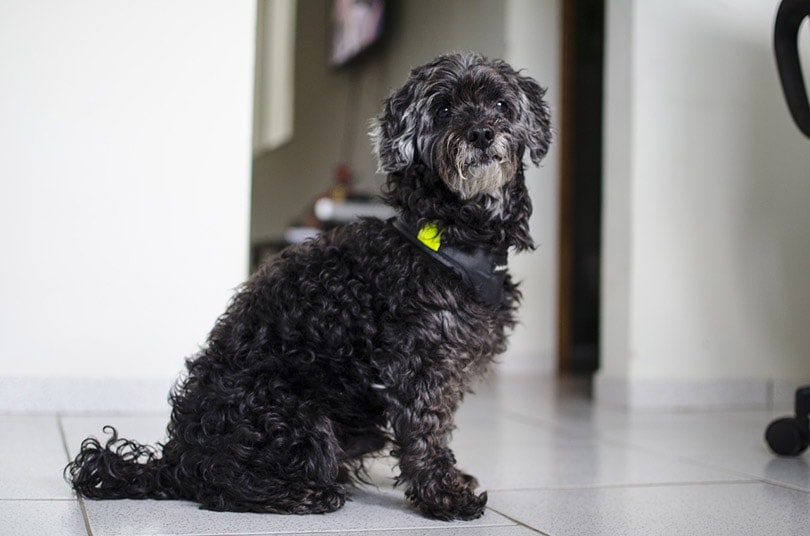
If you have a long-haired or curly coated dog you may have noticed they’re prone to matting. Certain breeds and coat types are more vulnerable to matting such as poodles, doodles and cocker spaniels. The best way to address the matted hair depends on how severe the matting is. Mild matting may be able to be untangled while larger areas may require clipping.
It’s essential to be proactive as soon as you notice any tangles because as well as making them easier to deal with, matting is uncomfortable and unhealthy. Bacteria and debris can get stuck in the hair, which can lead to sores and skin infections. Severe matting can even restrict movement and your dog may also try to chew and lick the mats to relieve their discomfort, which can further contribute to skin problems.

Brushing or Clipping?
There are two solutions for working out your dog’s mats: brushing the mats out or clipping them away. The right option for your dog will depend on the size of the mats, the length of their hair and how tight the mats are. Remember that dematting the hair can be uncomfortable and time consuming, in some cases removing the mats by clipping the hair is the most comfortable option. This can be achieved at home with the right tools and knowledge but sometimes an experienced dog groomer will be able to sort the mats more quickly, causing less stress to your pup.
Whichever solution is right for your dog, make sure you have a chew toy or treats to distract your dog from everything that’s happening. Work slowly, carefully, and gently to avoid causing your dog distress or further discomfort.


How to Groom a Dog With Matted Hair in 6 Easy Steps
If you’ve noticed the mats in time and they are small and loose, you may be able to brush them out. Clipping them out is always an option, but leaving it as a fallback technique is better in case brushing out the mats proves unsuccessful. If the mats are massive and close to the skin, or you are unsure how to proceed, seek professional help from a dog groomer or your veterinary practice. Be sure to get organized before involving your dog.
- Comb
- Dematting comb
- Detangler
- Pin brush
- Clippers (optional)
- Shampoo
- Slicker brush
- Spray
- Towel
1. Separate and Brush Mats
You can move the non-matted hair out of the way with a slicker brush. Some mats will not be entirely obvious until you’re looking for them, so be careful. Mats are generally found behind the ears, on the neck and belly, under limbs, and around the tail.
2. Apply a Detangler
A commercial detangler appropriate for dogs is usually the best option, and it will make the mat as slippery as possible. Cornstarch is also an option if you’re desperate, but a detangler is better. Rub the product into the mat and around it so it’s completely covered.

3. Use Your Fingers
Instead of going straight into working with a brush, use your fingers as much as possible to work the mat out. Even if it feels like you’re not getting very far, you’ll still be helping the detangler get into the mat deeply.
If you need to, use a mat-splitting tool to break it up. Always cut it in the direction that the hair grows and do not use it on sensitive or sore skin or areas of loose or folded skin because of the risk of cutting your dog’s skin.
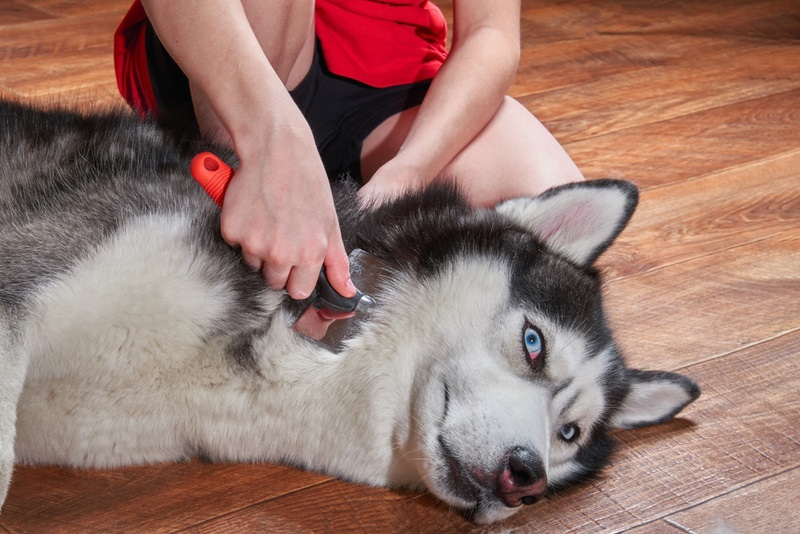
4. Use a Brush
You can use a brush, dematting comb, or a slicker brush to break up the remainder of the mat. You might need to switch between your fingers and the comb or brush, but be sure to be gentle and work in the direction of the hair growth.
Monitor how your dog handles this stage; if they seem anxious, you can always return later and tackle another mat.
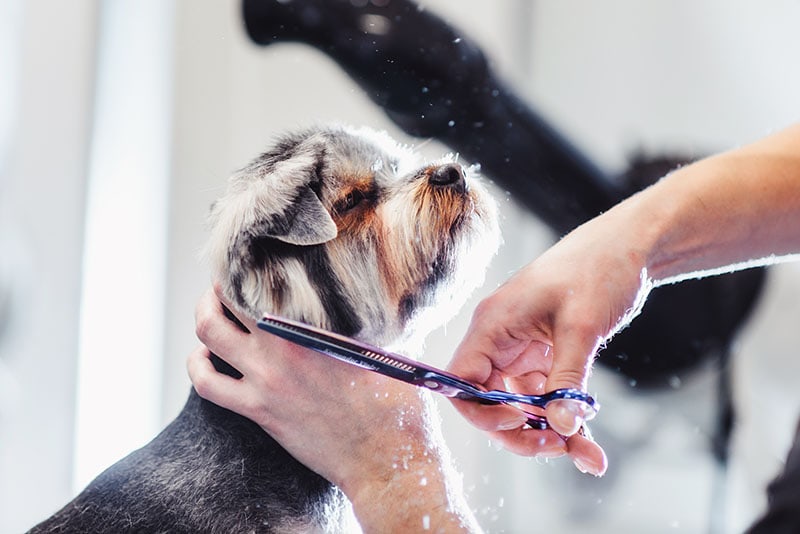
5. Cutting Away Mats
This is an optional step you won’t need to do if you can work the mat out completely with your fingers and brushes. However, if the mat is proving too tricky to untangle, clippers can be used to cut it away. If you have a good pair of dog clippers and know how to use them then you can do this yourself. We would advise against using scissors as dogs wriggle and mats are often close to the skin making it easy for you to accidentally catch your dog’s skin. Work out the mat as much as possible with your fingers and brushes, then clip it. You’ll save some of the fur by using your fingers to detangle it first, and it may be easier and less painful to cut away. If using clippers it’s best for your dog’s coat to be dry.
Hold the clipper blade flat against or parallel to your dog’s body. If you are cutting away more than one mat, start at the neck, work down your dog’s body, and do the belly and legs last. Make sure you check your clippers for overheating regularly and work slowly.
6. Bath Time
When the mat is gone, your dog will likely need a bath. If your dog has developed sores, shampoo designed to soothe their skin is a good option. If they are suffering from bacterial or fungal skin infections, make sure you get the appropriate treatment from your veterinarian which may include a medicated shampoo.
Even if your dog’s mats weren’t particularly tight, bath time is the perfect opportunity to check your dog’s skin. With the wet fur, it will be easier to see if there is redness, signs of infection, or any new lumps and bumps that seem out of place. Always err on the side of caution and take your pup to the vet if their skin looks unhealthy.

Use Caution When Clipping Your Dog’s Fur
Ensure you use clippers that are designed for canines. You will also have to disinfect the blades after you’ve used them to avoid fungal and bacterial infections. Clippers can irritate your dog’s skin if they have sores from the mats.
- Bleeding during grooming
- Raised, red bumps
- Signs of pain
If your dog has created his own mats with something like candle wax, have a read of our quick and easy guide to help you remove the candle wax from dog fur painlessly.
How to Prevent Mats in the Future
Prevention requires consistent and proper grooming practices. Be sure to brush your pet as needed; for example, those with longer coats must be groomed more often. Some short-haired breeds can get away with being brushed weekly, while long-haired dogs will need to be brushed daily to reduce shedding and keep them comfortable. Give your dog treats and praise during grooming to help them form positive associations and get them used to being handled and brushed.
If you already groom them regularly but still notice mats in your dog’s fur, it could be the brush failing you. So, invest in a better brush to penetrate a thick coat and speak to your dog groomer or vet for advice on the best grooming tools. A dematting spray will also be helpful with small or loose tangles; it helps detangle their coat before it becomes a bigger mat and a trickier problem.

Final Thoughts
Some dogs require more grooming than others, depending on their coat’s length and type. Getting into a healthy grooming routine is important because mats can not only be challenging to fix, but they can leave your dog feeling uncomfortable and in pain. If you notice any sores or signs of irritation on your dog’s skin, be sure to take them to the vet.
See Also:
Featured Image Credit: munalin, Shutterstock