How to Do CPR on Dogs – Step-by-Step Guide
By Kit Copson
Updated on

CPR is one of those skills we all hope we never have to use, but, as dog parents, it’s a great idea to have CPR skills under your belt just in case. Ideally, CPR should be carried out by a medical professional, but, in some cases, you are the closest person to a dog in an emergency situation and will need to carry out CPR yourself. In this post, we’ll provide a step-by-step guide on how to perform CPR on a dog.
What Is CPR?
CPR stands for “cardiopulmonary resuscitation.” It’s a procedure designed to save someone’s life when they’re not breathing or their heartbeat has stopped. This is exactly the same reason someone might need to use CPR on a dog. The procedure consists of performing chest compressions and rescue breaths to try and get the dog breathing and their blood flowing again.
Though the procedure is almost the same for both humans and pets, the A-B-C method (airway, breathing, compressions) is used for pets, whereas the C-A-B method (compressions, airway, breathing) is used for humans.
How to Do CPR on a Dog
If someone is with you, ask them to call a vet and arrange transport to a veterinary clinic while you administer CPR. You might need to continue doing CPR on the way to the veterinary clinic.
Initial Checks
Step 1: Check the Airway
If the dog is unconscious, open the dog’s mouth and make sure nothing is blocking their throat. It’s really important that nothing obstructs the dog’s airway as this can impact the CPR procedure. If something is blocking the dog’s airway and you can’t get it out by hand, here’s what to do:
- Lay small dogs on their backs on your lap and place the palm of your hands just below the ribcage. Apply pressure and thrust inwards and upwards firmly five times. Then, roll the dog onto their side to check for dislodged objects swiping a finger from left to right deep inside its mouth.
- For medium and large dogs that are standing up, join your hands beneath the belly, make a fist with both hands, and thrust upwards and forward firmly five times. Finally, check for dislodged objects in the mouth.
- For medium and large dogs that are lying down, make sure they’re on their side. Then, put one hand on their back and put your other hand on their abdomen, squeezing upwards and forwards in the direction of the spine. Finally, check for dislodged objects.
Step 2: Check the Dog’s Breathing
Look to see if the dog’s chest is rising and falling. If you can’t be sure, put your cheek close to the dog’s nose to see if you can feel the air flowing. If the dog is breathing, you do not need to perform CPR. Place the dog in the recovery position and contact your vet to find out what to do next.
Step 3: Check if the Dog’s Heart Is Beating
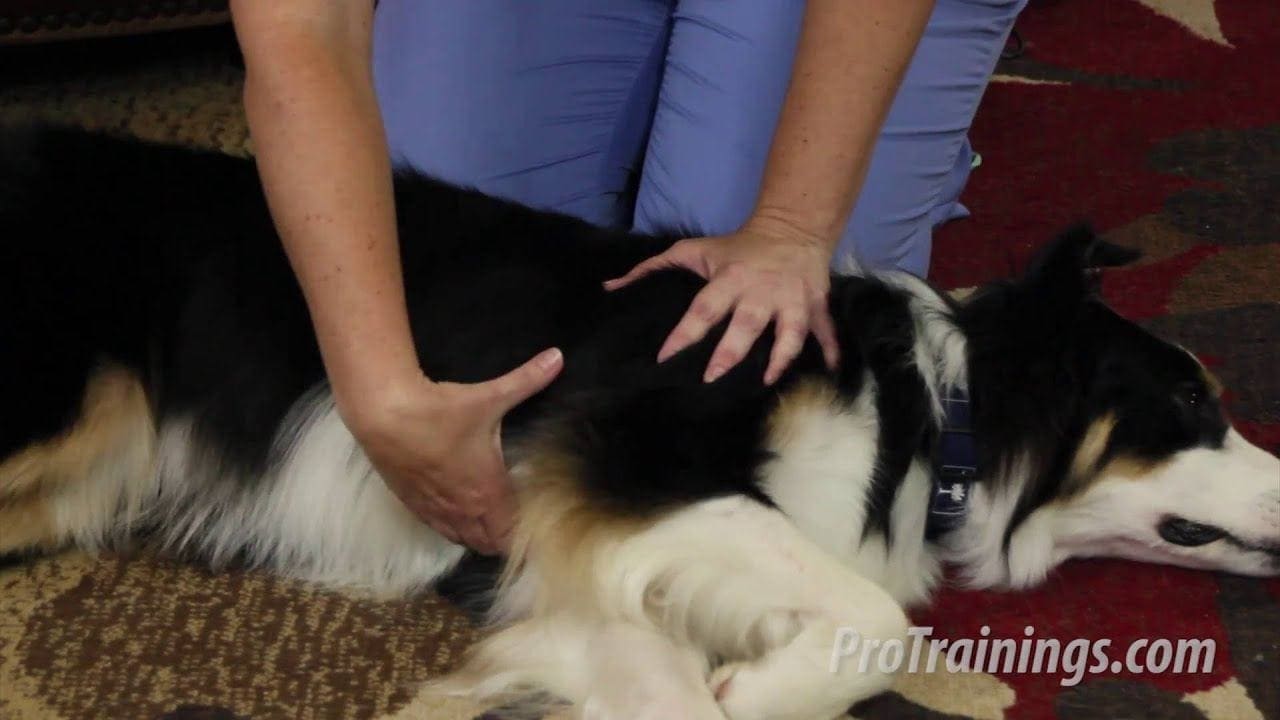
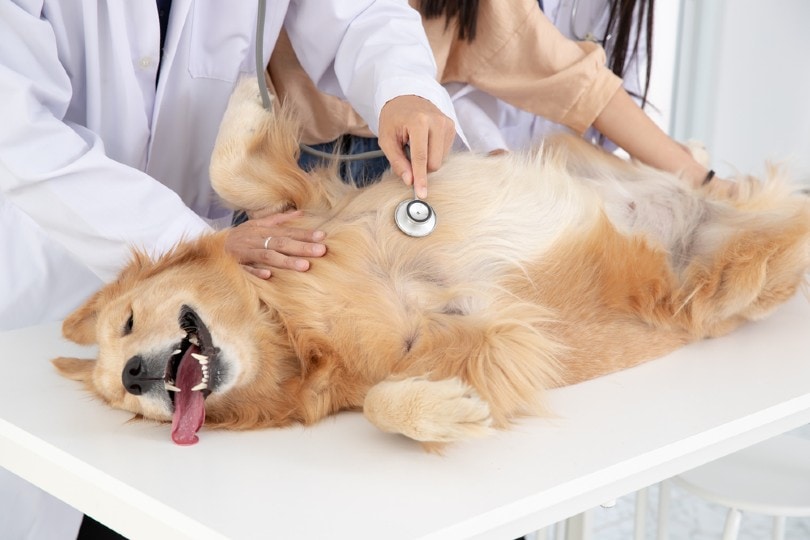
Gently lay the dog over their right side, then bend the front elbow backward to touch the chest. The place where the elbow and chest meet is the location of the heart, so you’ll want to watch this area for movement. If there is no movement, place your hand over the area where the dog’s heart is and see if you can feel a heartbeat.
You can also check for a pulse by placing your hand on the inside of the back leg in the middle of the thigh. If there’s a pulse, you’ll feel it in the femoral artery.

Performing CPR
If you have established that the dog is not breathing and/or has no heartbeat, you’ll need to move on to the CPR procedure.
Rescue Breaths
If possible, it’s a good idea to have someone else perform the compressions while you do the rescue breaths or vice versa as it can be quite tough doing it all on your own. To perform rescue breaths, follow these steps:
- Close the dog’s mouth.
- Make sure the head is flat on the floor and align the tip of the nose with the spine.
- Open your mouth and place it over the dog’s nostrils. On small dogs, place your mouth over both the nostrils and mouth. Seal your mouth in this position and do four or five breaths into the nostrils. With small dogs, be careful not to take too big breaths as this can harm the lungs, so small breaths only.
- If the chest doesn’t start to expand, look into the dog’s mouth again to check if there’s something lodged in there. Straighten the airway.
- When the chest starts to rise, let the dog exhale and then repeat the above procedure with one breath.
- If the dog hasn’t started to breathe again, keep performing rescue breaths until you can get them some help.
Chest Compressions
The position the dog should be in for chest compressions depends on the type of dog they are.
- Small dogs: Compress directly over the heart with the palm heel, one on top of the other.
- Round-chested dogs: Place the dog on their side and compress over the widest part of the chest.
- Narrow and deep-chested dogs: Place the dog on their side and push directly over the heart.
- Squishy-faced dogs: Place the dog on their back, put your hands over the breastbone, and push on the solid part. If the dog can’t stay on their back, follow the procedure for round-chested dogs.
- Once the dog is in position, kneel down next to your dog or stand behind them.
- Interlace your fingers and place one hand on top of the other—you’ll be using the palm heel of the bottom hand to compress.
- Lock your elbows and position your shoulders above your hands. Bend at the waist instead of the elbows.
- Compress at least 1/3 of the chest—take care not to compress more than 1/2 of the chest’s width. For small dogs, take care not to push too hard. For medium and large dogs, you’ll need to push firmly to perform the compression.
- Perform between 100 and 120 compressions per minute (approximately two per second). It’s recommended to try singing “Stayin’ Alive” to help keep the right tempo. Perform 30 compressions, then give two rescue breaths, then repeat.
Check the dog’s breathing and heartbeat every two minutes while giving CPR. If they’re still not breathing or have no heartbeat, keep performing CPR until you get some help.

Final Thoughts
Once you have completed the CPR procedure, contact your vet right away if you haven’t already. As mentioned, CPR is best performed by a medical professional or someone who has been trained in canine CPR, so you might want to consider taking a canine CPR course—some of them you can even do online!
See also:
- My Dog Is Breathing From Their Stomach: 8 Vet-Approved Reasons
- How to Do CPR on Cats: Vet-Approved Step-by-Step Guide
Featured Image Credit: ProCPR


