How to Make Hamster Tubes & Tunnels in 7 Easy Steps
Updated on

Got a hamster who needs to go tubin’? Don’t want to spend more money on pet supplies? Then a DIY hamster tunnel project is right up your alley. The big question is, how easy is this project? We’re happy to say it’s very simple, and you can knock it out in an afternoon—probably sooner.
In this post, we’re breaking down seven easy steps for building any hamster tunnel system. You can apply these steps to most DIY hamster tunnel projects, regardless of the materials. Let’s get started!
Do Hamsters Need Tunnels?
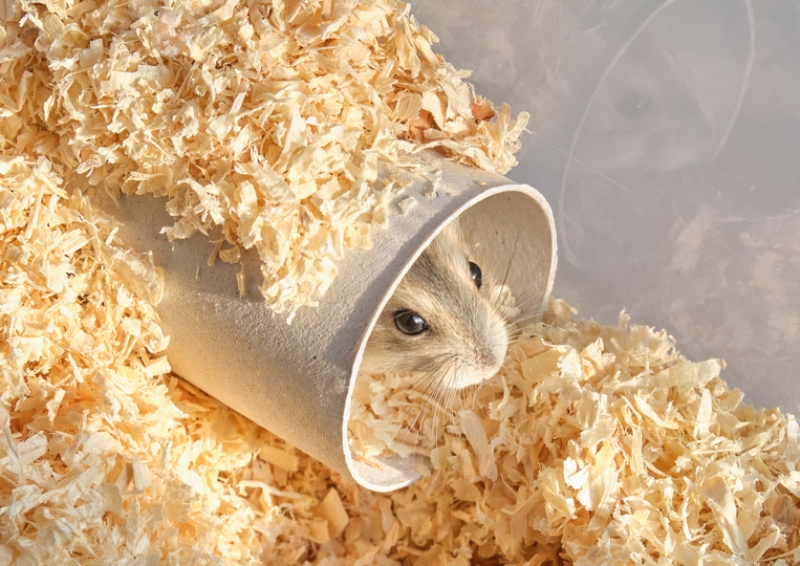
Hamsters are a type of rodent who love to dig tunnels. Just like wild hamsters, domesticated hamsters dig burrows into their substrates if allowed. Hamsters face a poor quality of life without being able to dig, so it’s important to offer outlets to sharpen their natural instincts.
Hamster cages often don’t have enough substrate to allow for deep tunnels, so artificial tunnels come in handy. Luckily, you can make just about anything into a fun hamster tunnel for little to no cost.

Some Guidelines for Safe Tunnels
Before you start constructing DIY hamster tunnels, you need to be wary of two things: your hamster’s size and the craft materials.
Tunnel Size
Some hamster breeds are larger than others, like Syrian or Chinese hamsters, and will need larger tunnels. This could put you at a disadvantage in finding materials since several DIY tunnels involve toilet paper and paper towel rolls.
The “best” tunnel systems are really dependent on your hamster.
Tunnel Materials
Additionally, you need to ensure that the materials you use are safe. Hamsters are notorious for chewing on just about anything, so choose non-toxic materials.
- Cardboard
- PVC pipe
- Recycled cans (will require some tweaking—we’ll discuss that soon)
- Plastic bottles
- Popsicle sticks
- Hollow branches
This is also true for decorating the tubes. Use pet-safe paints if you want to make the tubes look pretty. Without further ado, let’s get busy with the fun stuff.
The 7 Easy Steps for Building Your Hamster Tube System
1. Gather Materials and Decorate
Collect items to serve as tunnels and one box to act as a hideout. The box can be a large cardboard box or a small Kleenex box, depending on how much space you have.
You’ll also need crafting supplies (again, ensure they’re safe) like pencils, scissors, tape, paints, and paintbrushes. If you want to paint the tubes, do so now before everything is glued and taped together.

2. Trace the Holes Where the Tubes Will Go
Using a pencil or Sharpie, mark where the openings to the tubes will go on the hideout.
3. Cut Out Holes for the Tubes
Using a boxcutter, craft scissors, or a craft knife, cut out the holes in the hideout where the tubes will be placed. It’s better to cut smaller and adjust later if you make a mistake.
4. Smoothy Any Rough or Sharp Surfaces
If you’re using plastic bottles or aluminum cans, smooth the rough edges with sandpaper or tape.

5. Attach the Tubes to the Holes
Insert the tubes inside the holes and either tape or glue them in place. If the tube’s entry will match the edge of the hole on the hideout, hold the two in place and glue them together.
6. Check Ventilation
Add air holes to the hideout for proper ventilation.
7. Let Your Hamster Loose
Place treats inside the tubes and let your hamster have fun!

Should I Add Windows to the Tunnels?
Hamsters build tunnels for protection, so it defeats the purpose of adding windows and leaving your hamster exposed. It’s best to leave the tunnels concealed and add air holes for breathability.
Conclusion
A project like DIY hamster tunnels is a fun way to be creative. Plus, they don’t take much time at all, and your hamster will love the final result. As long as you use safe materials, the sky’s the limit when building hamster tunnels.
Related Reads:
- DIY Hamster Wheels You Can Build Today (With Pictures)
- DIY Hamster Hideout Ideas You Can Make (With Pictures)
Featured Image Credit: Ackab Photography, Shutterstock


