10 DIY Dog Bandanas You Can Make at Home (With Instructions)
By Lorre Luther
Updated on
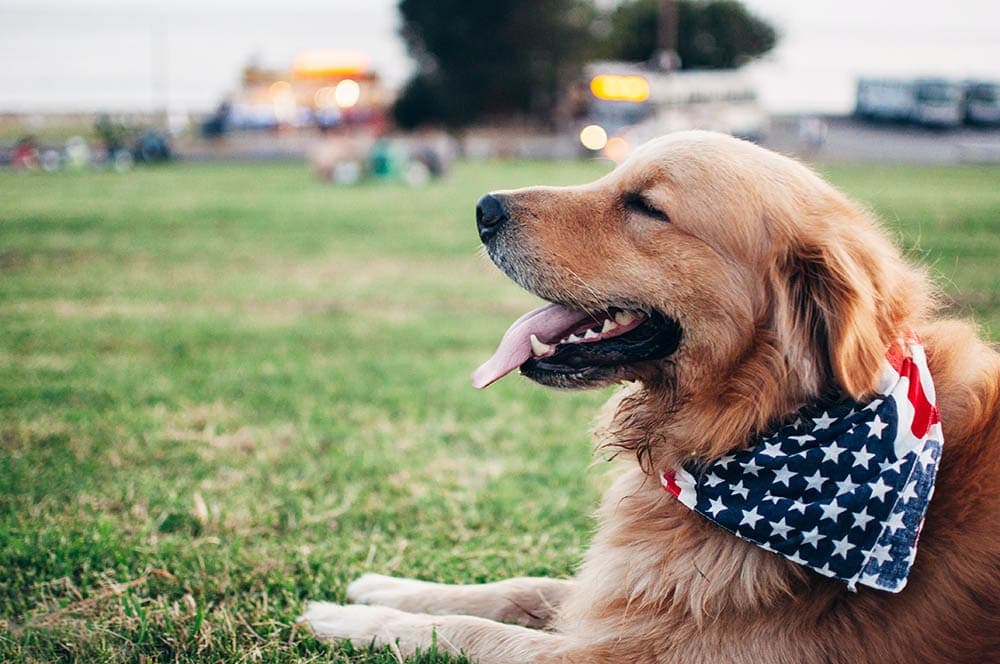
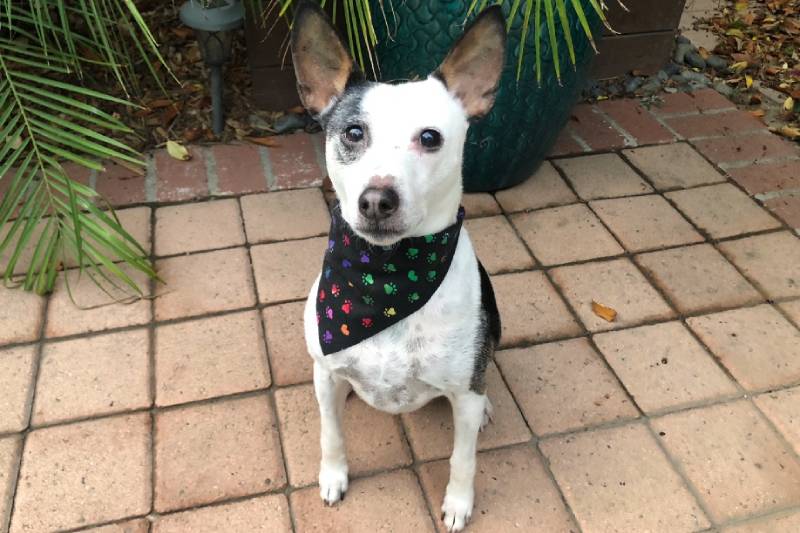
Dogs are adorable in general, but the cuteness level goes straight over the top when you add a colorful bandana to their accoutrement. While it’s always possible to head to the store to buy a stylish accessory that adds the right amount of jauntiness to your beloved pet’s style, it’s also easy to make DIY bandanas. Read on to discover 10 DIY dog bandanas you can make at home!
Top 10 DIY Dog Bandanas
1. Pretty Fluffy Easy No Sew Bandana

| What You’ll Need: | Fabric, hemming tape, marker or pen, scissors, iron, ruler, dog collar |
| Difficulty Level: | Easy |
Find a piece of fabric that’s at least 14” x 14”. Lay your fabric out on a flat surface, use a pen to draw an outline of a rectangle, and then use your ruler to make a triangle on top of that. What you end up with should look like an open envelope.
Cut your fabric, and then use that piece as a guide for your second cut. Fold the edges and iron them to help your creation keep its shape. Place hemming tape between the two pieces of fabric and iron together. Wrap the extra fabric around your dog’s collar and apply hemming tape and iron. Keep in mind that the bandana might fall apart if you throw it into the washing machine.
2. Stylish Reversible Bandana by Maureen Maker

| What You’ll Need: | fabric, sewing machine, ruler, pen or marker, scissors, pins |
| Difficulty Level: | Intermediate |
Find two pieces of fabric with different patterns and place them back to back on a table or other flat surface. Use your pen to trace a triangle on the material, then use the scissors to cut along the pattern you’ve just traced. Put the two pieces together with the sides you want to show facing each other.
Use your pins to secure the two pieces of material. Sew around the edges of the bandana using a 1/4” seam, but make sure to leave an opening that allows you sufficient room to turn the almost completed bandana right-side out. Trim the fabric around the corners before turning the bandana; it’ll make the finished outline much sleeker. Stitch the opening closed, iron, and tie around your dog’s neck.
3. Dog Chef Fun Collar Bandana

| What You’ll Need: | Fabric, sewing machine, measuring tape, pins, pen or marker, scissors |
| Difficulty Level: | Intermediate |
Measure your dog’s collar, subtract 1 1/2 inches, and cut a square using the number you calculate. Use your marker to trace the square and then cut the fabric to size. Fold the fabric in half to create two triangles and iron the joining edge. Open the material and fold the edges closest to where you just ironed inward to create a hem.
Pin your folds, iron, and then sew. You’ll do this twice. Fold your fabric wrong side out so you have two triangles again, and iron to keep everything in place. Stitch around the edges of the triangle leaving the areas where you created hems open. Turn your fabric by pulling through one of those openings, insert your dog’s collar into the opening, and you’re done!
4. Reversible Cotton Bandana from Wear Wag Repeat

| What You’ll Need: | fabric, sample bandana, scrap paper, scissors, sewing machine, thread, iron, ironing board, marker or pen |
| Difficulty Level: | Easy |
Grab any old bandana that fits your dog. Place the old bandana on your scrap paper and trace. Use your scissors to cut out what you’ve just traced and use it as a guide for cutting your material.
Pin the paper pattern to your fabric and cut. You’ll do this two times using fabric with different patterns. Place the triangles together with the side you want the world to see on the inside and use pins to secure the two pieces of fabric together.
Sew around the outer edges of the bandana and leave a few inches open so you can turn your creation. Trim the excess fabric outside of your seams, and make sure to clip your corners, so your bandana lays flat. Give your creation a good iron, use the hole you left open to flip your bandana, so it’s right side out, and sew the hole closed.
5. Super Simple No Sew Bandana by Great Pet Living
| What You’ll Need: | Scissors, velcro, measuring tape or ruler, glue gun |
| Difficulty Level: | Easy |
Use your measuring tape to figure out the circumference of your dog’s neck. Add 4 inches to that total. Your fabric will need to be at least that long for the project. Halve the number you just calculated and cut a fabric square with sides equal to the halved number. Fold that square into a triangle and iron. Then, cut a 2-inch second piece of fabric corresponding to your dog’s neck circumference plus 4 inches for the bandana’s collar. Fold the long thin piece in half and glue.
Fold and glue once more, and place the collar inside the folded triangle and iron. Glue the edges of the triangle together with the collar piece inside, and make a U-cut in a 2-inch piece of velcro. Separate the two halves of the closure and glue one part to the left-hand side and the other to the right-hand side of the collar.
6. One Piece Hemmed Bandana from k9 of Mine

| What You’ll Need: | Scissors, scrap paper, measuring tape, sewing machine, fabric and pins, thread |
| Difficulty Level: | Easy |
Measure your dog’s neck and add 4 inches to the total. Grab your scrap paper and draw a triangle with side lengths of your choice using the number you calculated as the figure’s hypotenuse. This will be your pattern or guide. Pin the pattern to your fabric and use it to cut one piece of material.
Create a ½-inch fold on all edges of the bandana and iron. Fold that in half to create a ¼-inch hem. Iron and stitch around the edge until you’ve created a hem that goes around the entire piece. Iron once again to flatten things out and tie your creation around your dog’s neck.
7. Easiest No Sew Bandanas Ever by Dalmatian DIY

| What You’ll Need: | Fabric, scissors, marker or pen, ruler |
| Difficulty Level: | Easy |
Determine how long the design needs to be by measuring your dog’s neck. Add about 4 inches, and use your ruler to draw straight lines that create a triangle on the back of your fabric. Cut your bandana out, and you’re done.
To create a fold-over option, just cut out a square with sides equal to half the number you came up with above. Fold the material into a triangle and iron, and use the pointy ends to tie the bandana around your dog’s neck. These no-sew options often don’t last as long as those with hemming tape or sewn hem, but they provide an easy way to create many adorable doggie bandanas.
8. DIY Beautify Converted Old Square Bandana With Hemming Tape

| What You’ll Need: | Fabric, scissors, marker or pen, ruler |
| Difficulty Level: | Easy |
This simple pattern provides a no-sew way to create a bandana that goes on your dog’s collar instead of being tied around their neck. Grab an old bandana and lay it on a flat surface.
Fold it so that it forms a triangle. Then iron it to create a sharp crease. Create 1 ½-inch folds on the pointed ends of the bandana’s long side. You’ll be creating a tunnel through which you can slide your dog’s collar. Add hemming tape to your tunnel folds and iron.
Then, use hemming tape on the edges of the rest of the bandana and iron, leaving the folds and tunnel you created open and free. Slide your dog’s collar through the tunnel created by the folds on the points you created, and you’re done!
9. Easy Sew Dog Bandana by Happiest Camper

| What you’ll need: | Scrap fabric, rotary cutter and mat, sewing pins, thread, scissors, safety pins, iron, ironing board |
| Difficulty level: | Easy |
This project uses any scrap fabric you have lying about. If you’ve done previous sewing projects, you probably have everything you need to get started.
With this project, you’ll wash, dry, and press the fabric. Then, measure your pet for the correct sizing. Cut a triangle, fold the edges, then sew the edges together using your hands or a sewing machine. That’s it!
10. Slide-On Bandana by Clean and Scentsible

| What you’ll need: | Fabric, fabric scissors, straight pins, hem tape, iron, ironing board, cricut maker, weeding tool, Cricut EasyPress |
| Difficulty level: | Moderate |
Slide-on bandanas are nice when you’re dealing with a pesky collar. The best part is this is a no-sew project. You will need a few extra materials like a Cricut maker and EasyPress, plus a weeding tool, so this may not be beginner friendly, but it’s still easy to make.
For this bandana, you’ll prepare the fabric, cut it, then hem the edges together. Iron the edges for a nice crisp look. If you have a Cricut maker, you can then add your own designs, like your pet’s name.
 Conclusion
Add a bit of style to your dog’s swagger with these charming bandanas. Whether you know your way around a sewing machine like a pro or don’t know a bobbin from a thimble, it’s possible for you to create an attractive homemade bandana for your pet. As an added benefit, these projects are great ways to get rid of extra bits and pieces of fabric you have sitting around the house from already completed projects. Happy sewing!
See also:
Featured Image Credit: Martin Castro, Unsplash

 Conclusion