How to Make a Cat Scratching Post From a Log – 7 Easy Steps

Updated on

Click to Skip Ahead
Cat scratching posts are ideal for encouraging your cat to clean and dull their claws without them destroying your furniture or curtains in the process.1 A good cat post can have a hefty price tag, though. Fortunately, there are plenty of ways to make your own out of simple materials.
Logs in particular are great items to start with. Not only are they durable, but the wood is also plain and untreated, making it safer for your kitty. They also have a naturally rustic aesthetic that can add a stylish elegance to your home décor.
This step-by-step guide will tell you how to make a cat scratching post from a log and the things to consider before starting.

Planning Your Cat Scratching Post
Depending on your woodworking experience, you can make your homemade cat post extravagant or super simple. This also depends on the log that you find to make the post out of. One with a few branches off the main structure will give you extra places to hang cat toys, for example.
Whatever supplies you start with, you should carefully consider the structure of the log itself before settling on a final design. You should also plan out if you want to add a platform to the top that will comfortably fit your cat or whether you have enough material to make it have multiple columns or tiers.
Bear in mind the space that you have available in your home too. Making your own cat post is a great way to recycle materials that would otherwise get thrown away, but you still need enough room to put the finished product.
When you start to plan out your cat post, give Future You a hand by first deciding where to put it. With an idea for the cat post’s location, you can make it the right size to fit where you want it to.
Supplies That You Will Need
To create your own cat scratching post, you’ll need the following materials and tools.
- Log (at least 2 inches in diameter)
- Sisal rope
- Carpet or fleecy fabric
- ¾-inch plywood
- Wood stain and varnish
- Pencil
- Staple gun
- Strong, double-sided tape
- Straight edge
- Jigsaw
- Sandpaper or sander
- Drill
- 3-inch wood screws
- Liquid nails
- Safety goggles
- Ear protection

How to Make a Cat Scratching Post From a Log
1. Prepare the Log
To make sure your materials haven’t been treated with anything toxic, the best way to start is with a log that still has the bark on it. It means you’ll have to strip it down and treat it yourself, but you can make sure the products that you use are safe for cats.
Start by figuring out how tall you want the cat post to be and whether you can use any offshoots of the log for decorations. Once you’ve cut the log down to size, you can start stripping off the bark.
Next, you’ll need to level the log to make sure it’ll attach to the base properly. You can use a laser level or spirit level or simply eyeball it. Grab sandpaper to remove any lingering splinters.

2. Prepare the Base of the Cat Post
The base for the cat post needs to be as sturdy as possible and large enough that it keeps the structure stable even when your cat leans their whole weight on it. You can have a simple, flat base that you cover with carpet, or you could make a shallow, open box and create a garden-type appearance with stepping stones. While the carpet will give your cat another place to scratch, a cute stone garden can make your cat post look like it grew there.
Whatever you decide, the sturdier your base is, the better. Use hardboard or plywood, and cut it big enough to contain your cat post and keep it stable.
3. Prepare the Perches
The top platform can simply be a square or circular piece of plywood. You’ll need a jigsaw for this step, along with eye and ear protection.
Depending on the size of your cat and how many cats you have, the size of the platform can vary. Don’t make it too big, though. Your cat post will be too top-heavy when your cat sits on it.
Once you’ve cut out the platform, sand it down. Don’t cover it with carpet or fluffy fabric yet. If you’re not planning on covering it, you can give it a sleek finish with wood stain and gloss, provided that the supplies that you use are non-toxic.

4. Attach the Log to the Base
There’s no point in having a sturdy base if the main structure isn’t fixed to it properly. You can use either liquid nails or wood screws. For extra sturdiness and peace of mind, you can use both, even if it seems a little excessive.
Mark a hole—or two, if you prefer—in the base of your cat post, and then drill the screws up through the bottom to fit the base to the log.
Now, wrap the entire post in sisal rope. You can attach it with double-sided tape, super glue, or vertical staples. To stop your cat from getting their claws caught, press the coils together tightly and ensure that no wood is showing underneath.
5. Attach the Perches
Attaching the platform securely is crucial, but luckily, it’s the same process as the previous step. After you’ve glued or screwed—or both, if you want to be extra secure—the platform to the cat post, you can cover it with your chosen fabric. Tack the carpet or fluffy fabric to the underside of the platform with a stapler or double-sided tape.

6. Add the Final Touches
Now that the main structure of your cat post is complete, you can work on the finishing touches. You can add carpet to the base or hang dangling mice toys from the branches. If you have another log and the base is big enough, you can make a second post and secure a hammock between them. Make sure your cat can’t eat any of the decorations.
7. Place It Somewhere Relaxing
Before letting your cats enjoy their new cat post, you need to find the perfect spot for it if you haven’t decided already. It should be out of the way of household activity, so your cat can relax while they clean their claws and stretch their limbs. Try to keep it separate from areas with furniture, so your cat doesn’t feel tempted to continue a scratching session beyond their new post. If your cat post is tall, try to keep it close to a wall so you can secure it in place—this will help keep your cat safe too.
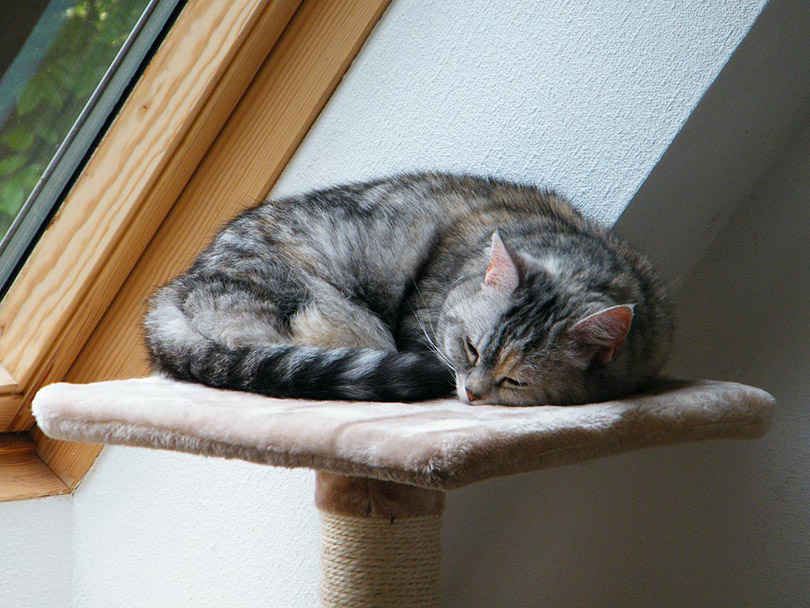
If you added a platform, you can place the post close to a window so your cat can sun themselves in comfort or just watch the birds visit your yard.
Conclusion
Homemade cat posts require a bit of planning and hard work, but they’re a rewarding venture, especially when you spot your cat napping on the top platform—or ignoring your new curtains! Using logs or fallen branches after a storm is a great way to clean up your yard without having to go to the local landfill. Log cat posts also look snazzy and have a rustic feel to them that can give your décor an extra flair.
See Also:
Featured Image Credit: RJ22, Shutterstock