How to Stop Cats From Scratching the Couch: 6 Helpful Tips
By Adam Mann
Updated on

Nobody wants their cat to tear up all the furniture in their home, but for many people, that is exactly what happens. It can be a super frustrating experience, and because of this, many cat owners don’t respond appropriately or effectively.
But if you’re serious about getting your cat to stop scratching your couch, you’re in the right place. We will walk you through everything you need to know to stop scratching your couch and the other furniture in your home in no time!

The 3 Things to Know Before You Start
We will get to how you can get your cat to stop scratching the couch, but before we start, you will need to know these three things. Check them out, and then we’ll walk you through a step-by-step guide on how to get your cat to stop scratching your furniture.

Keep the Claws Short
While removing your cat’s claws is a surefire way to keep them from scratching the couch, it’s an inhumane and painful surgical procedure for your cat. When you declaw your cat, you’re mutilating your cat’s paws, and it leads to a lifetime of pain, discomfort, and anxiety.
Take the time to train your cat properly, and don’t go for the surgical copout that’s considered cruel.
Trimming your cat's nails isn't the easiest task in the world, but a well-designed set of clippers can make all the difference. Our Hepper Cat Nail Clipper Set features two sizes of clippers with easy-to-clean stainless steel blades and a built-in safety guard to prevent accidental cuts. These clippers are comfortable to hold, nicely designed to work at tricky angles, and even include a bonus hidden nail file and a convenient pouch!

Stay Patient
Your cat’s behavior isn’t going to change overnight, but with some consistency and a well-thought-out plan, it will change. Just stick with the process and you’ll get them away from scratching the couch in no time.
Stay Positive
Your cat isn’t scratching the couch to try and upset you; they’re doing it to stretch their paws, trim their nails, and mark their territory. It’s a natural part of a cat’s behavior, you just need to find a way to redirect it to a positive outlet.
If you use negative reinforcement to deter the behavior, they’ll stop doing it while you’re around, but they’re likely to continue the behavior when you’re not there.
How to Stop Your Cats From Scratching the Couch
Now that you have an understanding of some of the basics, it’s time to dive into what you actually need to do to get your cat to stop scratching the couch!
1. Get Scratching Posts
Your cat needs somewhere to scratch, so get them a wide array of scratching posts they can use. Aim for different posts of different materials so your cat can find something they like. Once you identify a material your cat likes using, you can get more of that type to place around your home.
2. Get Some Interactive Cat Toys
Not only should you get a few different types of scratch posts for your home, but you should also consider some interactive cat toys your cat can use to scratch on. Some cats don’t want to use interactive toys, while others can’t get enough of them.
3. Pick the Right Locations and Set Them Up
Now that you have the scratch posts and the toys, it’s time to find the right location for them inside your home. Cats scratch to mark their territory, so you likely won’t find any effectiveness if you put them in low-traffic areas out of the way.
They need to be in an area your cat already frequently visits, and it’s super helpful if it is somewhere you visit a lot too.
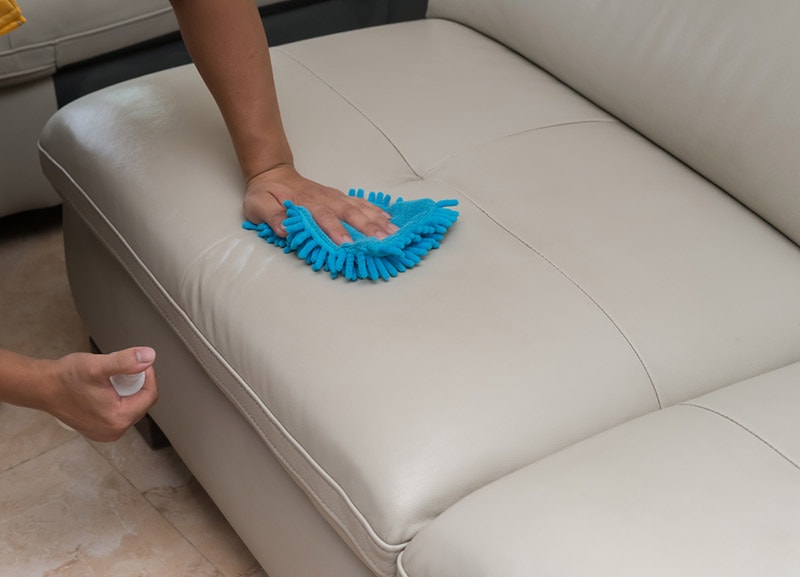
4. Make the Couch Undesirable
Now that you have a healthy outlet for your cat to scratch, it’s time to make your couch a less desirable area. You can tuck sheets around the areas they like to scratch, use a citrus spray to deter them, or even wrap the area in tin foil.
This stuff doesn’t need to stay forever, but you’ll want to use it until your cat gets comfortable scratching their new toys or posts.
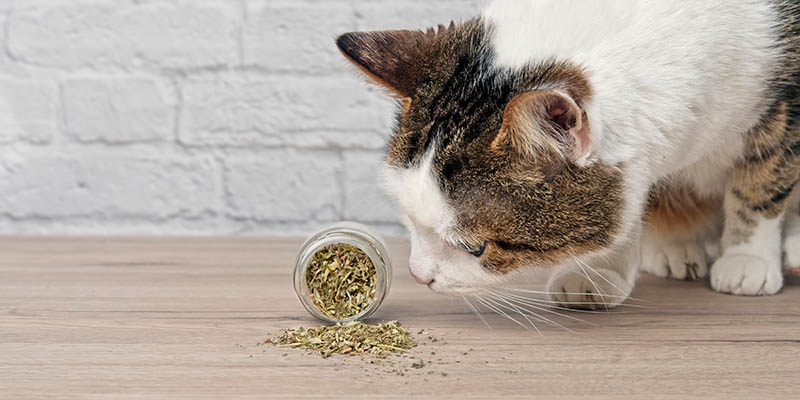
5. Use Catnip, Honeysuckle, or a Cat Scratching Spray
Now that we have your cat towers and toys in the right location and your cat is less interested in the couch, it is time to make the right area for them to scratch a little more interesting. Catnip is a favorite among cats, but they also like the smell of honeysuckle.
You can also find a cat scratching spray to help entice them to the area, but ensure the spray you’re using on the scratching post is an attractive type, not a deterrent!
6. Stick With It!
At this point, you’re doing everything right, and it shouldn’t take long for your cat to give up on the couch and move on to the scratching post. But if you stay consistent and keep following all the steps we’ve highlighted here, it shouldn’t take long for your cat to start leaving your couch alone.

Conclusion
Keep in mind when your cat is scratching, they are not doing it to try and upset you. It is natural behavior, and they need you to teach them when and where they can do it and for you to provide them with the outlet for it in the first place.
If you follow the steps in our guide, they’ll stop scratching your couch and keep a happy and healthy relationship with you throughout it all!
Featured Image Credit: Amy Humphries, Unsplash